
Electronicele adună mai multă murdărie decât își dau seama majoritatea oamenilor, iar numărul de germeni care trăiesc pe dispozitivele tale poate fi șocant. De fapt, studiile arată că smartphone-ul tău poate transporta de zece ori mai multe bacterii decât un capac de toaletă . Majoritatea oamenilor cred că o ștergere rapidă cu o cămașă sau un șervețel este suficientă, dar, de fapt, aceasta împrăștie murdăria și lasă zgârieturi în urmă. Cea mai sigură modalitate de a-ți curăța gadgeturile începe chiar înainte de a atinge un ecran sau un buton.
Cuprins
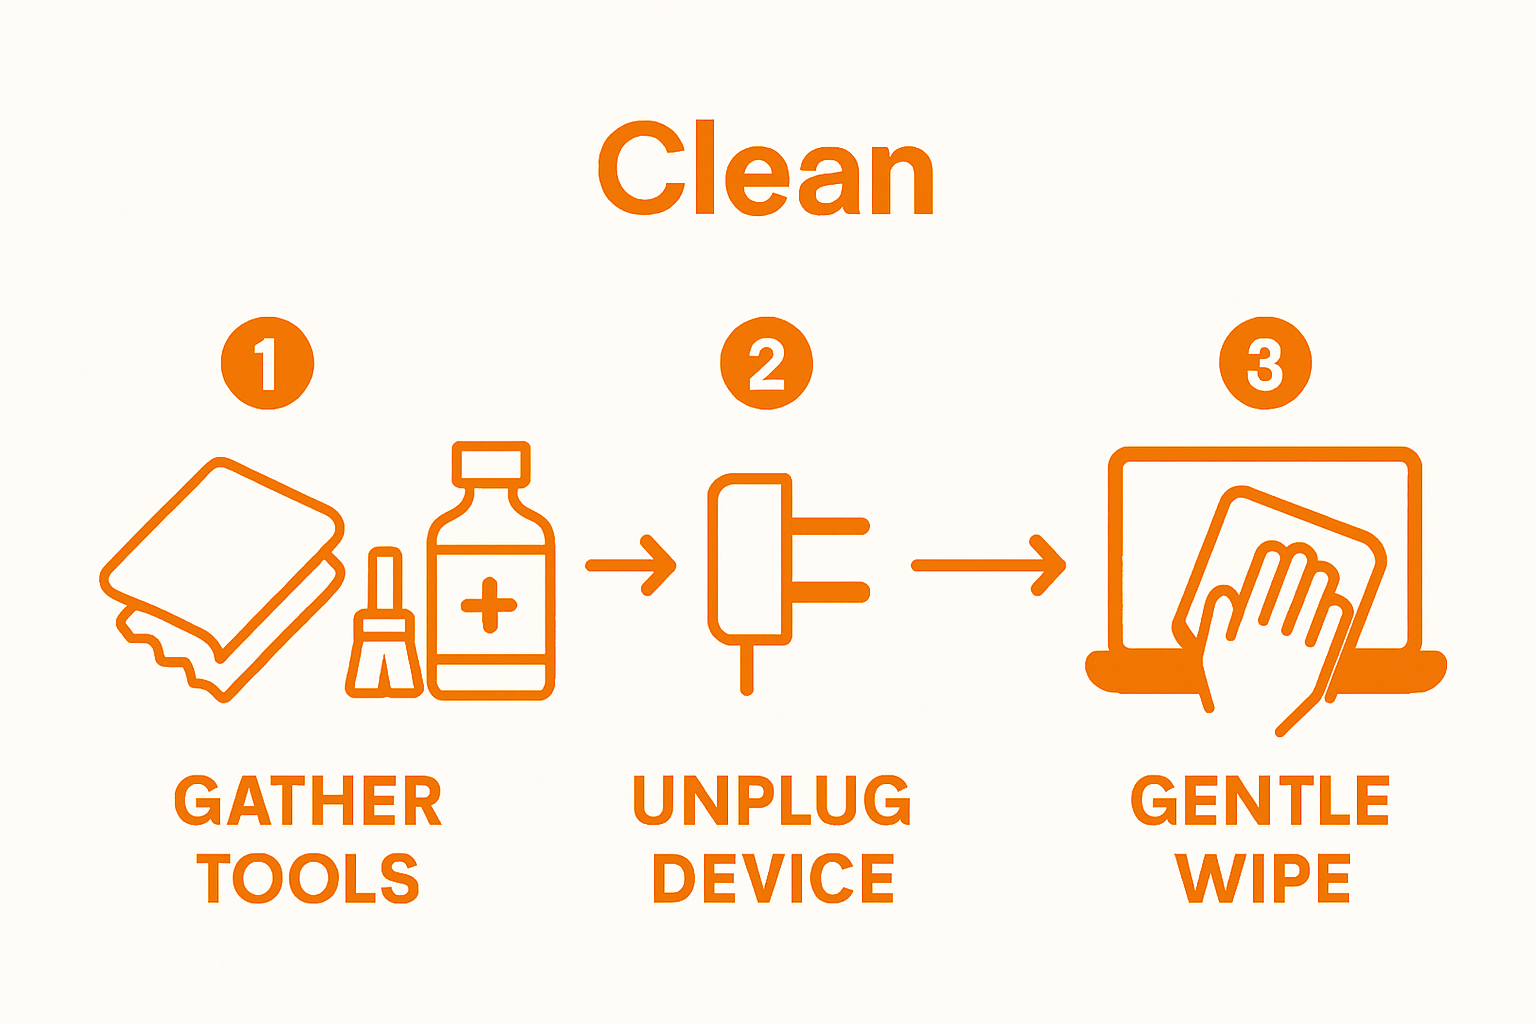
- Pasul 1: Adunați-vă materialele de curățare
- Pasul 2: Opriți și deconectați dispozitivele
- Pasul 3: Ștergeți ușor suprafețele de praf și ștergeți-le
- Pasul 4: Curățați cu grijă ecranele și tastaturile
- Pasul 5: Verificați curățenia și funcționalitatea
Rezumat rapid
| Punct cheie | Explicaţie |
|---|---|
| 1. Adunați materialele de curățare adecvate | Folosește lavete din microfibră, alcool izopropilic și aer comprimat pentru a curăța eficient electronicele, fără a le deteriora. |
| 2. Opriți și deconectați dispozitivele | Asigurați-vă întotdeauna că dispozitivele sunt complet oprite și deconectate de la priză pentru a preveni pericolele electrice în timpul curățării. |
| 3. Ștergeți ușor suprafețele de praf mai întâi | Începeți prin a sufla praful cu aer comprimat înainte de a utiliza lavete din microfibră pentru o curățare temeinică a suprafeței. |
| 4. Curățați cu atenție ecranele și tastaturile | Folosește mișcări ușoare cu o lavetă ușor umedă pentru ecrane și unelte de precizie pentru zonele tastaturii pentru a evita deteriorarea. |
| 5. Verificați curățenia și funcționalitatea | Verificați dacă există praf persistent și testați toate funcțiile dispozitivului după curățare pentru a asigura o performanță optimă. |
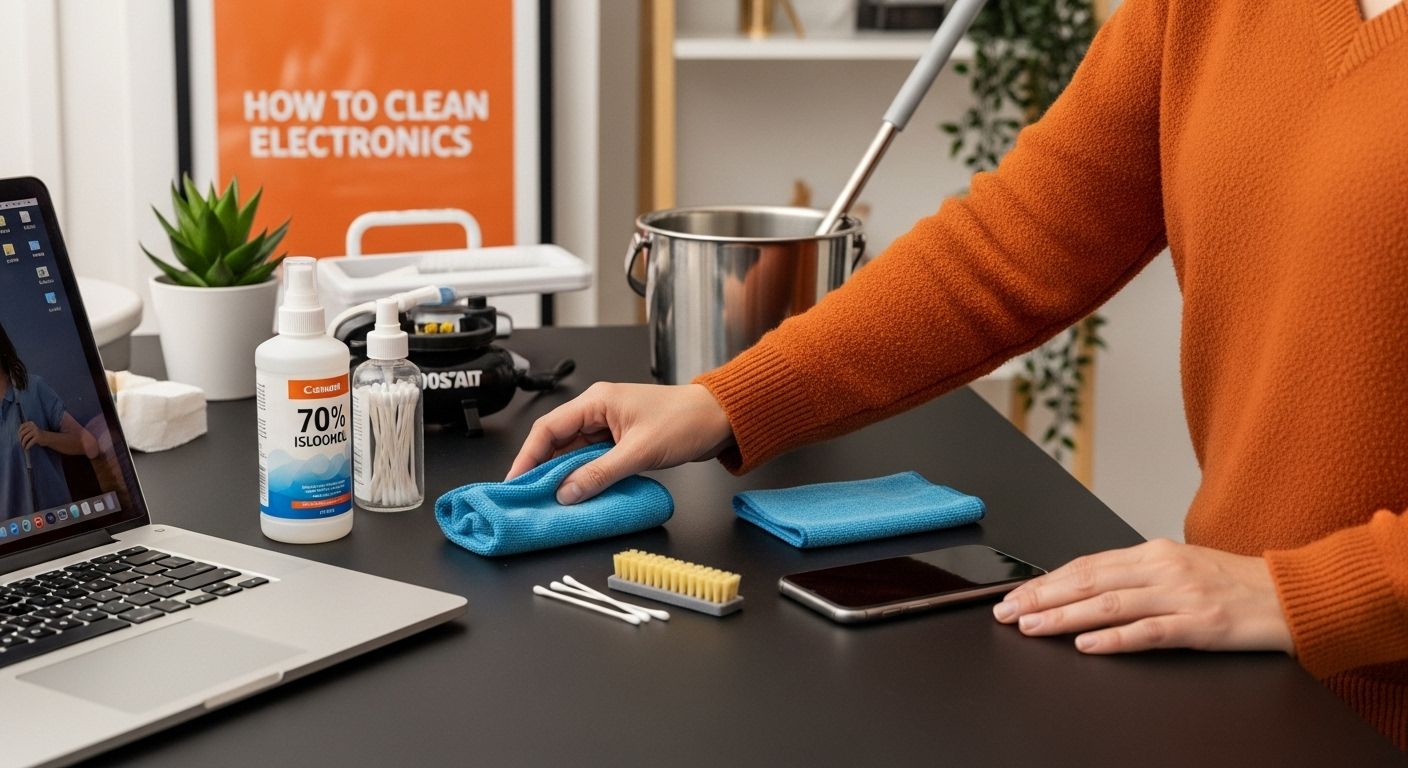
Pasul 1: Adunați-vă materialele de curățare
Curățarea electronicelor necesită precizie și instrumentele potrivite. Înainte de a trece la procesul de curățare propriu-zis, trebuie să adunați o colecție strategică de produse de curățare care să vă protejeze și să vă întrețină dispozitivele valoroase. Cheia este utilizarea materialelor care îndepărtează eficient murdăria și praful fără a provoca daune.
Start by collecting soft microfiber cloths, which are essential for safely wiping delicate electronic surfaces. These specialized cloths are designed to trap dust and particles without scratching sensitive screens or components. Avoid using paper towels or rough textiles that could potentially scratch or leave lint behind. You’ll want several clean microfiber cloths to ensure you’re always working with a fresh surface.
Our guide to sustainable cleaning tools recommends having a dedicated set of cloths specifically for electronics. Choose light colored cloths so you can easily see the dirt you’re removing and know when to switch to a clean cloth.
Next, prepare 70% isopropyl alcohol solution, which is crucial for sanitizing electronic surfaces. According to research from Texas A&M University, this concentration effectively kills germs without being too harsh on electronic components. You’ll want to use this solution sparingly - slightly dampen your microfiber cloth rather than saturating it.
Additional supplies you’ll need include:
- Compressed air canister (for removing dust from hard-to-reach areas)
- Cotton swabs (for precision cleaning around buttons and ports)
- Soft-bristled brush (optional, for gentle dust removal)
Preparing your workspace is equally important. Choose a clean, well-lit area with a flat surface. Lay down a soft towel to protect your devices and catch any fallen dust or debris. Keep your cleaning solutions and tools within easy reach to maintain a smooth workflow.
Before starting, power down and unplug all electronic devices. Remove batteries if possible, and ensure no liquid could potentially seep into internal components. By meticulously gathering the right supplies and preparing your workspace, you’re setting the foundation for safe and effective electronic cleaning.
Below is a table summarizing the essential cleaning tools and supplies for electronics, along with their specific purpose and usage notes.
| Tool/Supply | Purpose | Usage Notes |
|---|---|---|
| Microfiber cloths | Safely wipe and trap dust on surfaces | Use multiple clean cloths, avoid rough fabrics |
| 70% isopropyl alcohol | Sanitize surfaces and kill germs | Slightly dampen cloth, never saturate |
| Compressed air canister | Remove dust from hard-to-reach areas | Short bursts, upright position, 6 inch distance |
| Cotton swabs | Precision cleaning around ports and buttons | Lightly damp for tight spaces, avoid oversaturation |
| Soft-bristled brush | Dislodge dirt from crevices | Optional, for textured or intricate surfaces |
| Clean, flat workspace | Protects devices and organizes tools | Lay a soft towel to catch dust and protect devices |
Step 2: Power Down and Unplug Devices
Before you begin cleaning any electronic device, powering down and unplugging is a critical safety step that protects both you and your valuable equipment. This precautionary measure prevents potential electrical hazards, potential short circuits, and ensures a thorough cleaning process without risking damage to sensitive electronic components.
According to research from the National Institute of Standards and Technology, completely disconnecting electronic devices is essential before any maintenance or cleaning procedure. Start by shutting down all devices completely - this means more than just putting them in sleep mode. For computers and laptops, select the full shutdown option rather than hibernate or sleep. For smartphones and tablets, press and hold the power button until the device fully powers off.
Systematic device disconnection requires careful attention. Unplug all power cords from electrical outlets, removing them gently to avoid strain on the cable or device port. For devices with removable batteries, take the extra step of removing them completely. This not only eliminates electrical current but also provides better access to clean battery compartments and connection points.
Some devices require special consideration during the powering down process. Gaming consoles, external hard drives, and complex home entertainment systems might have specific shutdown protocols. Consult the manufacturer’s manual if you’re unsure about the proper powering down procedure for a particular device. Our comprehensive appliance cleaning guide offers additional insights for specific electronic types.
Pay special attention to devices with intricate connection systems. Computers with multiple peripherals should be disconnected systematically:
- Unplug monitor cables
- Disconnect keyboard and mouse
- Remove external hard drives
- Unplug networking cables
After disconnecting, allow devices to cool down for a few minutes. This waiting period ensures that internal components are not warm, which could potentially interact negatively with cleaning solutions. Check that all devices are completely powered off and unplugged before proceeding to the next cleaning stage.
Verify your device’s readiness by confirming no lights are blinking, screens are dark, and no fans are running. A methodical approach to powering down protects your electronics and sets the stage for a safe, effective cleaning process.
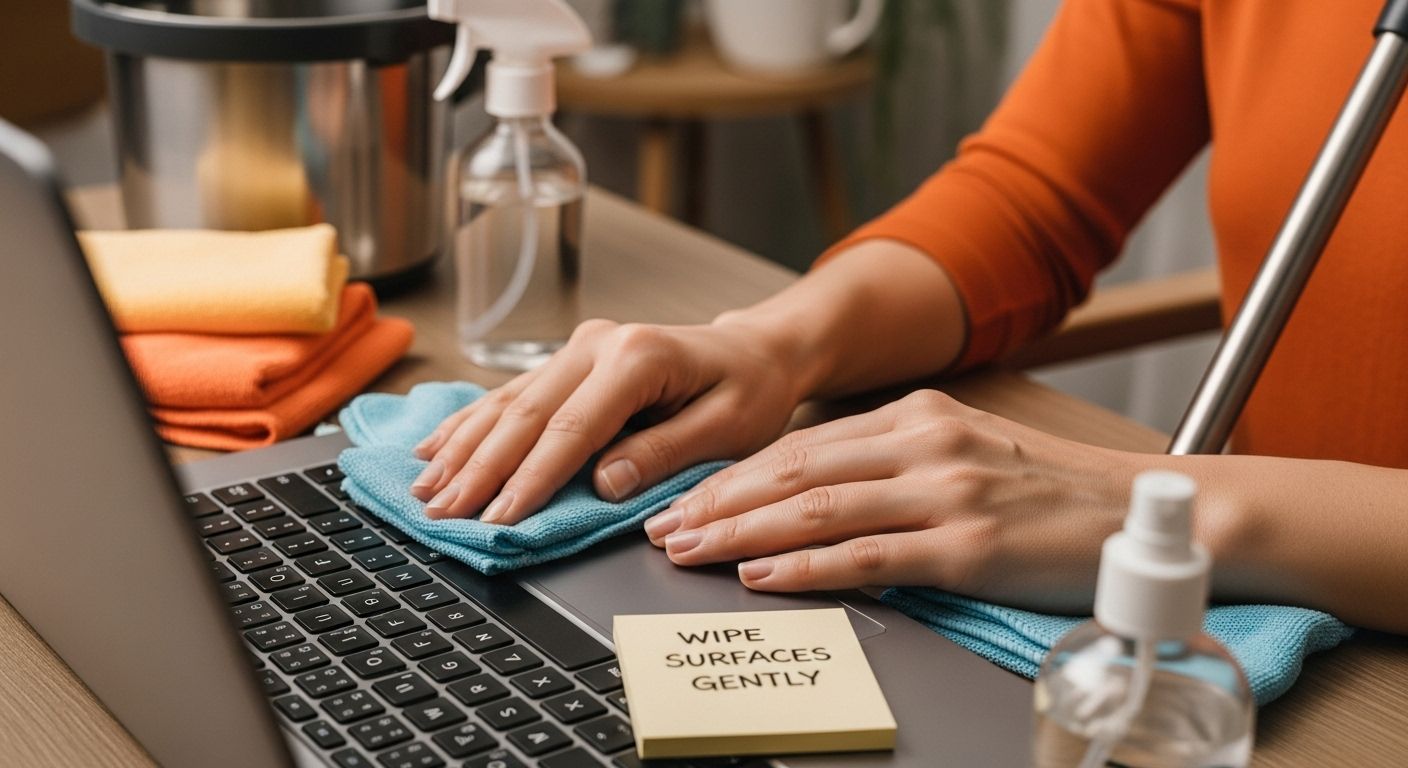
Step 3: Dust and Wipe Surfaces Gently
Dusting and wiping electronic devices requires a delicate touch and strategic approach to prevent potential damage while effectively removing dirt and grime. The goal of this step is to eliminate surface dust, fingerprints, and accumulated debris without scratching or compromising the sensitive components of your electronic equipment.
According to research from Texas A&M University, using a lint-free microfiber cloth is the most recommended method for cleaning electronic surfaces. Begin by using compressed air to blow away loose dust from keyboards, ports, and hard-to-reach areas. Hold the compressed air canister upright and use short, controlled bursts to prevent moisture from forming. Maintain a consistent distance of about 6 inches from the device to ensure precise dust removal without causing potential damage.
Microfiber cloths are your primary cleaning tool for this stage. These specialized cloths trap dust particles instead of just pushing them around, making them superior to traditional cleaning materials. For dry cleaning, use a clean, dry microfiber cloth and gently wipe surfaces using soft, circular motions. Apply minimal pressure to avoid scratching screens or damaging delicate electronic surfaces.
Our comprehensive guide to home appliance maintenance recommends a two-stage approach for more stubborn dirt. First, use a dry microfiber cloth to remove loose dust. Then, slightly dampen another microfiber cloth with a 70% isopropyl alcohol solution. Important: The cloth should be damp, not wet. Excess liquid can irreparably damage electronic components.
When cleaning specific device types, adjust your technique:
- Smartphone screens: Use gentler, lighter strokes
- Laptop keyboards: Wipe between keys with careful, precise movements
- Computer monitors: Use vertical or horizontal strokes, avoiding circular motions
Pay special attention to areas that accumulate the most grime: keyboard spaces between keys, phone screen edges, and device ports. Use cotton swabs for precision cleaning in tight spaces, but ensure they’re not overly saturated. For devices with textured surfaces like gaming controllers, use a soft-bristled brush to dislodge dirt from crevices before wiping.
Verify your cleaning by checking the surface under good lighting. A clean electronic device should appear free of visible dust, smudges, and fingerprints. If you notice remaining dirt, repeat the process with a fresh microfiber cloth, always using a light touch and minimal moisture.
Step 4: Clean Screens and Keyboards Carefully
Screens and keyboards are among the most frequently touched electronic components, making them prime locations for dirt accumulation and potential germ transmission. Cleaning these surfaces requires a precise, gentle approach to prevent damage while effectively removing debris, fingerprints, and microscopic particles.
According to research from the University of Wisconsin-Madison, the key to successful screen and keyboard cleaning is using minimal moisture and soft materials. Begin with screen cleaning by selecting a specialized microfiber cloth designed for delicate electronic surfaces. These cloths are engineered to trap dust and remove smudges without scratching or leaving lint behind.
For screen cleaning, start with a dry microfiber cloth and use gentle, vertical or horizontal strokes. Avoid circular motions that can potentially create swirl marks or uneven cleaning. If stubborn smudges remain, lightly dampen the cloth with distilled water or a specialized electronic screen cleaner. Important: Never spray liquid directly onto the screen. Always apply the cleaning solution to the cloth first, ensuring it’s just slightly damp, not wet.
Our comprehensive appliance maintenance guide recommends additional techniques for thorough keyboard cleaning. Turn the keyboard upside down and gently shake to dislodge loose debris. Use compressed air in short, controlled bursts to blow out dust from between the keys. Hold the canister upright and maintain a consistent distance to prevent moisture buildup.
Keyboard cleaning requires a more strategic approach:
- Use cotton swabs for precision cleaning around key edges
- Employ a soft-bristled brush to sweep away stubborn dust
- For mechanical keyboards, consider carefully removing keycaps for deep cleaning
When dealing with persistent grime, create a cleaning solution using equal parts distilled water and white vinegar. Dip a cotton swab or microfiber cloth into this solution, ensuring it’s only slightly damp. Gently clean key surfaces and surrounding areas, taking care not to let any liquid seep beneath the keys.
After cleaning, allow surfaces to air dry completely before reconnecting or powering on your devices. Verify your cleaning efforts by examining the screen and keyboard under good lighting. A properly cleaned surface should appear streak-free, with no visible dust, fingerprints, or moisture residue. Remember that consistent, gentle cleaning prevents long-term dirt buildup and helps maintain your electronic devices’ appearance and functionality.
Step 5: Verify Cleanliness and Functionality
The final step in electronic device cleaning is a critical verification process that ensures your meticulous efforts have not only removed dirt but also maintained the device’s optimal performance. This stage bridges your cleaning process with the device’s continued functionality, requiring a systematic and careful approach to confirm everything works perfectly after cleaning.
Visual inspection is your first verification method. Examine the device under bright, natural lighting to identify any remaining dust, streaks, or cleaning residue. Look closely at screens, keyboard surfaces, ports, and edges. Use a clean, dry microfiber cloth for final touch-ups if you notice any lingering smudges or particles. The goal is a pristine surface that looks as close to its original condition as possible.
Our comprehensive appliance maintenance guide recommends a comprehensive functionality test after cleaning. Power on your device and systematically check all critical functions. For computers, this means testing keyboard responsiveness, screen display quality, and port connections. On smartphones, verify touchscreen sensitivity, speaker clarity, and camera lens cleanliness.
Connect all necessary peripherals and cables to ensure they fit correctly after cleaning. Pay special attention to ports that might have accumulated dust or debris during the cleaning process. Gently insert and remove cables to confirm smooth connectivity and check that no cleaning residue interferes with connections.
Perform a series of diagnostic checks for different device types:
- Computers: Run system diagnostics and check all input devices
- Smartphones: Test camera, speakers, microphone, and touchscreen responses
- Tablets: Verify battery performance and charging port functionality
- Gaming consoles: Check controller connections and system responsiveness
Monitor your device’s performance over the next few hours. Listen for any unusual sounds, watch for unexpected behavior, or notice any performance changes that might indicate cleaning-related issues. Temperature and response time are crucial indicators. If a device feels unusually warm or seems slower than before cleaning, double-check your cleaning process or consult professional technical support.
Documenting your cleaning process can be helpful for future maintenance. Take before and after photos, note any specific cleaning techniques you used, and record the date of cleaning. This documentation helps track device maintenance and can provide valuable insights if you encounter any technical issues later. By methodically verifying cleanliness and functionality, you ensure your electronic devices remain in top condition, extending their lifespan and maintaining their performance.
Here is a quick-reference table outlining post-cleaning verification checks to confirm both cleanliness and full functionality of your electronics.
| Task | What to Check | How to Confirm |
|---|---|---|
| Visual inspection | Dust, smudges, streaks | Examine surfaces under bright light |
| Screen quality | Display clarity, no streaks | Power on, check for clear, streak-free image |
| Keyboard or touchscreen response | Keypress/tap registration | Test input; all keys/buttons respond |
| Port and cable connections | Smooth insertion and removal | Connect/disconnect peripherals |
| Audio and speaker check | Sound clarity | Play audio, listen for distortion |
| Battery/charging port functionality | Proper charging, battery life | Plug in charger, monitor charge status |
| Unusual noises or overheating | Device temperature, sounds | Listen/feel for irregularities during operation |
Elevate Your Device Cleaning Routine with Smart Tools
Are you tired of worrying about safely restoring your electronics to a spotless state? The guide above unlocks simple, safe techniques for cleaning sensitive surfaces, but having the right tools is the real game changer. If you struggle with stubborn dust or worry about damaging screens and keyboards, choosing proven cleaning gear can make all the difference. Designed with convenience and efficiency in mind, DreamRamp.ro brings you expertly crafted cleaning solutions that help keep your technology pristine and functional.
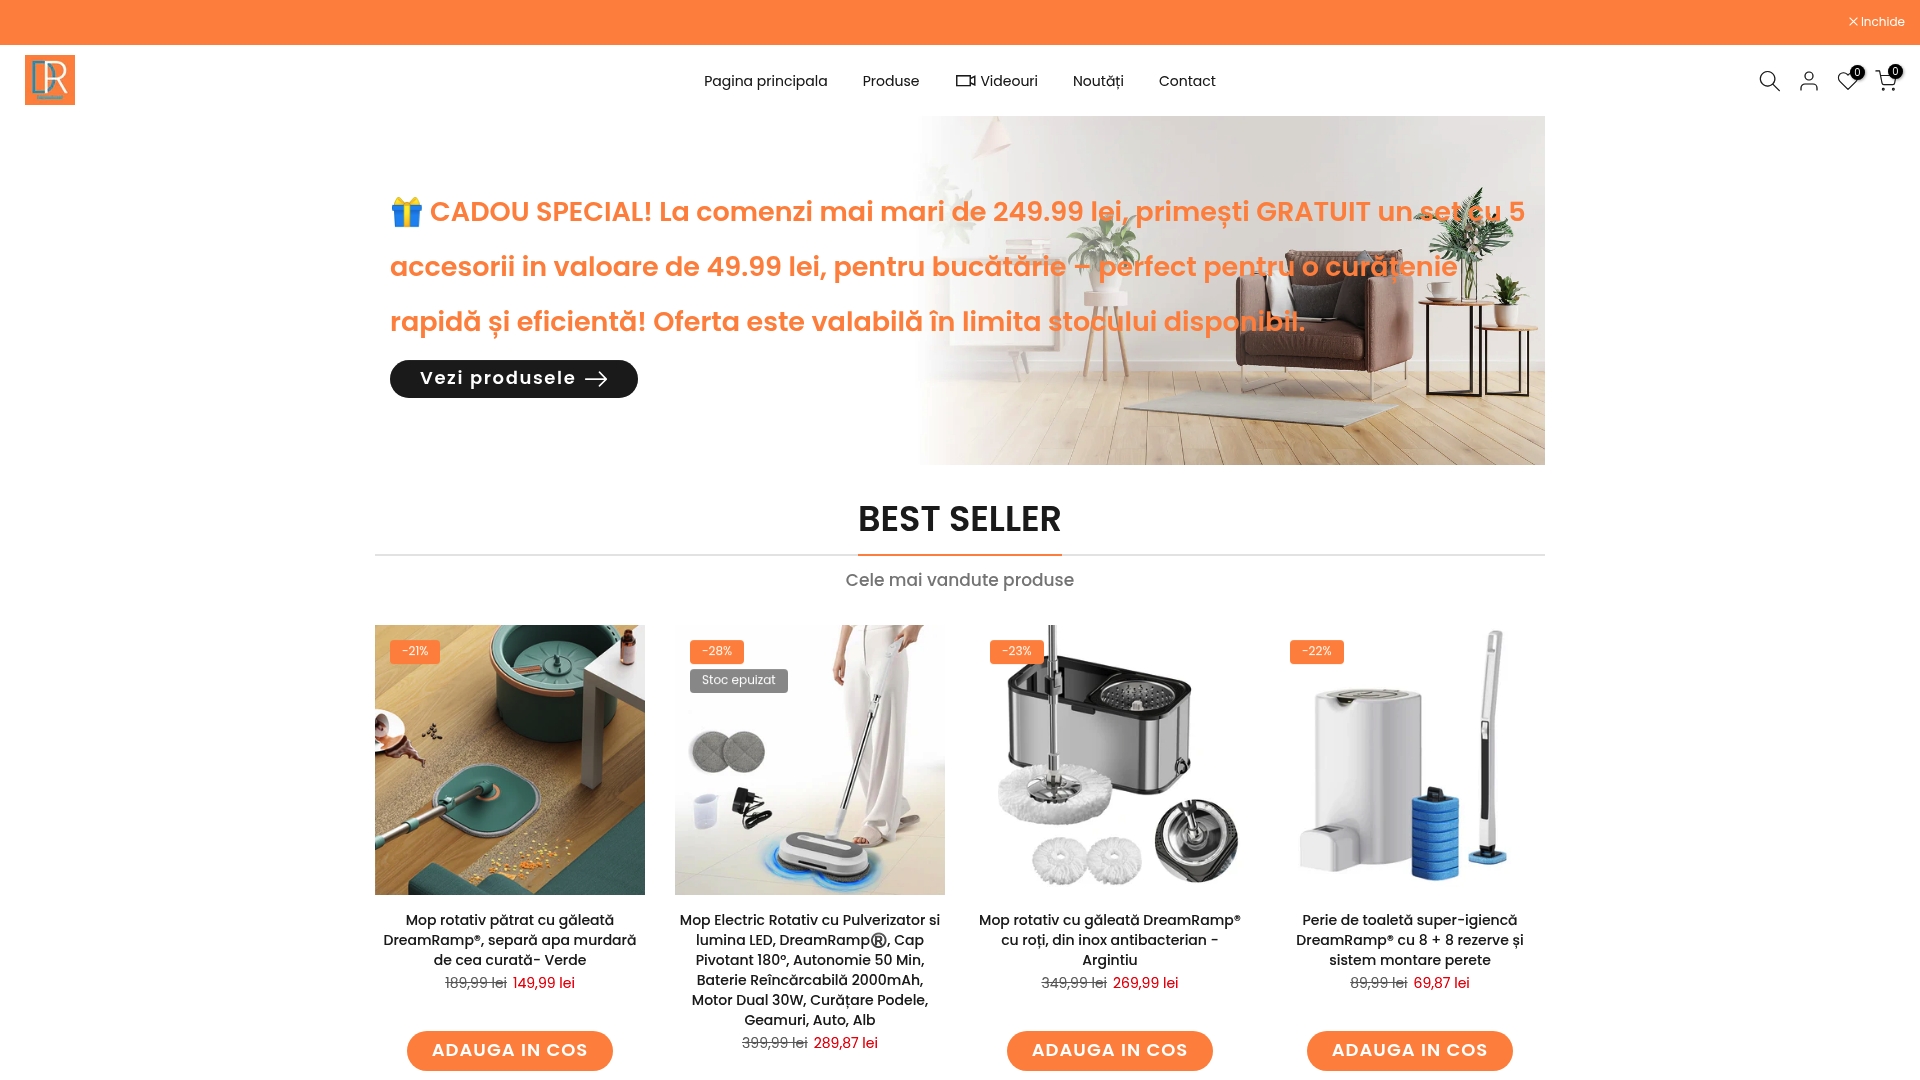
Take action today to give your devices the gentle yet thorough care they deserve. Shop our full range of innovative cleaning kits, soft microfiber cloths, precision brushes, and more at DreamRamp.ro. Experience how professional-grade supplies simplify your electronics cleaning so you never have to compromise between safety and spotless results. Explore our featured cleaning sets that keep clean and dirty water separate for an even more hygienic home environment. Discover the ease of smart, reliable cleaning and order now for fast delivery and top-quality results.
Frequently Asked Questions
How do I safely clean my electronic devices?
To safely clean electronic devices, first power down and unplug them. Use soft microfiber cloths and a 70% isopropyl alcohol solution. Avoid saturating the cloth; it should be slightly damp. Use controlled blasts of compressed air to remove dust from hard-to-reach areas.
What cleaning supplies do I need for electronics?
You will need soft microfiber cloths, 70% isopropyl alcohol solution, a compressed air canister, cotton swabs, and optionally a soft-bristled brush. These tools will help you effectively clean without causing damage.
How can I clean screens without leaving streaks?
To clean screens without leaving streaks, use a dry microfiber cloth and wipe in gentle vertical or horizontal strokes. If smudges persist, slightly dampen the cloth with distilled water or a screen-specific cleaner, but never apply liquid directly to the screen.
How often should I clean my electronics?
It’s recommended to clean your electronics every few weeks, especially for frequently used devices like keyboards and smartphones. Regular maintenance helps prevent dirt buildup and keeps devices looking good and functioning properly.


