
Mopuri – mopuri rotative, plate și profesionale | Dreamramp
Mopuri
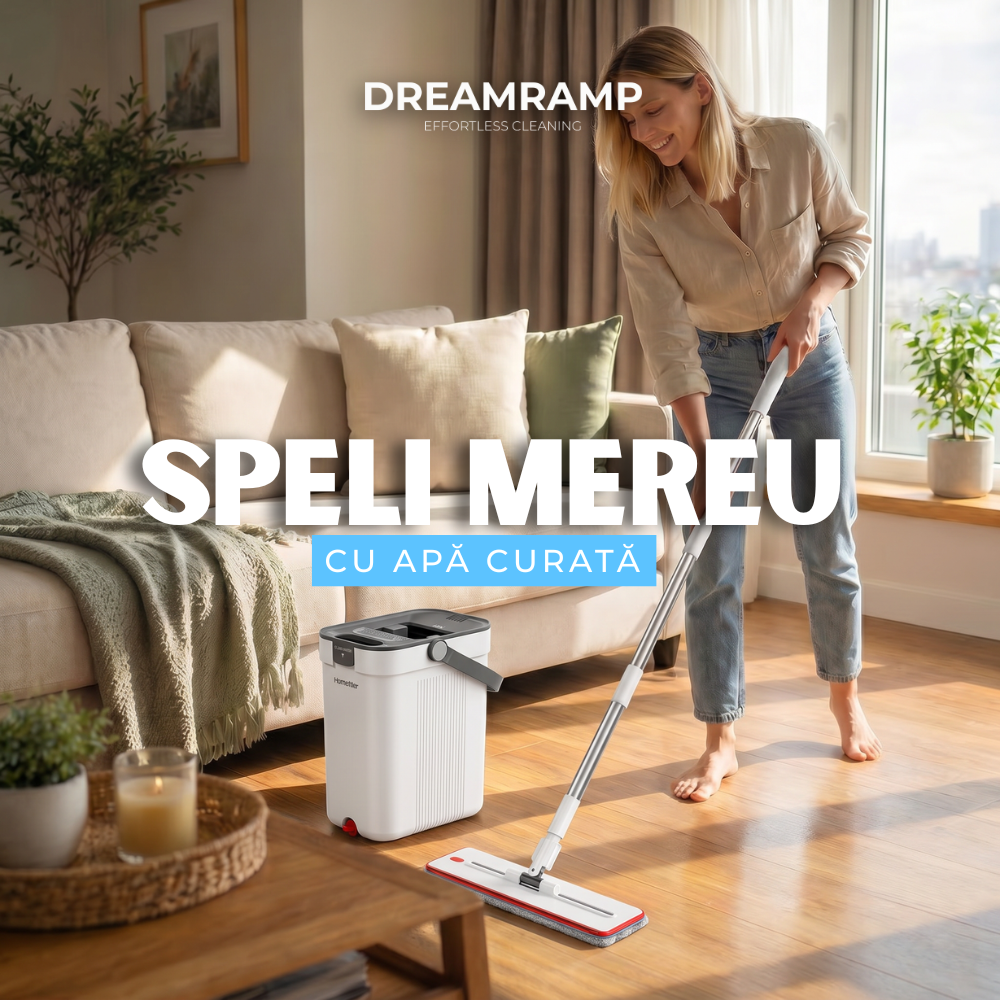
Mop rotativ pătrat cu găleată și separare apă Dreamramp® – pentru parchet și gresie, gri/portocaliu
Preț întreg
149,90 lei
Preț redus99,00 lei
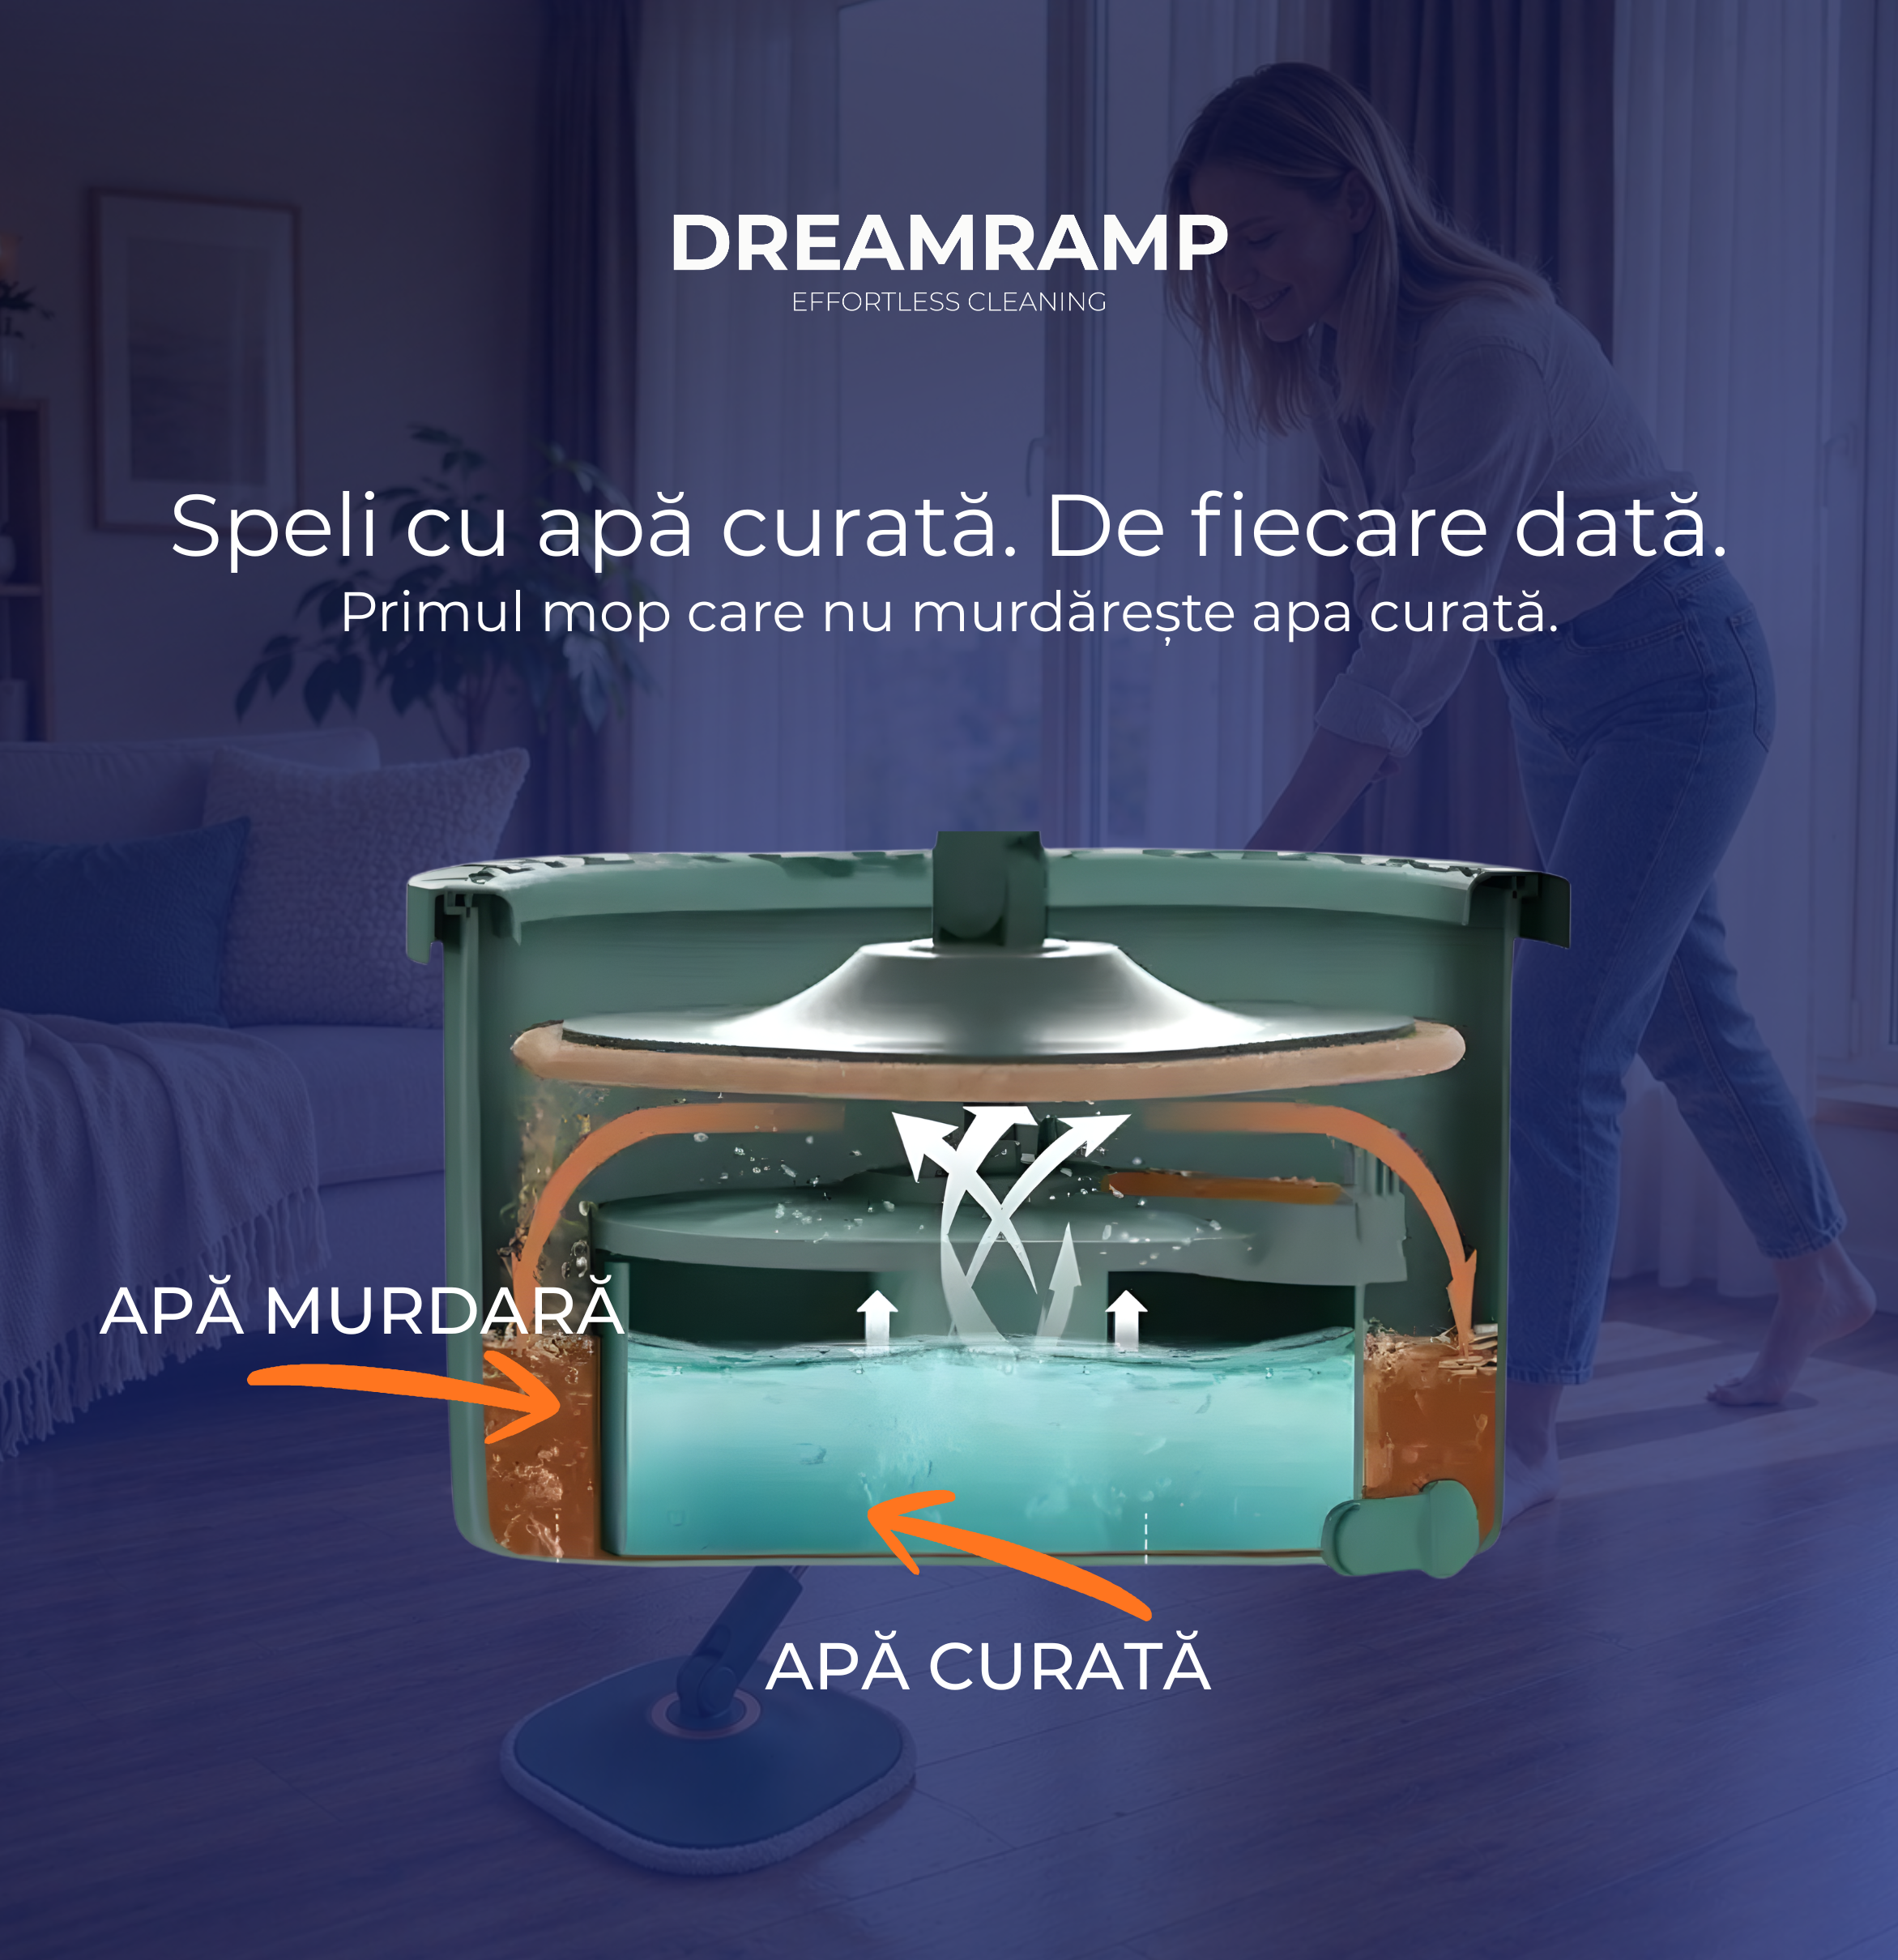
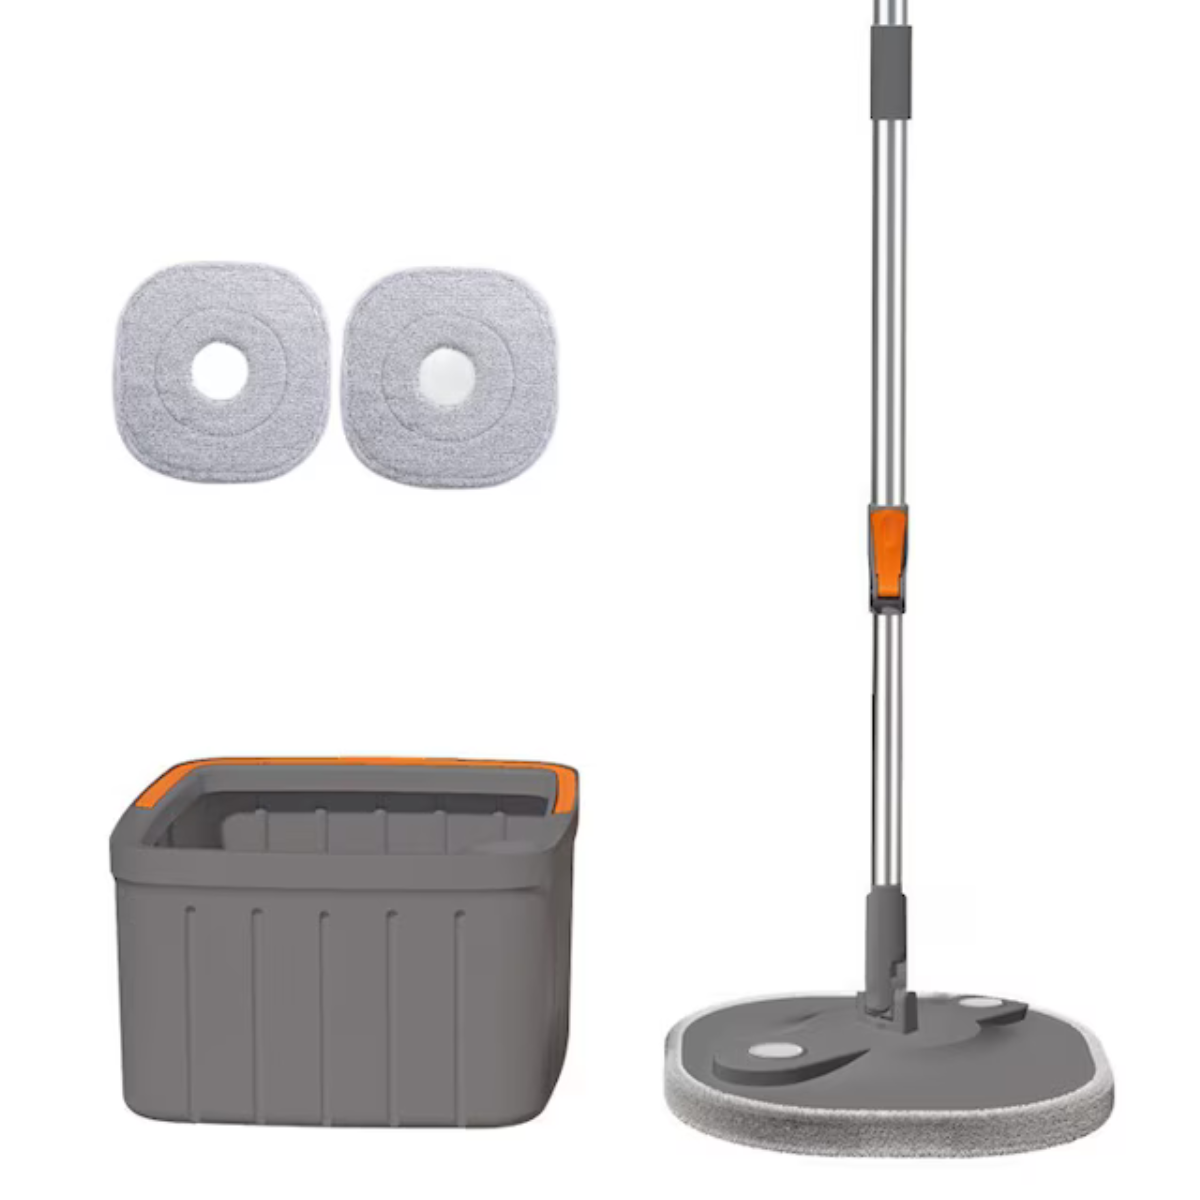
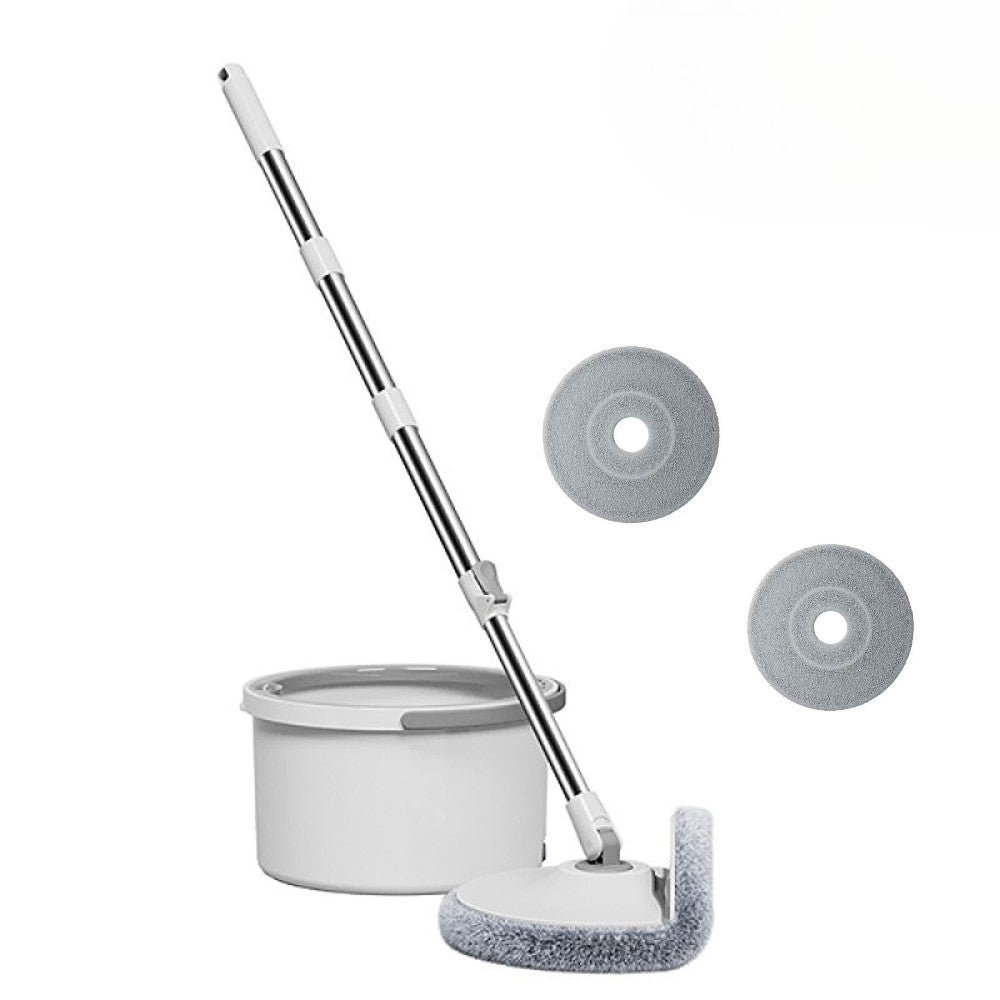
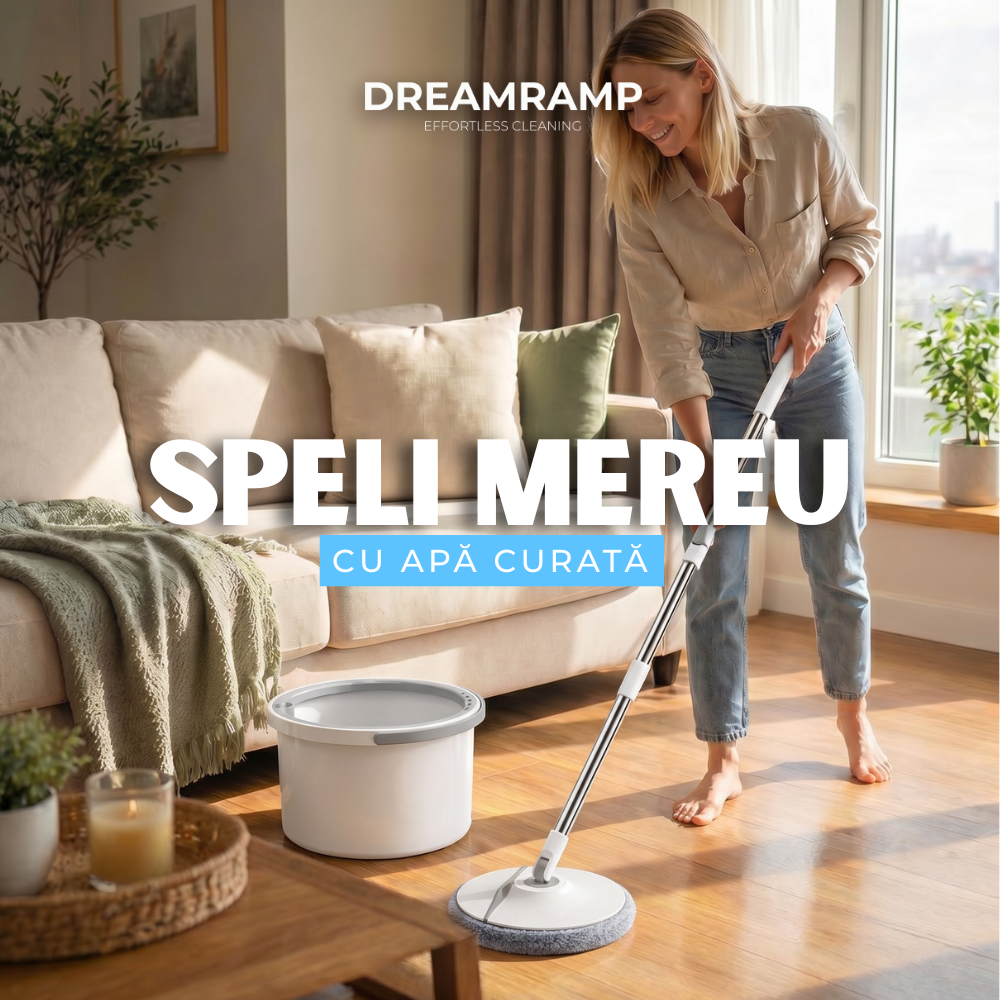
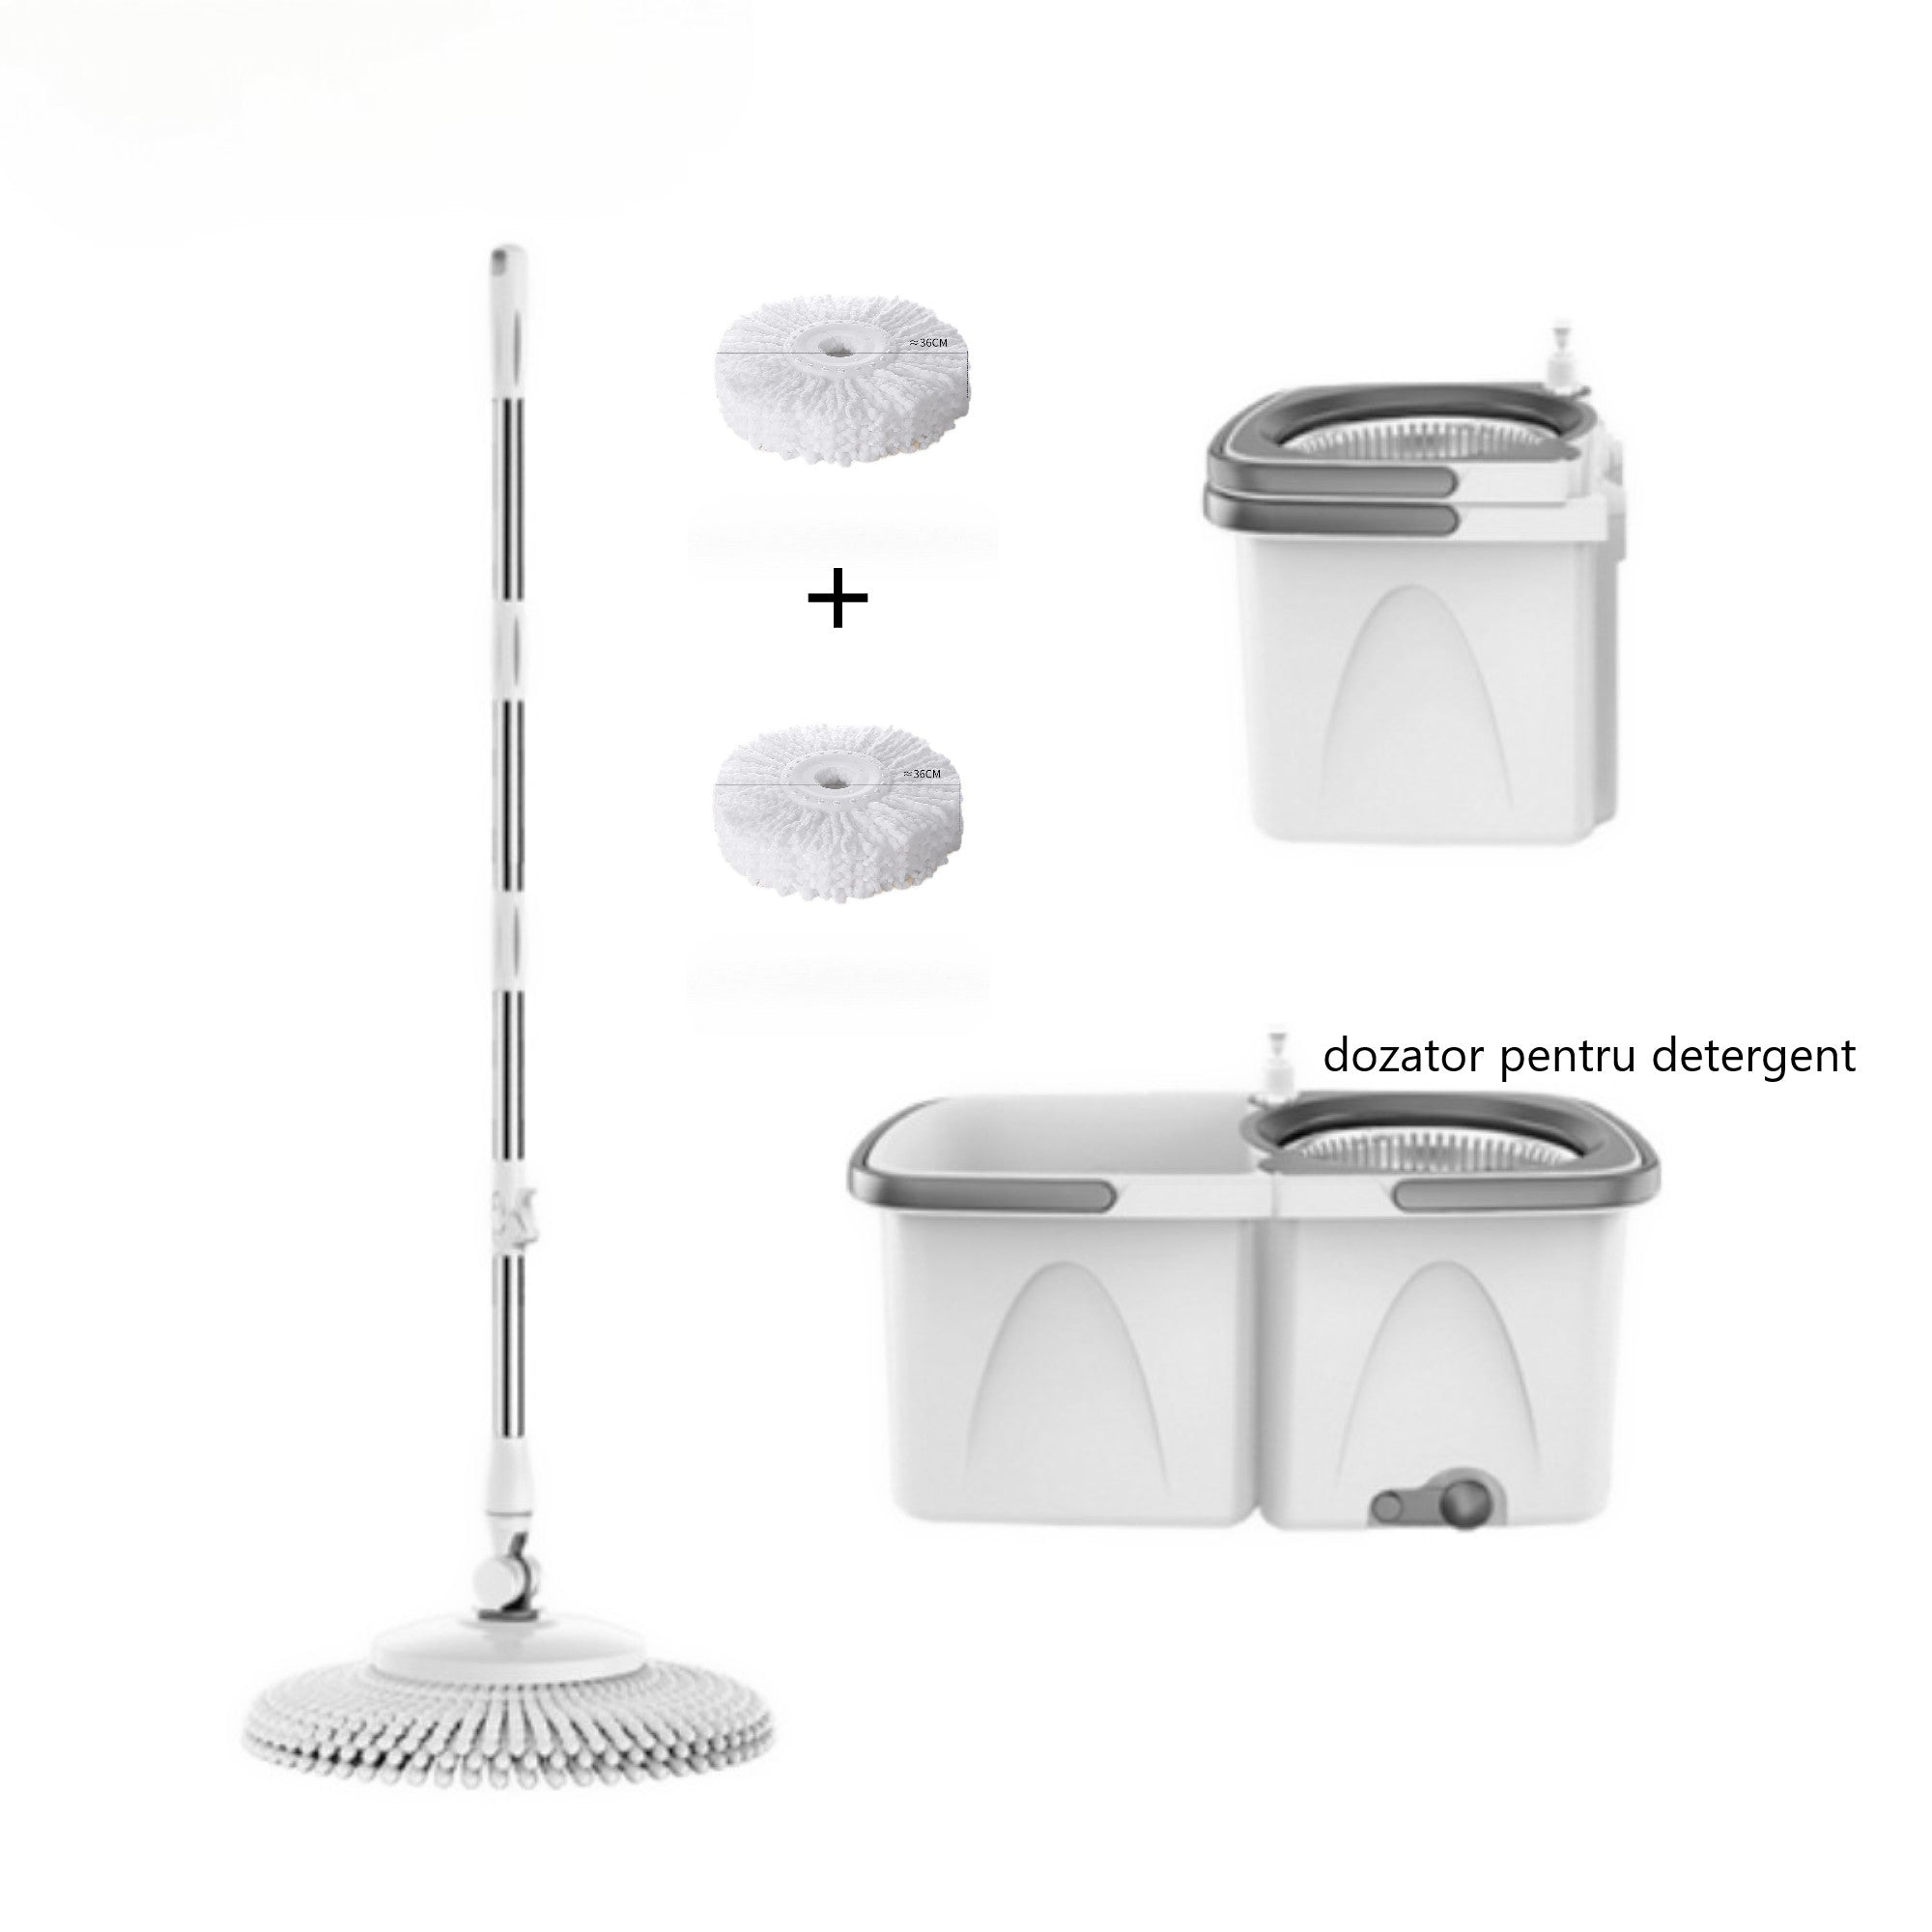
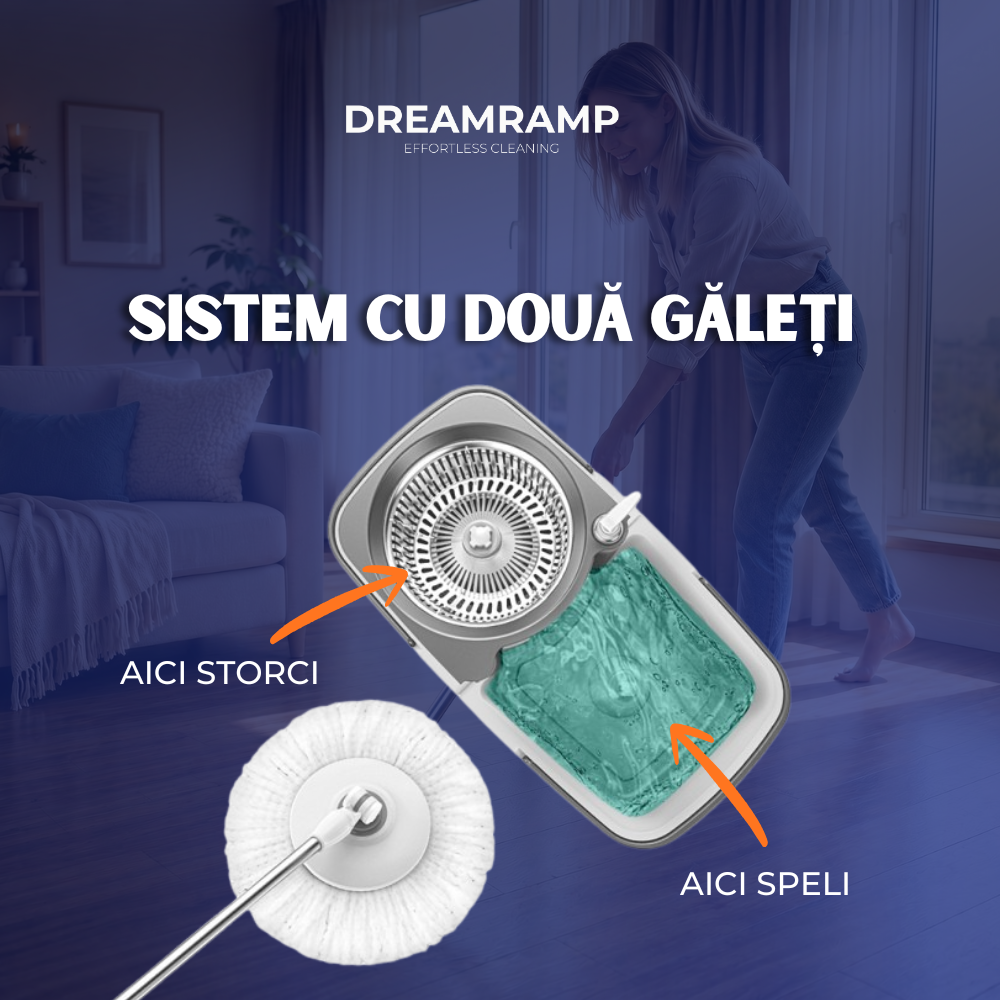
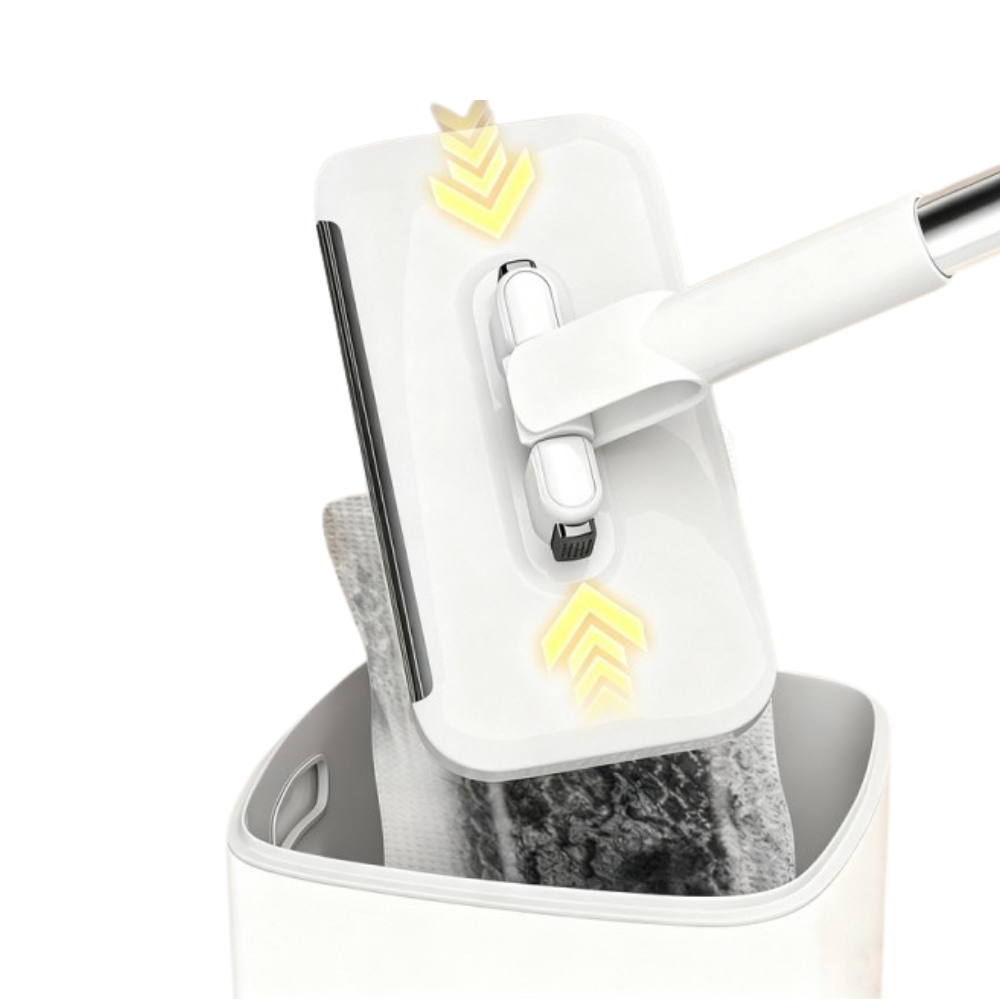
Mop rotativ cu găleată și separare apă curată/murdară Dreamramp® – 2 rezerve, consum redus
Preț întreg
169,99 lei
Preț redus149,99 lei
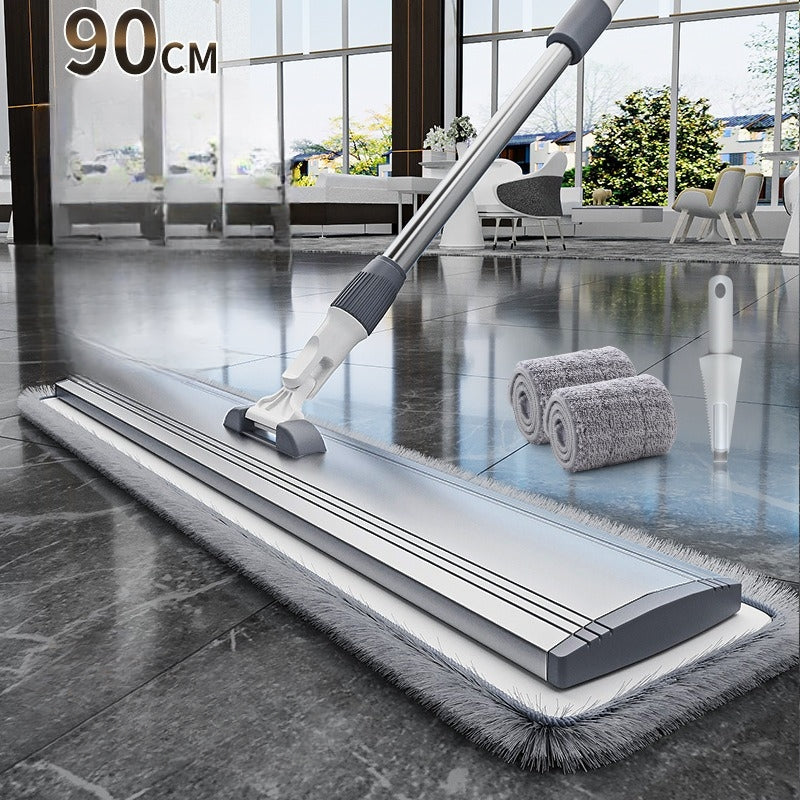
Mop rotativ cu găleată Dreamramp® 90° – separare apă, ajunge la plinte și colțuri
Preț redus149,00 lei
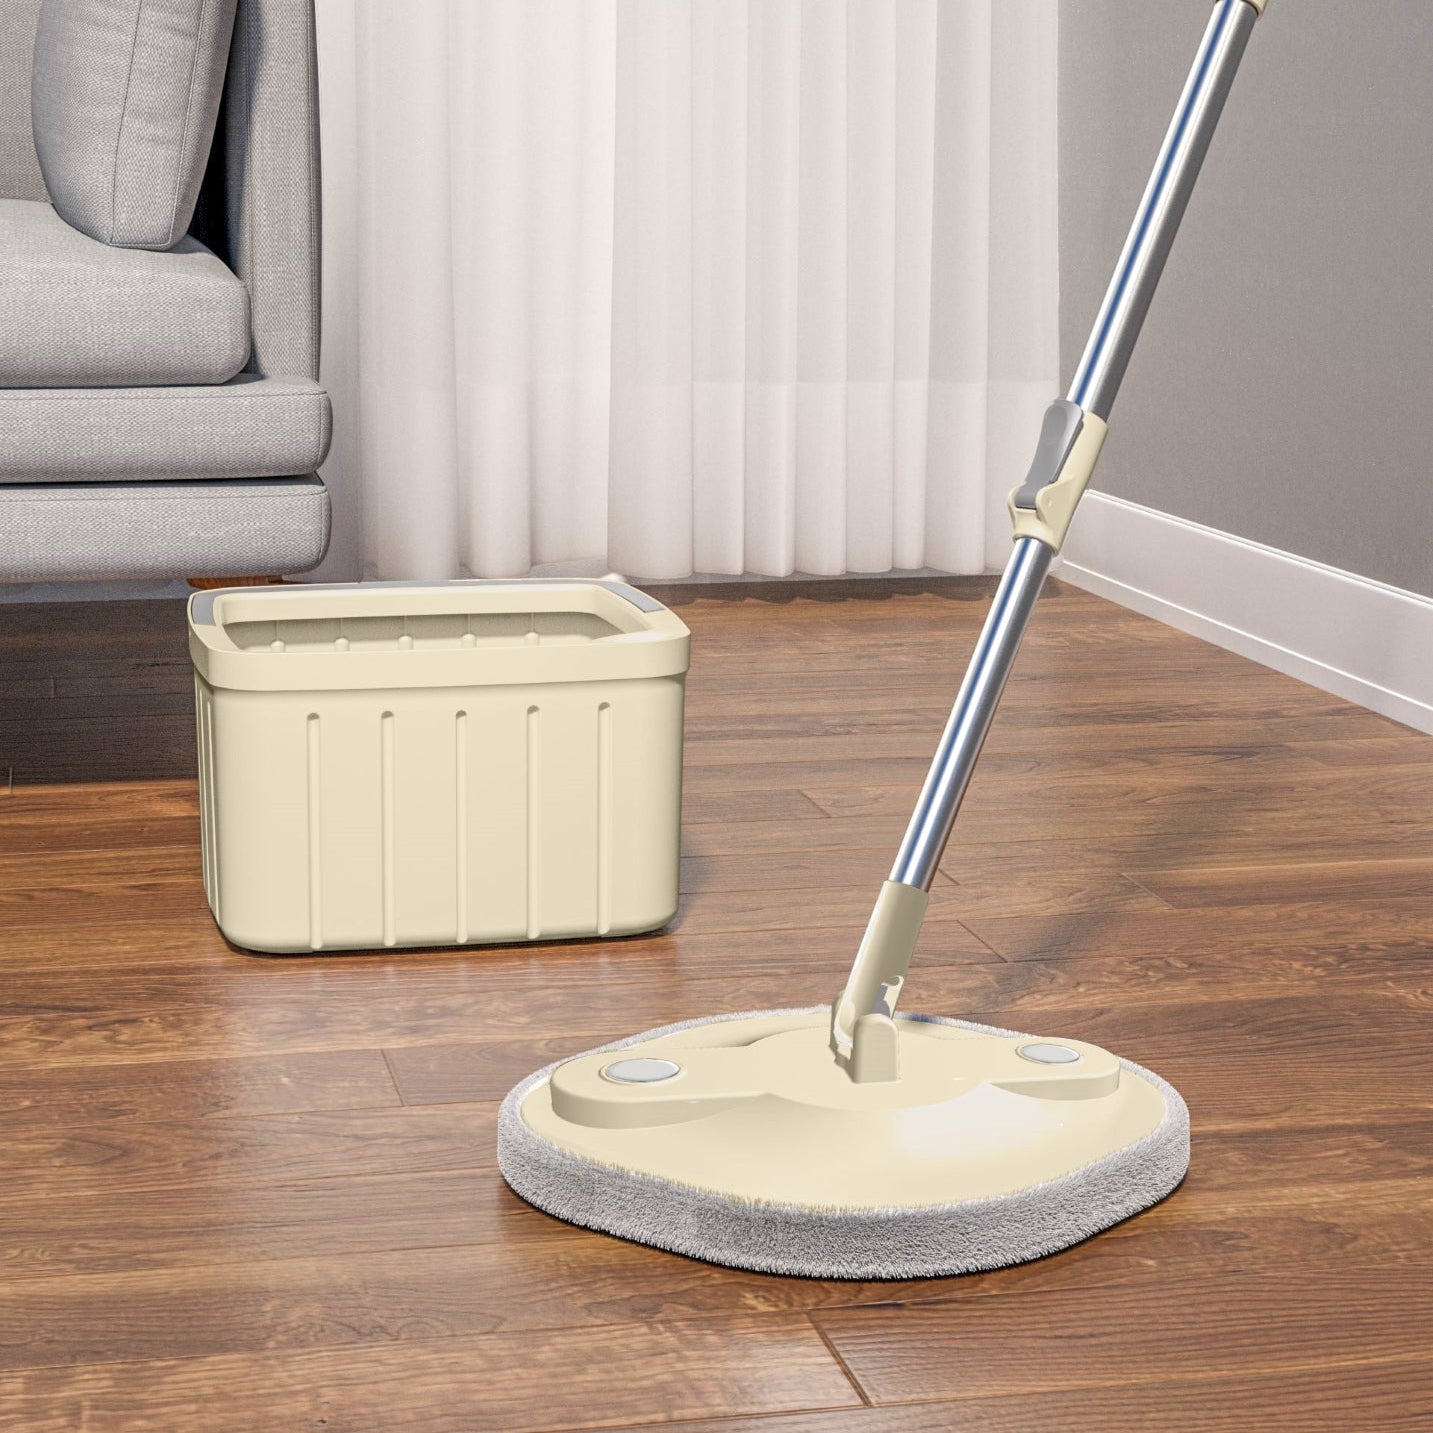
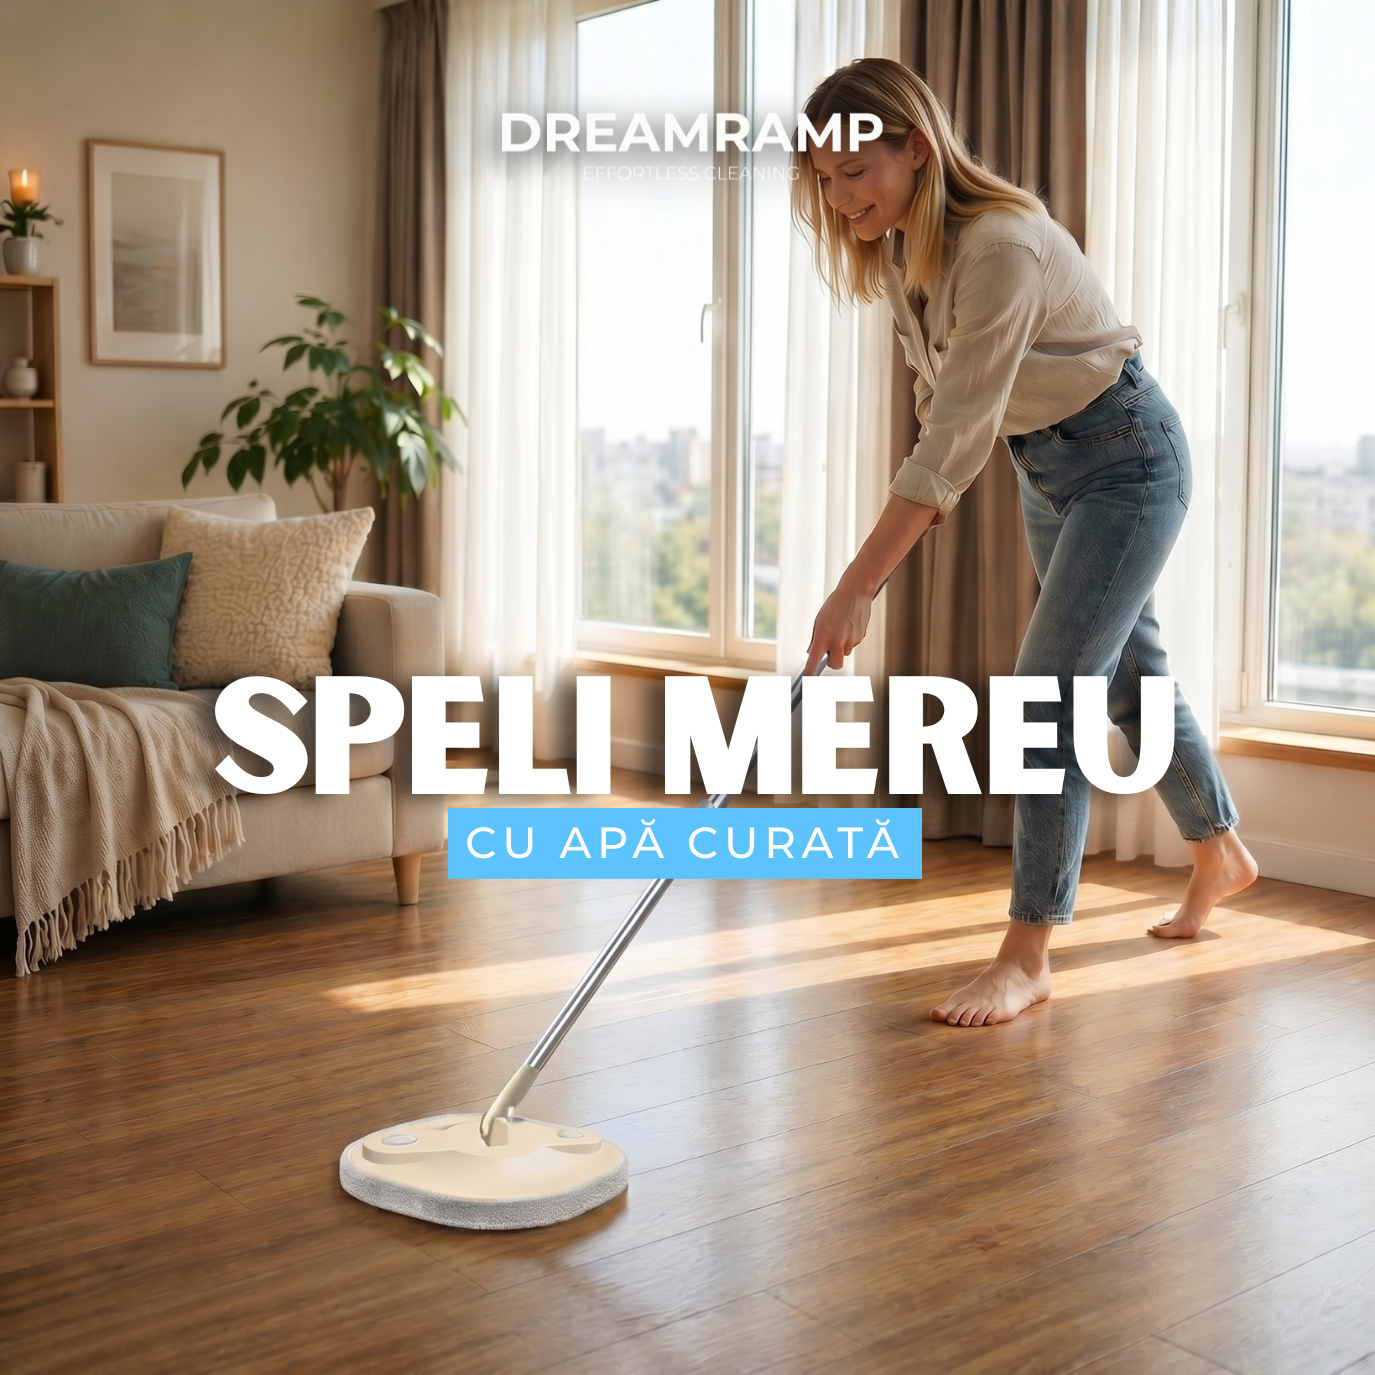
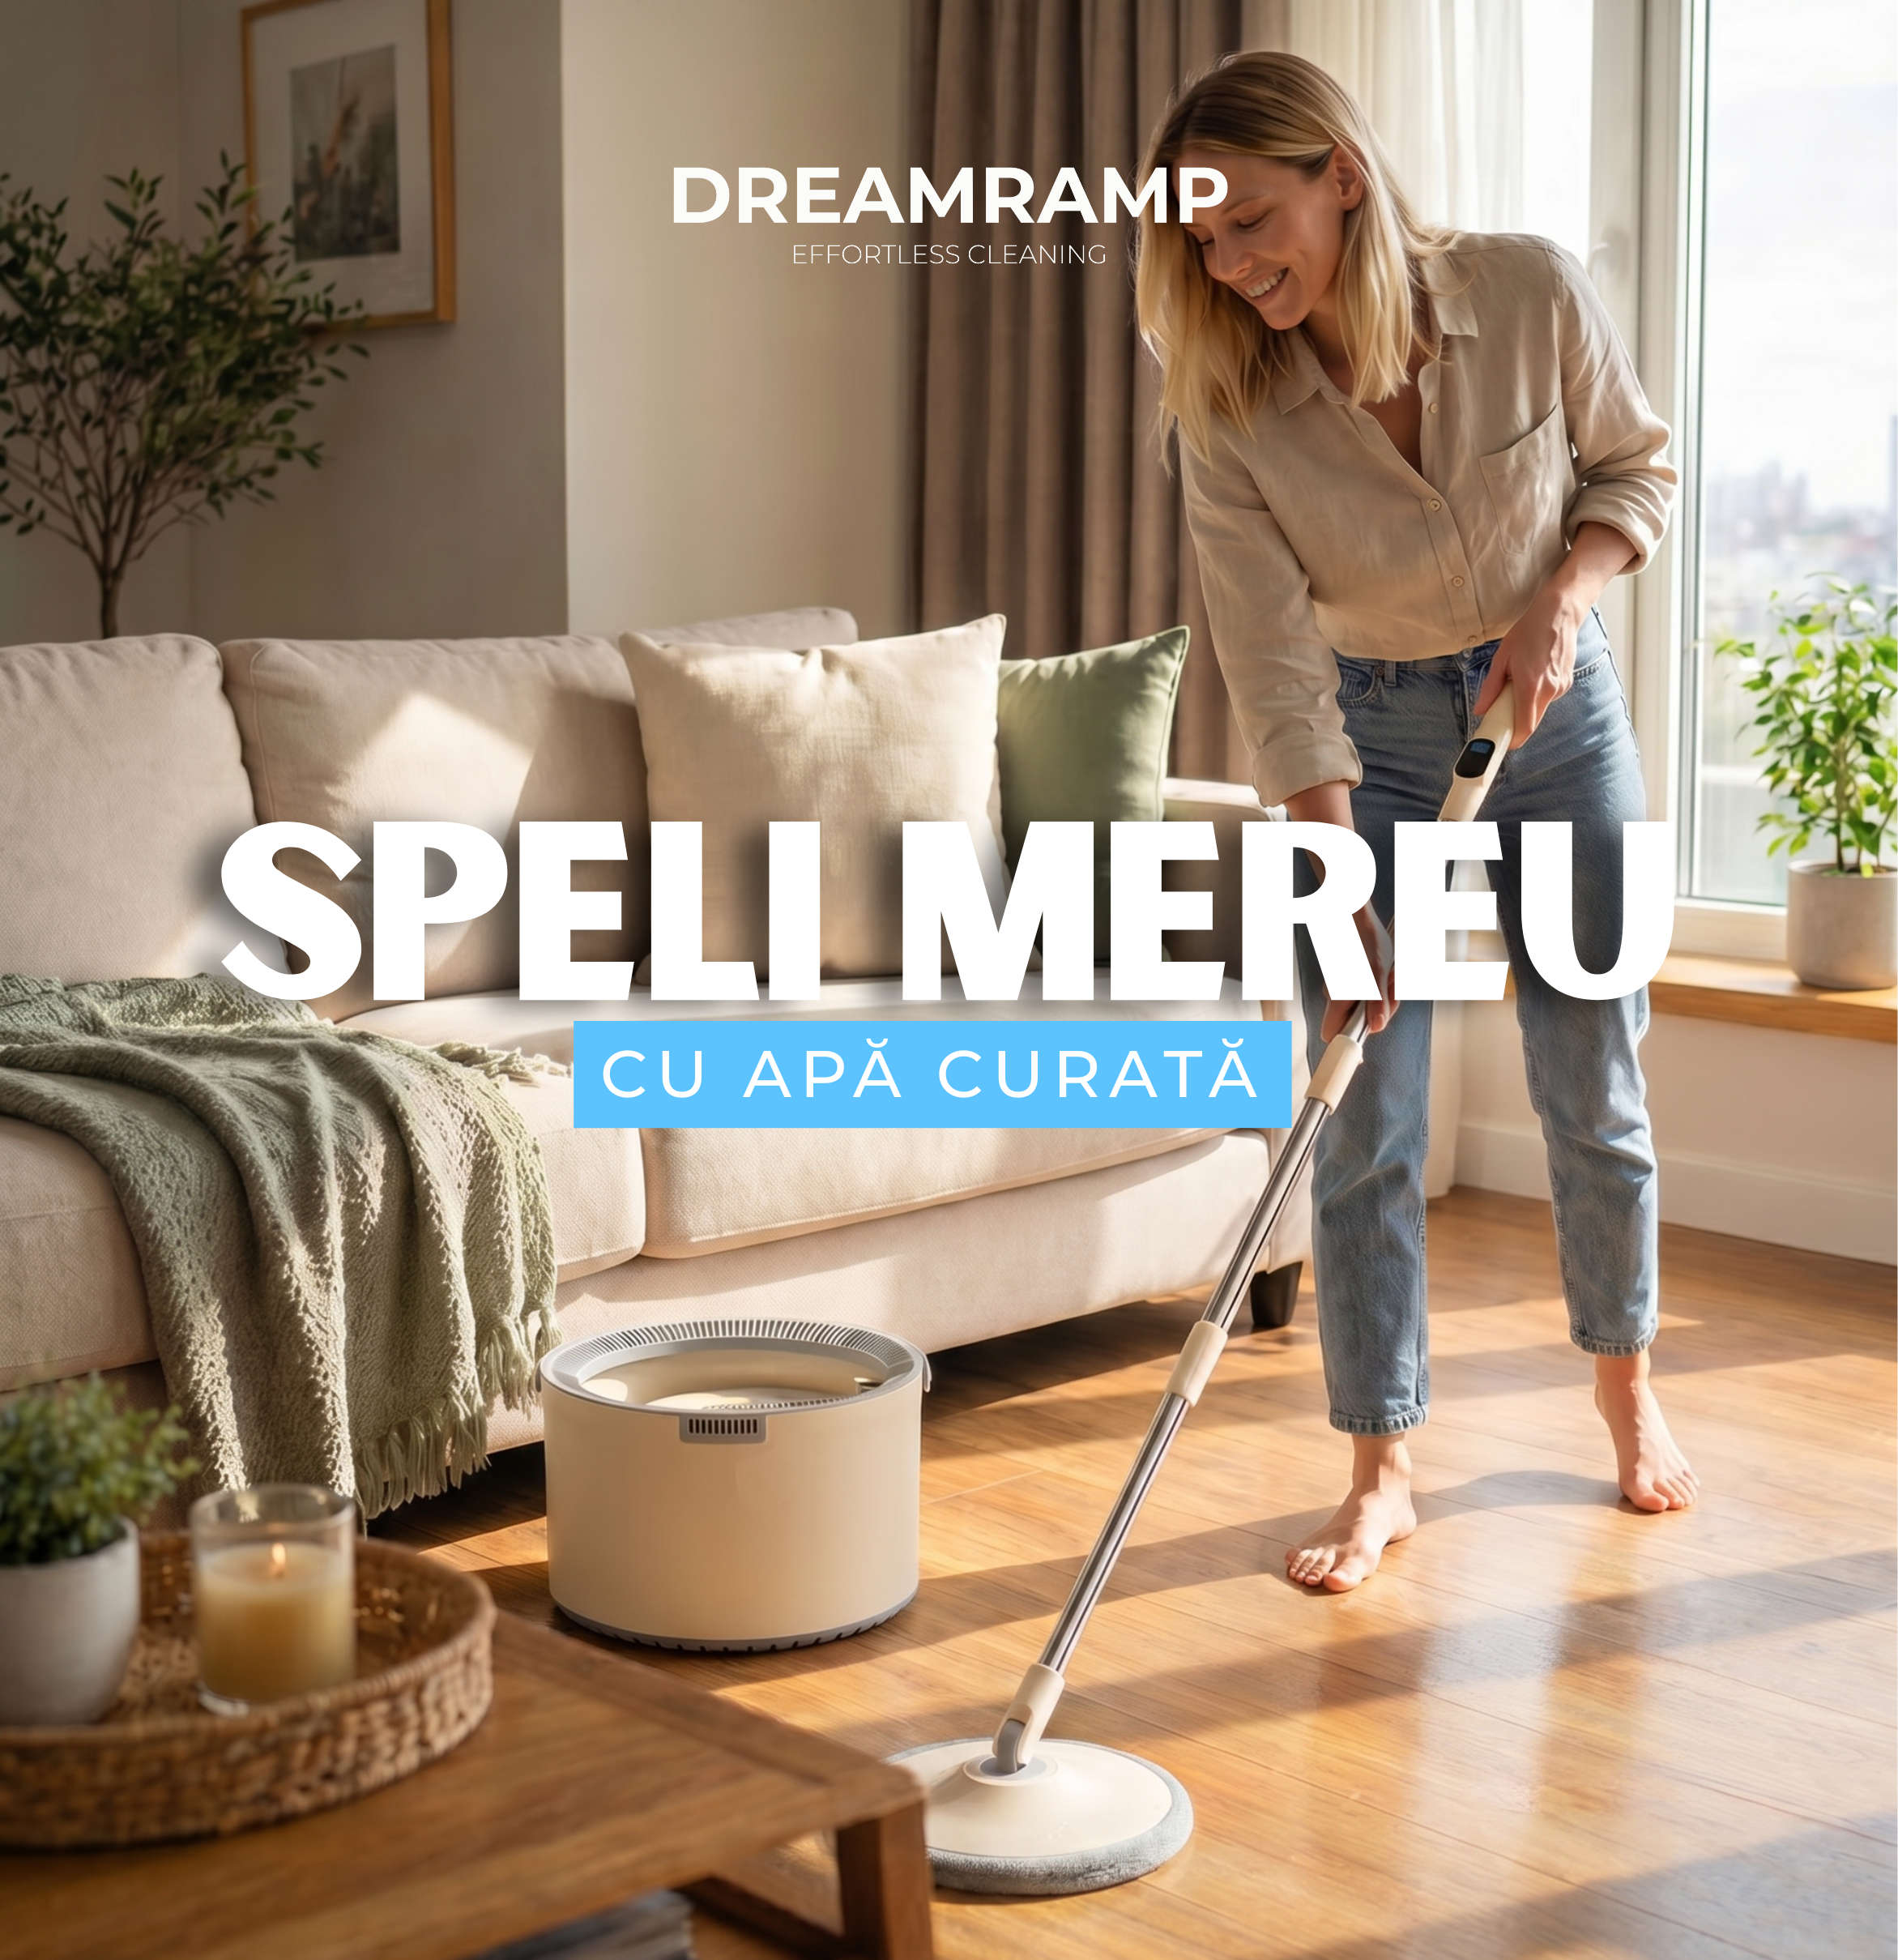
Mop rotativ pătrat bej cu găleată și separare apă Dreamramp® – 2 rezerve incluse
Preț întreg
179,99 lei
Preț redus129,00 lei

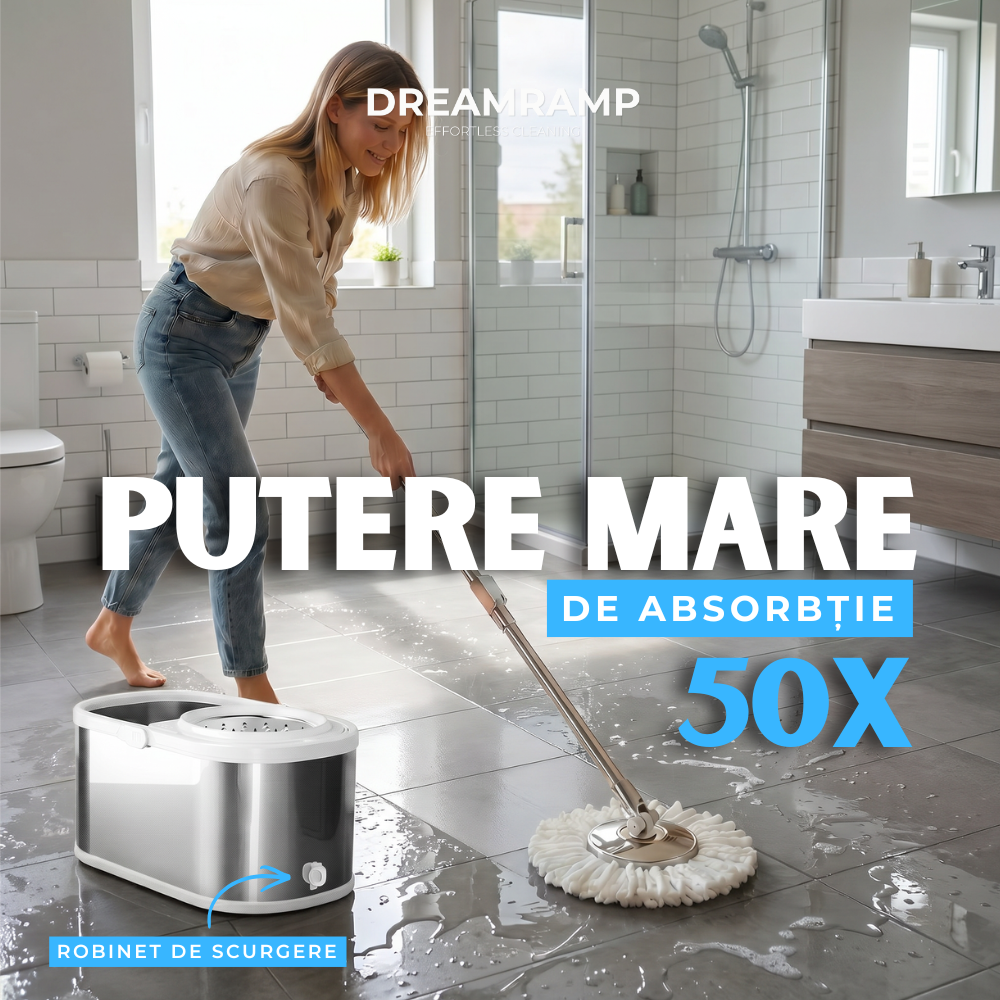
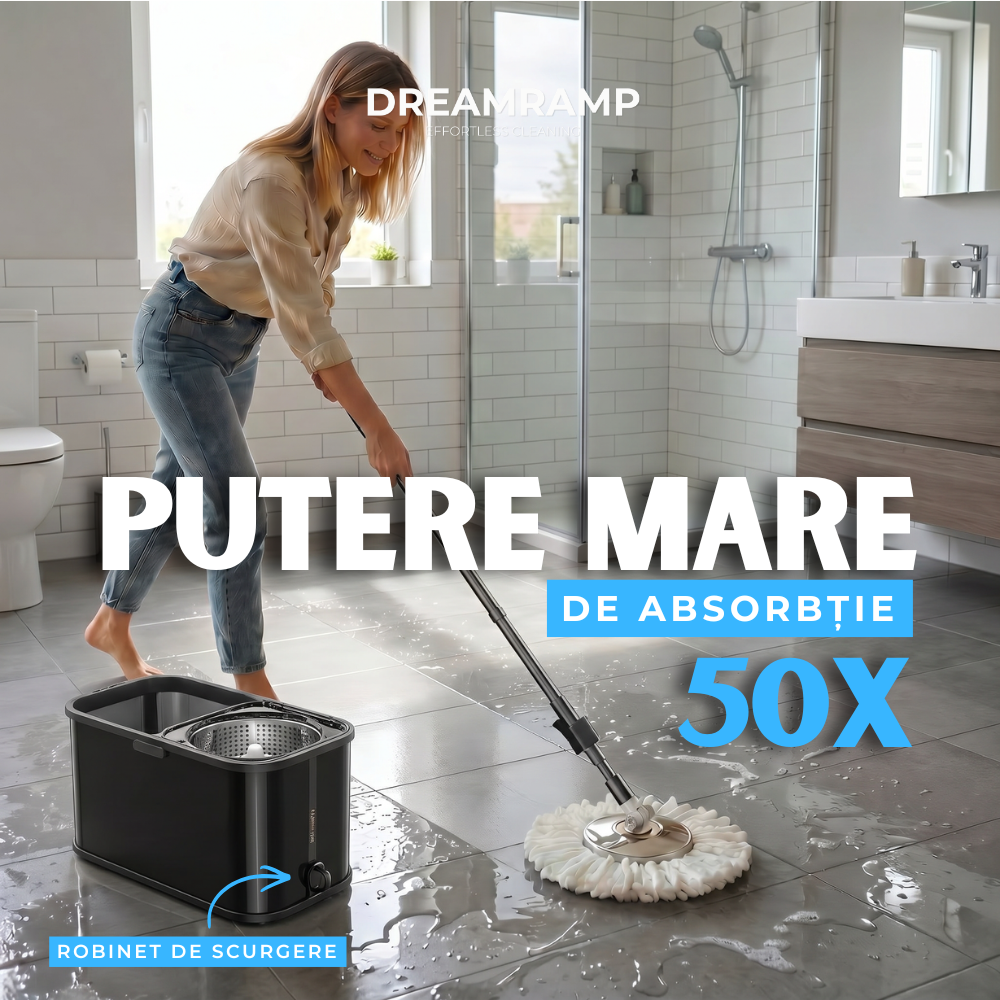
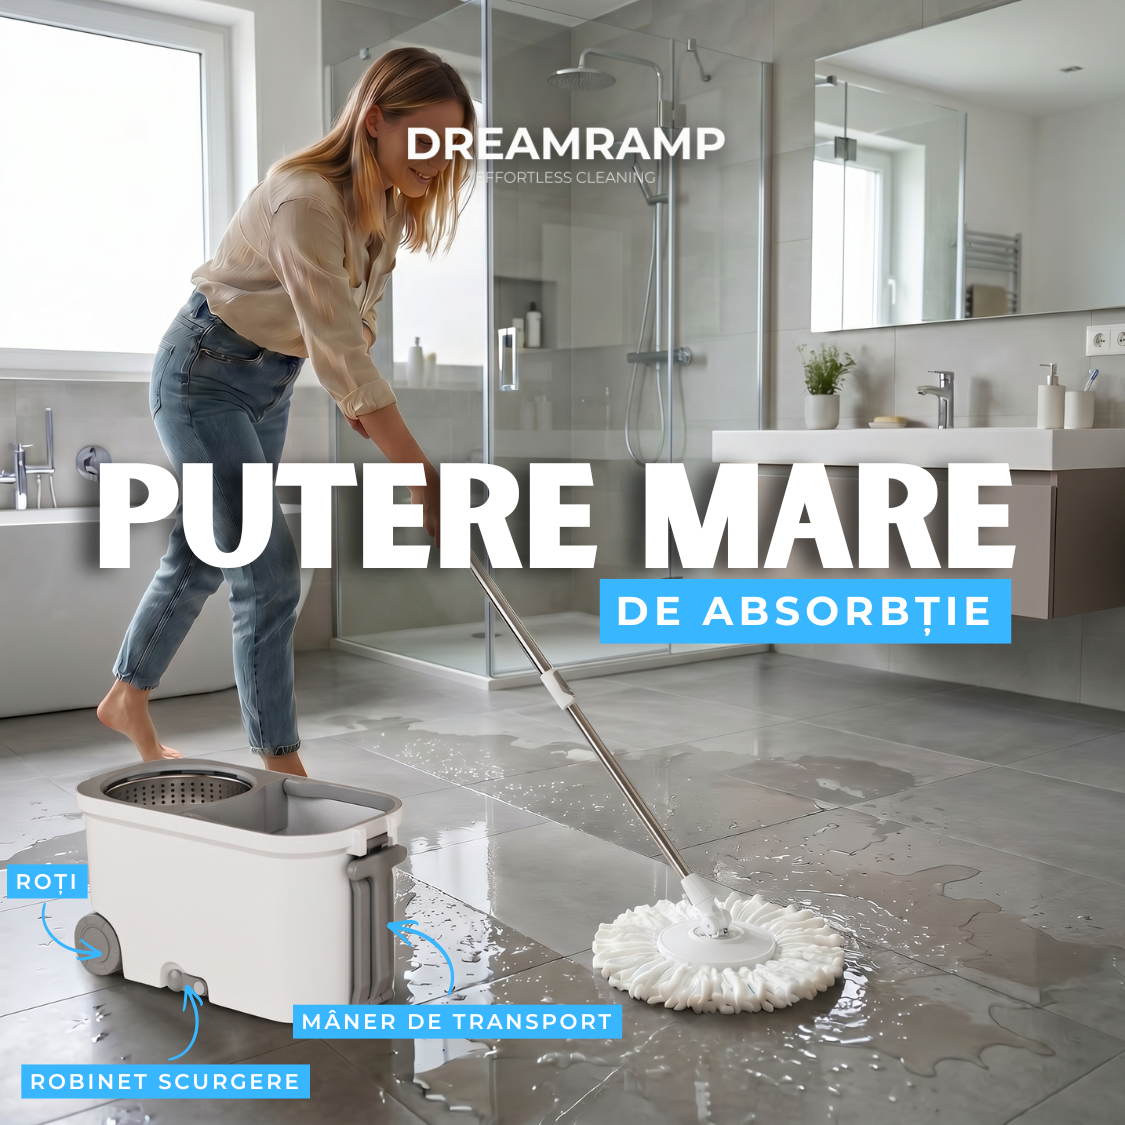
Mop rotativ cu găleată din inox antibacterian Dreamramp® – centrifugă, orificiu scurgere, argintiu
Preț întreg
219,00 lei
Preț redus189,00 lei
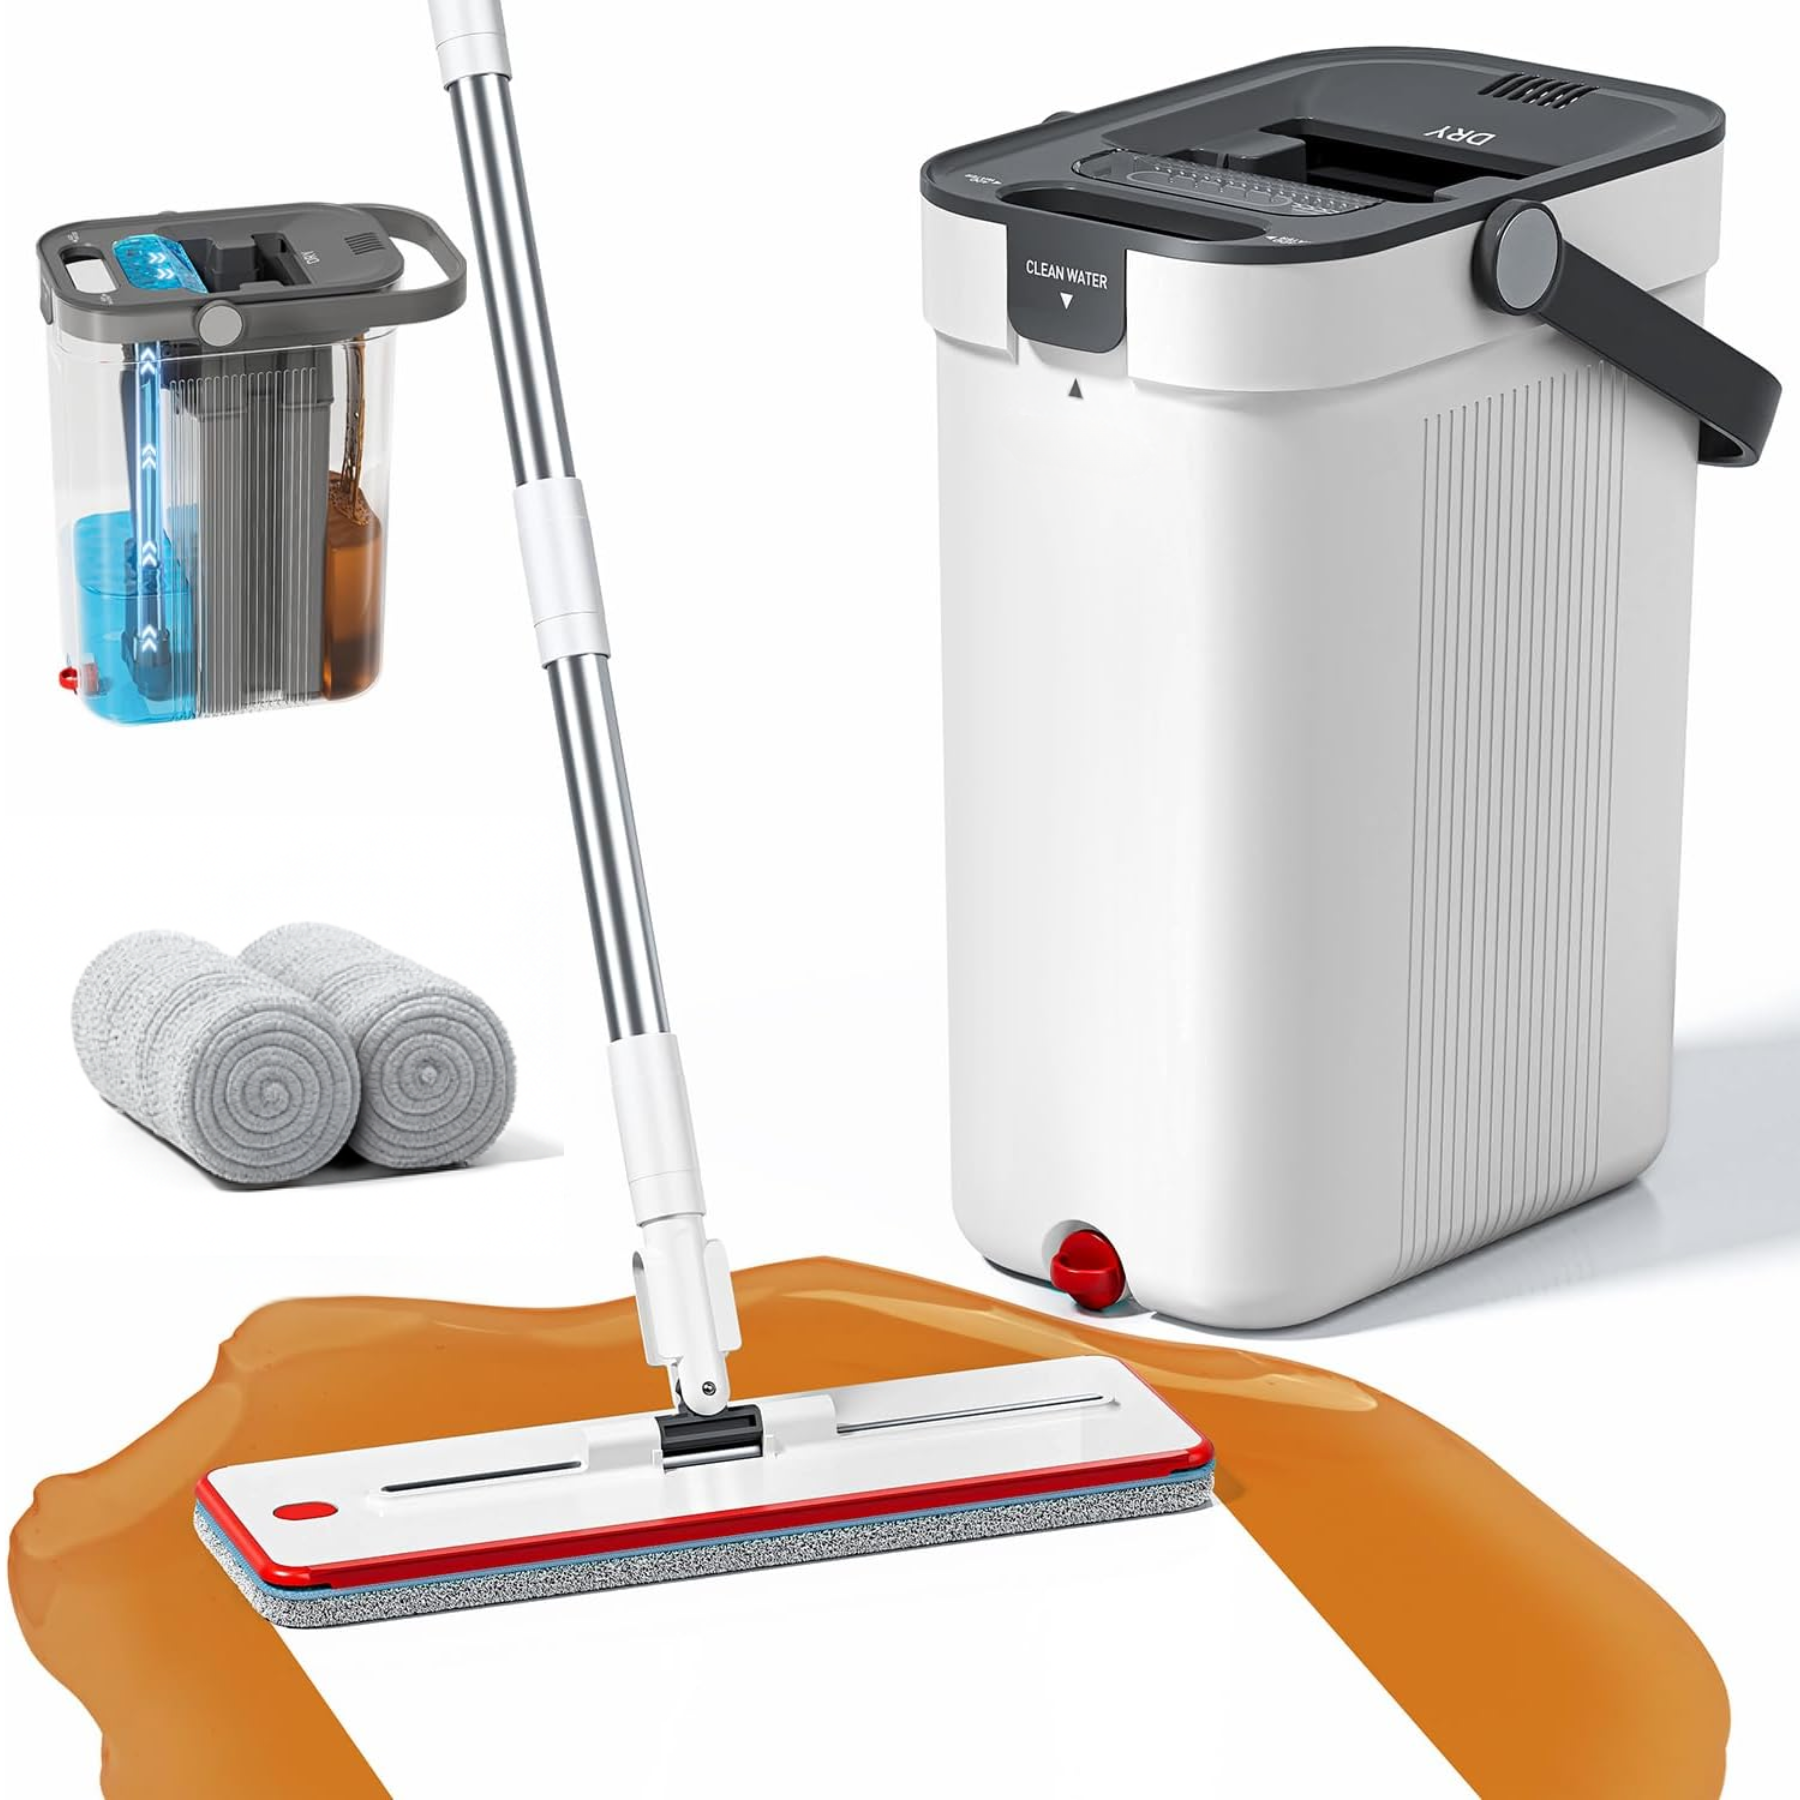

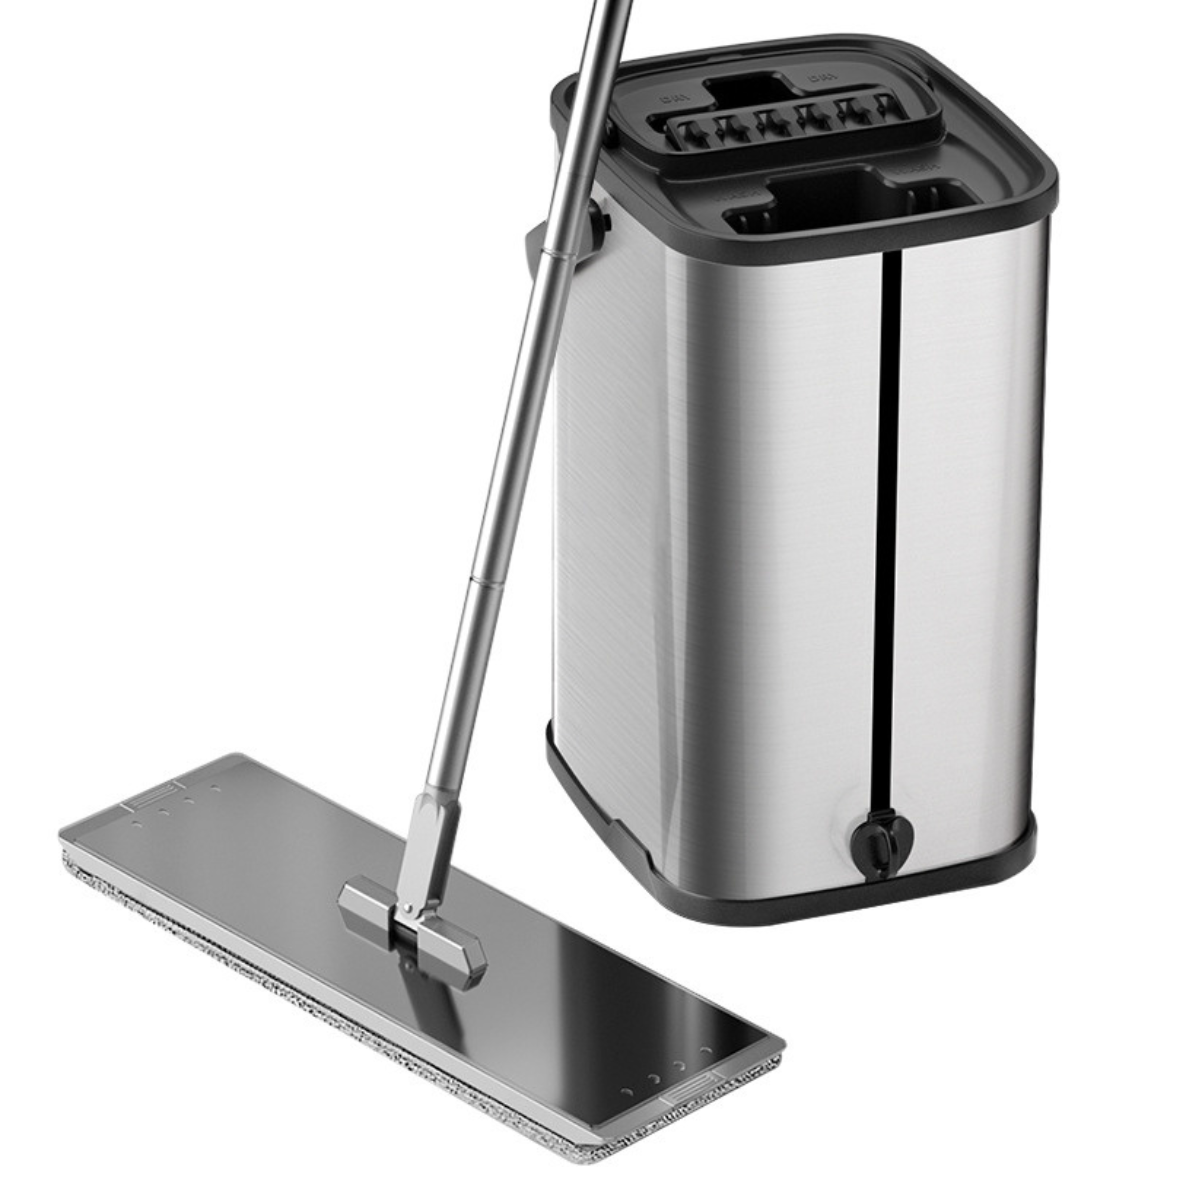

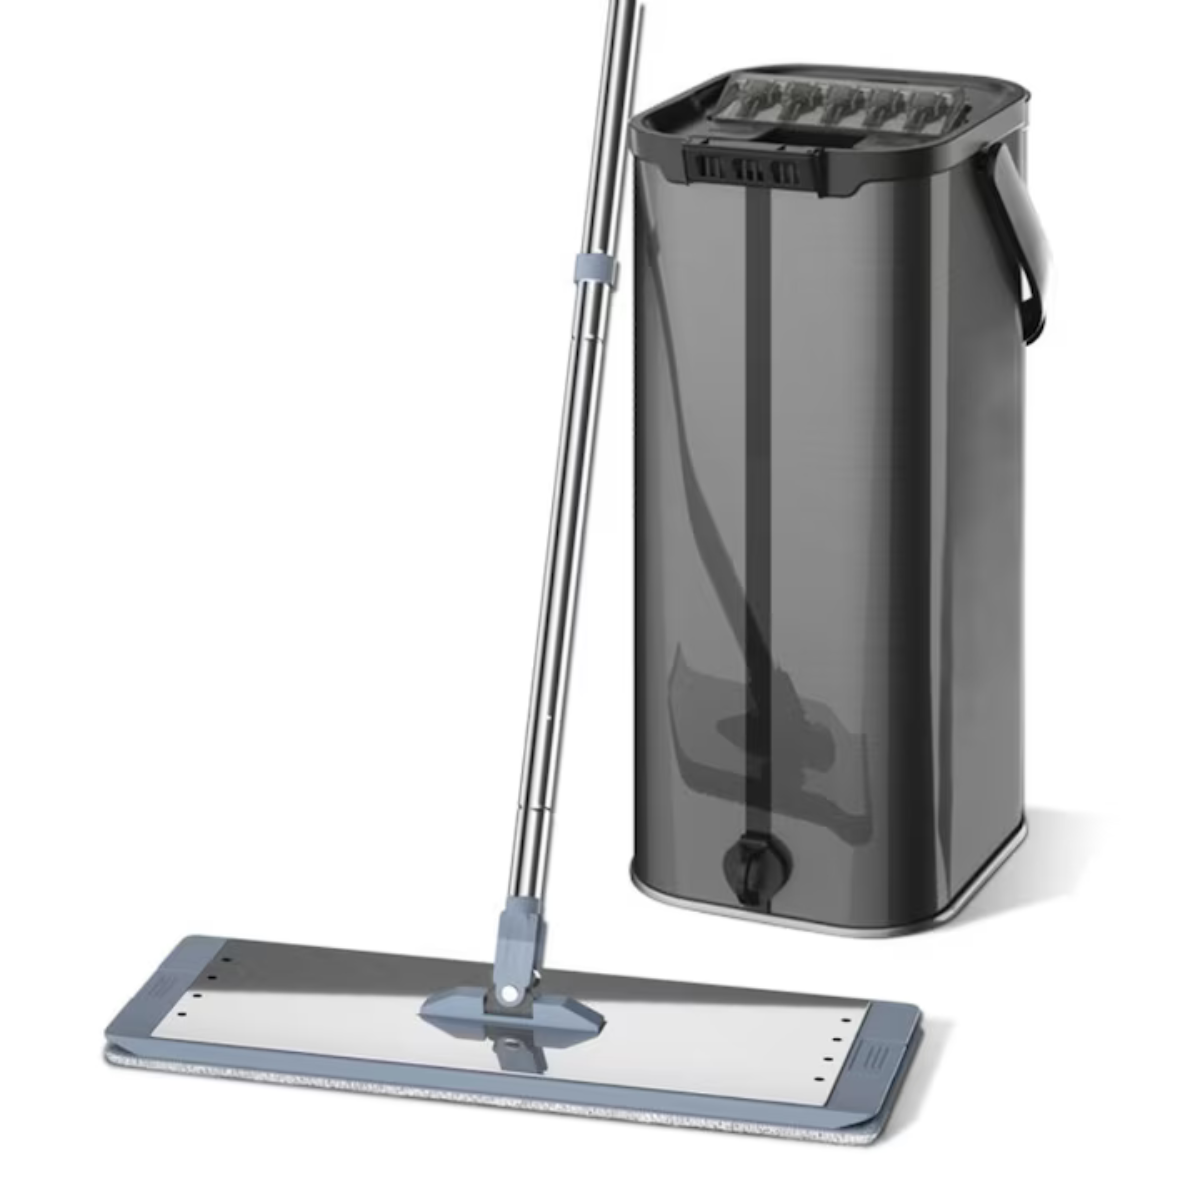
Mop plat cu găleată din inox antibacterian Dreamramp® – centrifugă, 2 rezerve microfibră
Preț întreg
299,87 lei
Preț redus239,99 lei


Mop rotativ din inox cu găleată pătrată Dreamramp® – centrifugă și roți, antibacterian
Preț întreg
339,99 lei
Preț redus249,99 lei

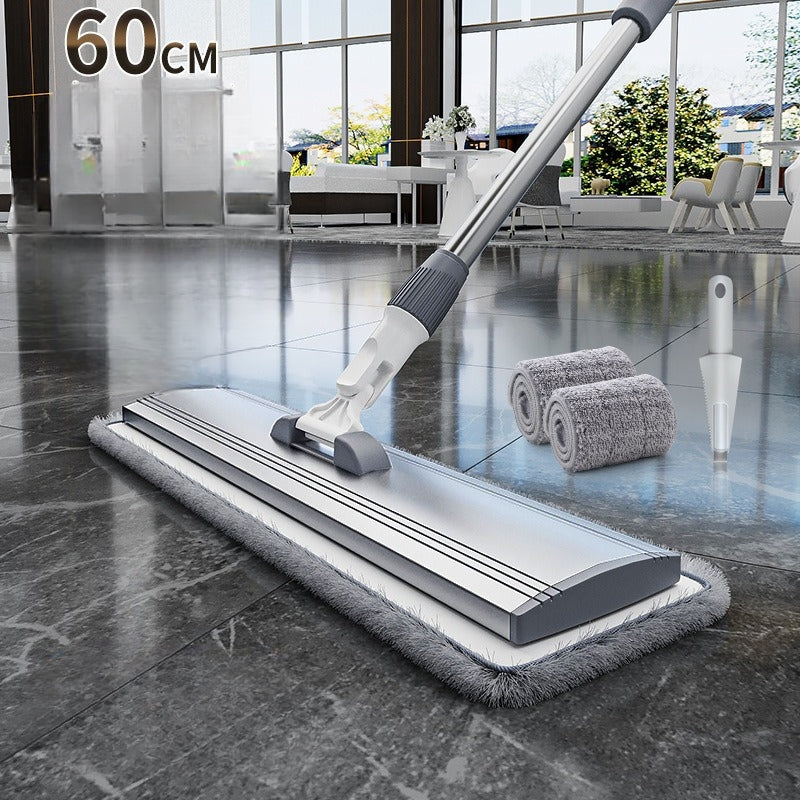
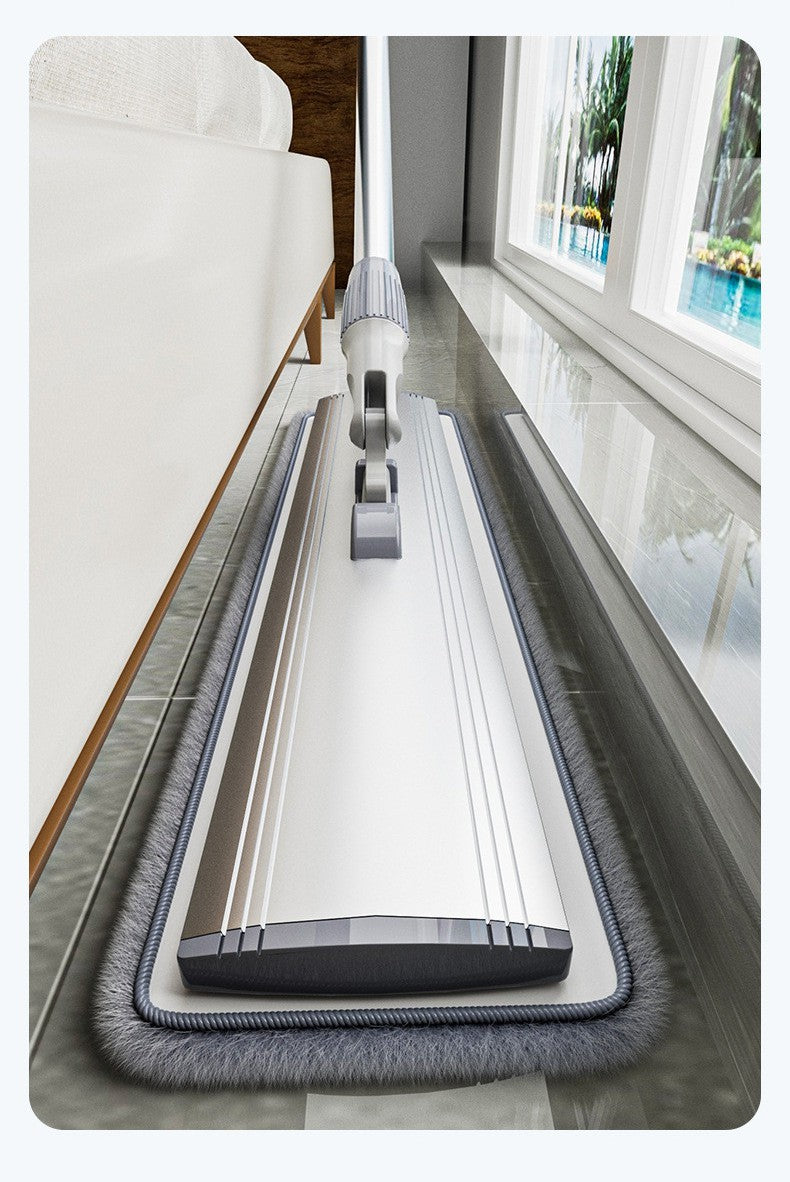
Mop plat cu găleată din inox Dreamramp® dreptunghiular – centrifugă, 2 rezerve microfibră
Preț întreg
299,99 lei
Preț redus239,99 lei


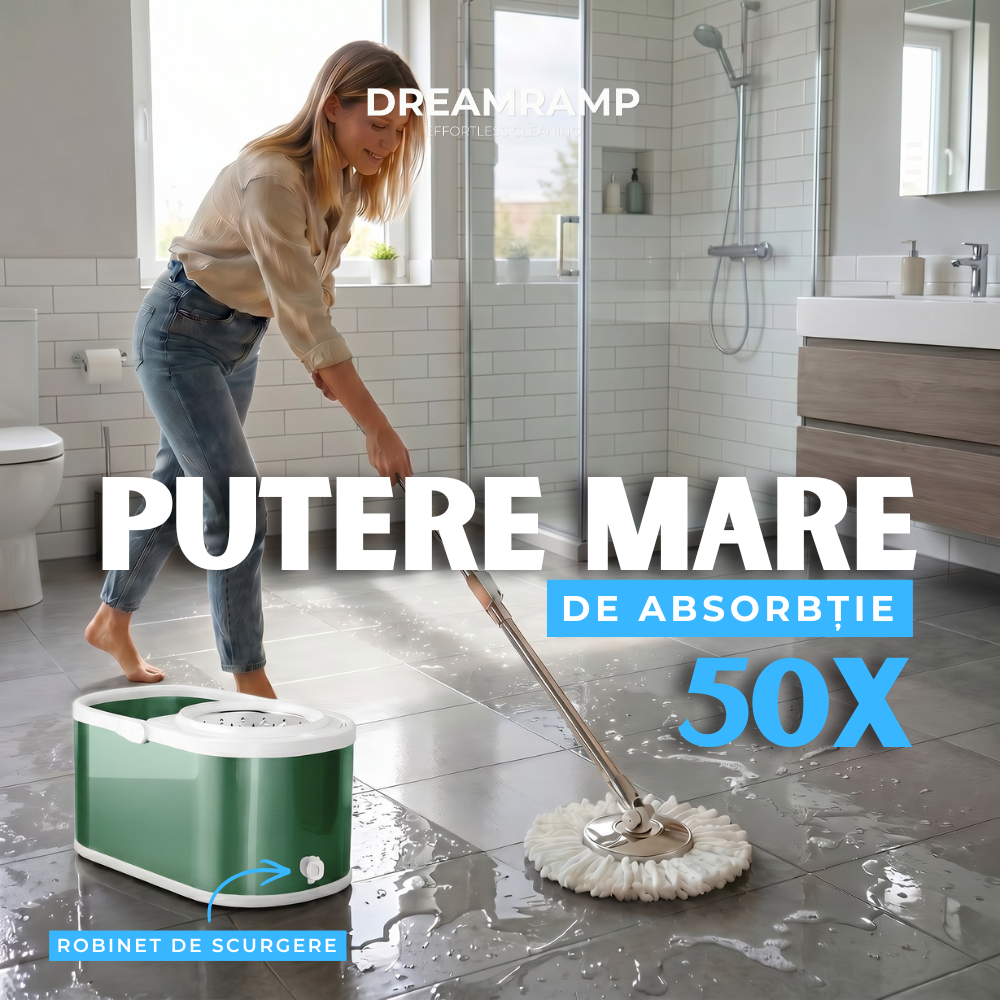
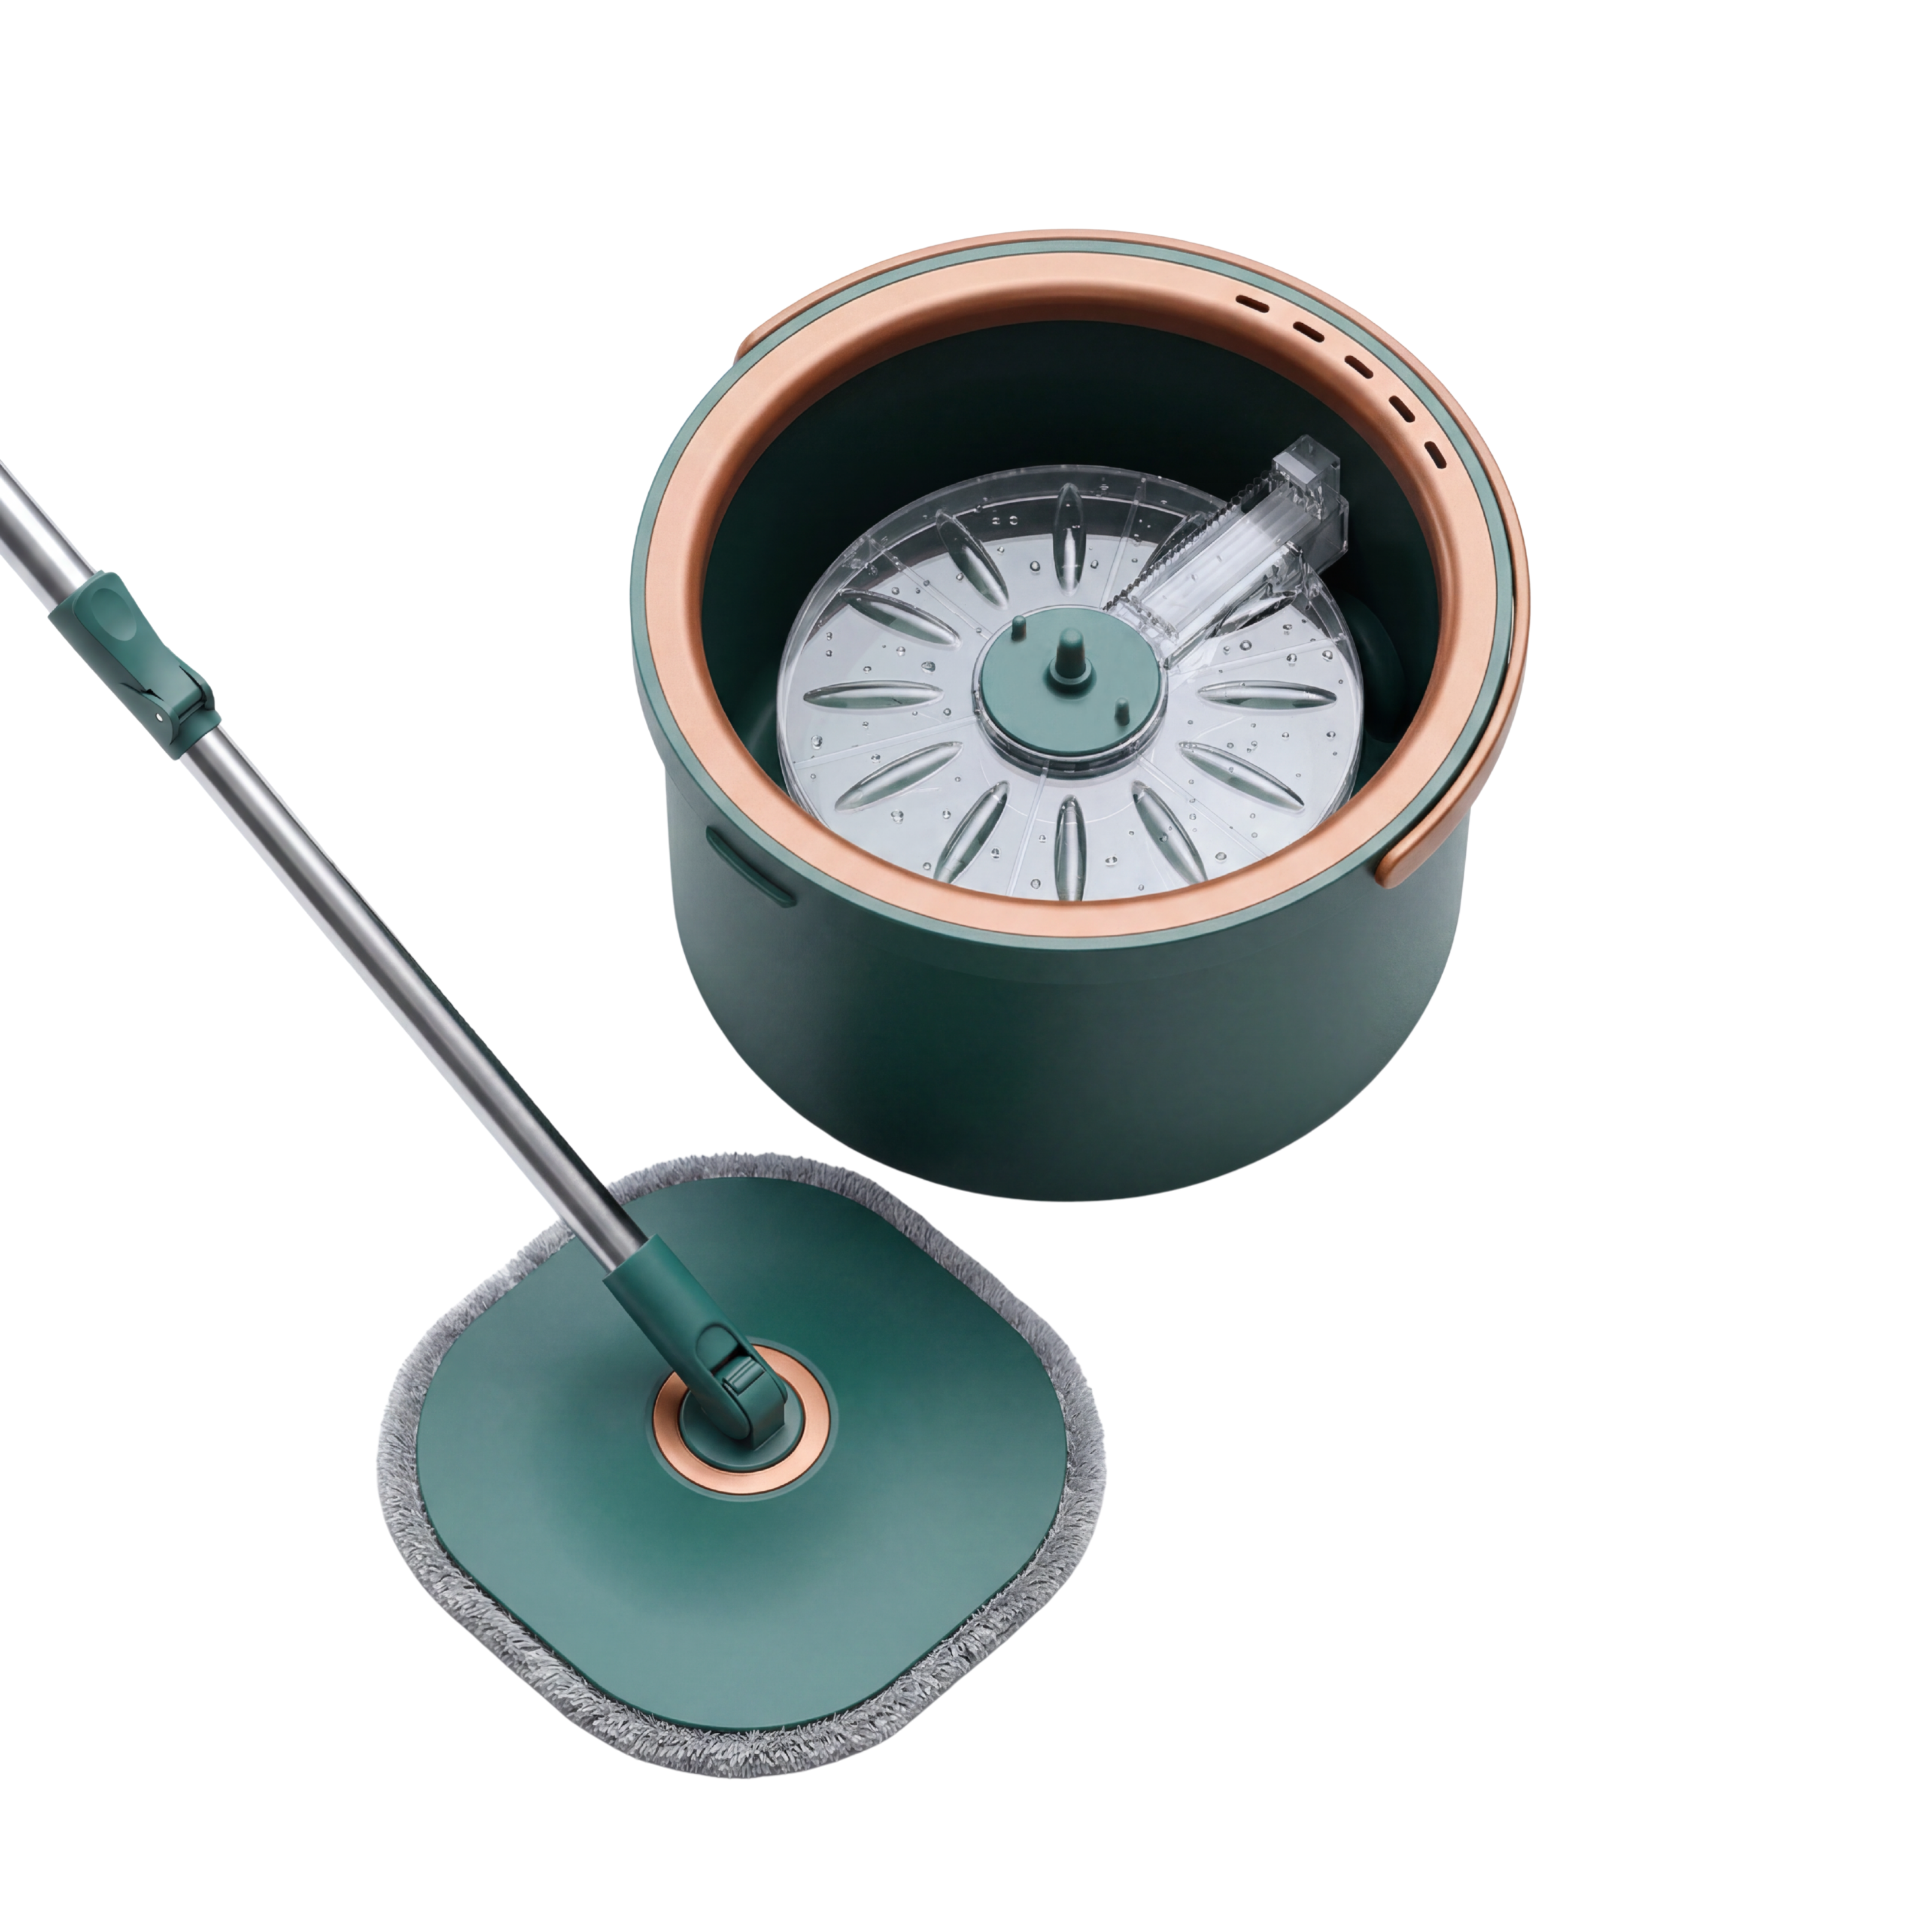
Mop rotativ cu găleată Dreamramp® și centrifugă din inox antibacterian + 2 rezerve - Verde
Preț întreg
349,99 lei
Preț redus249,99 lei
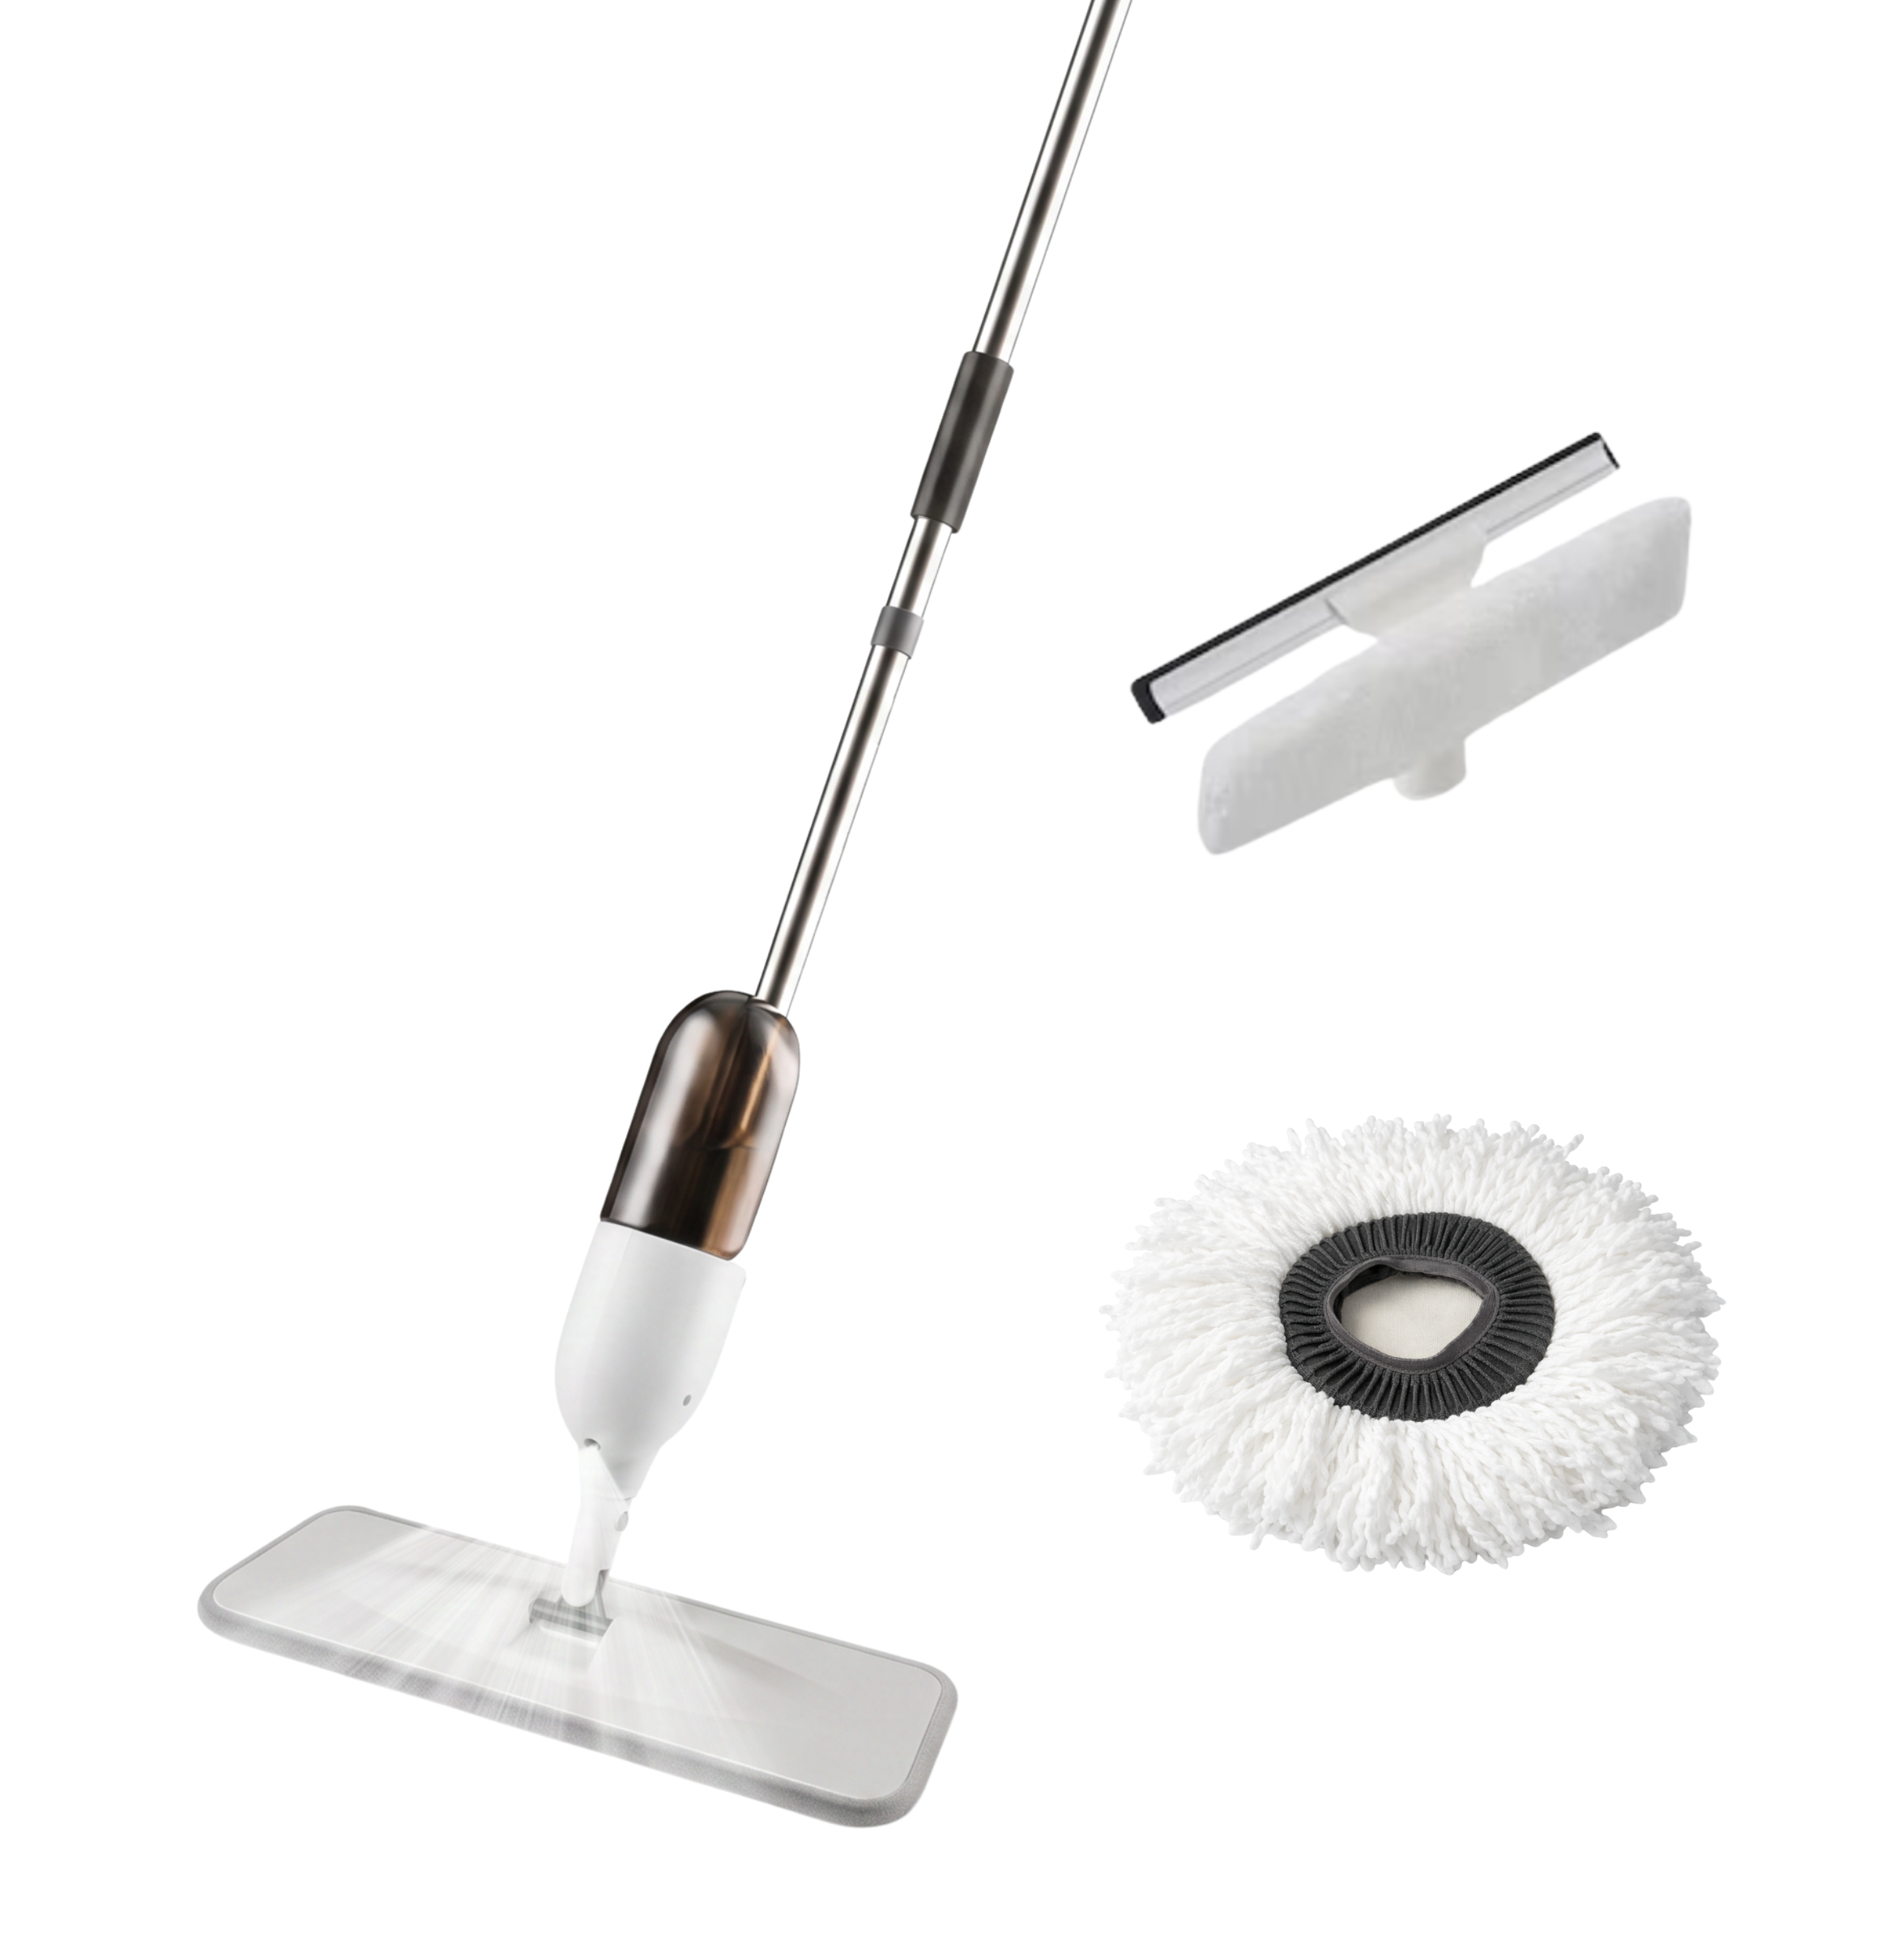
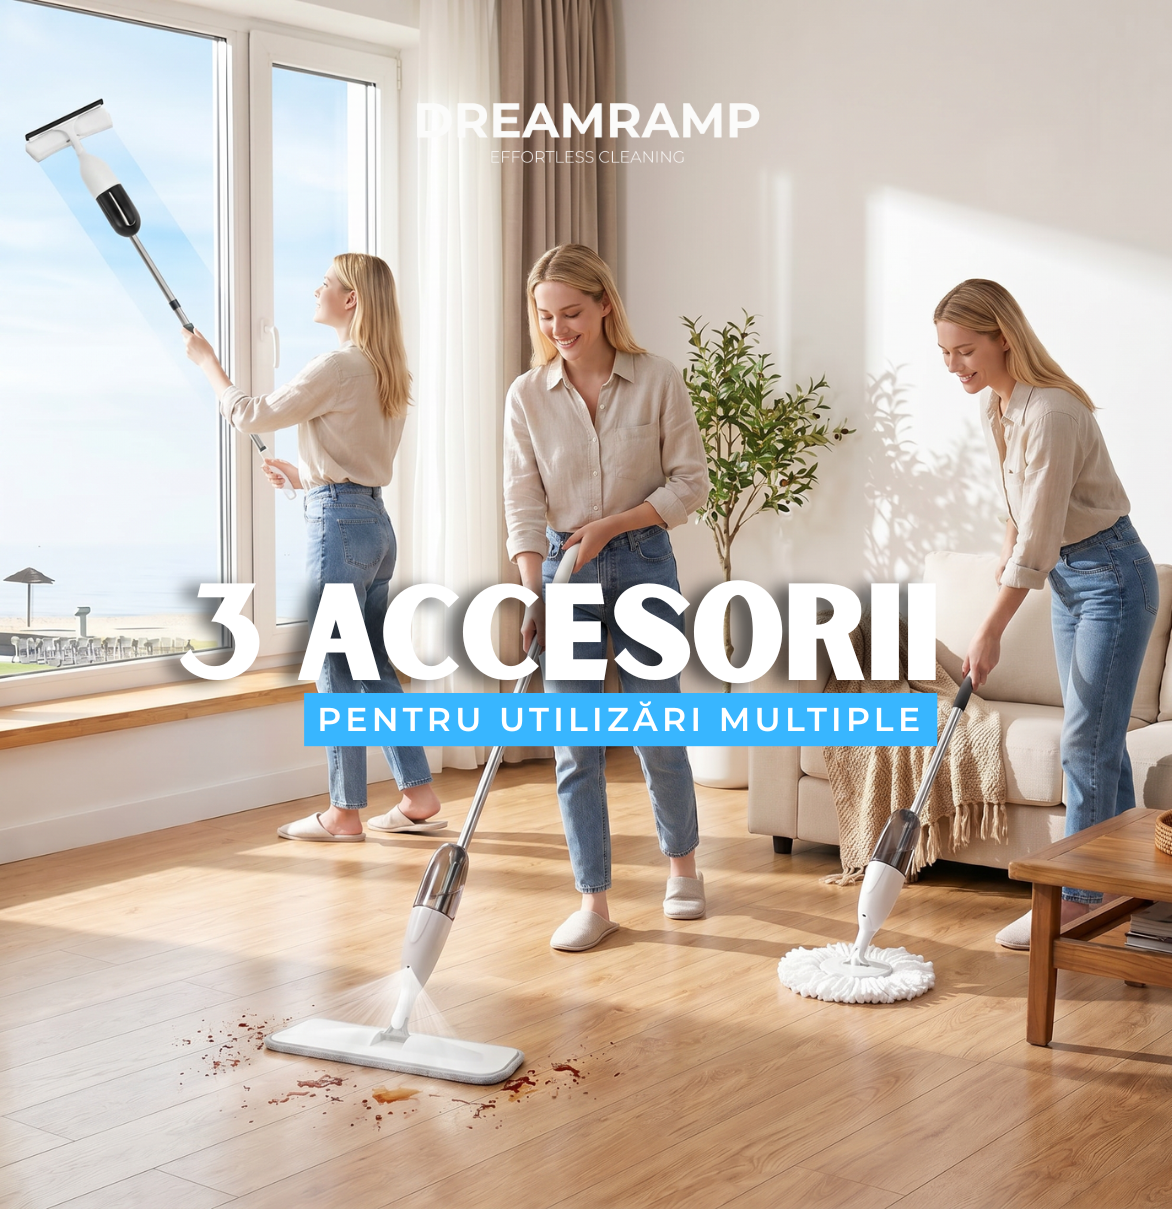
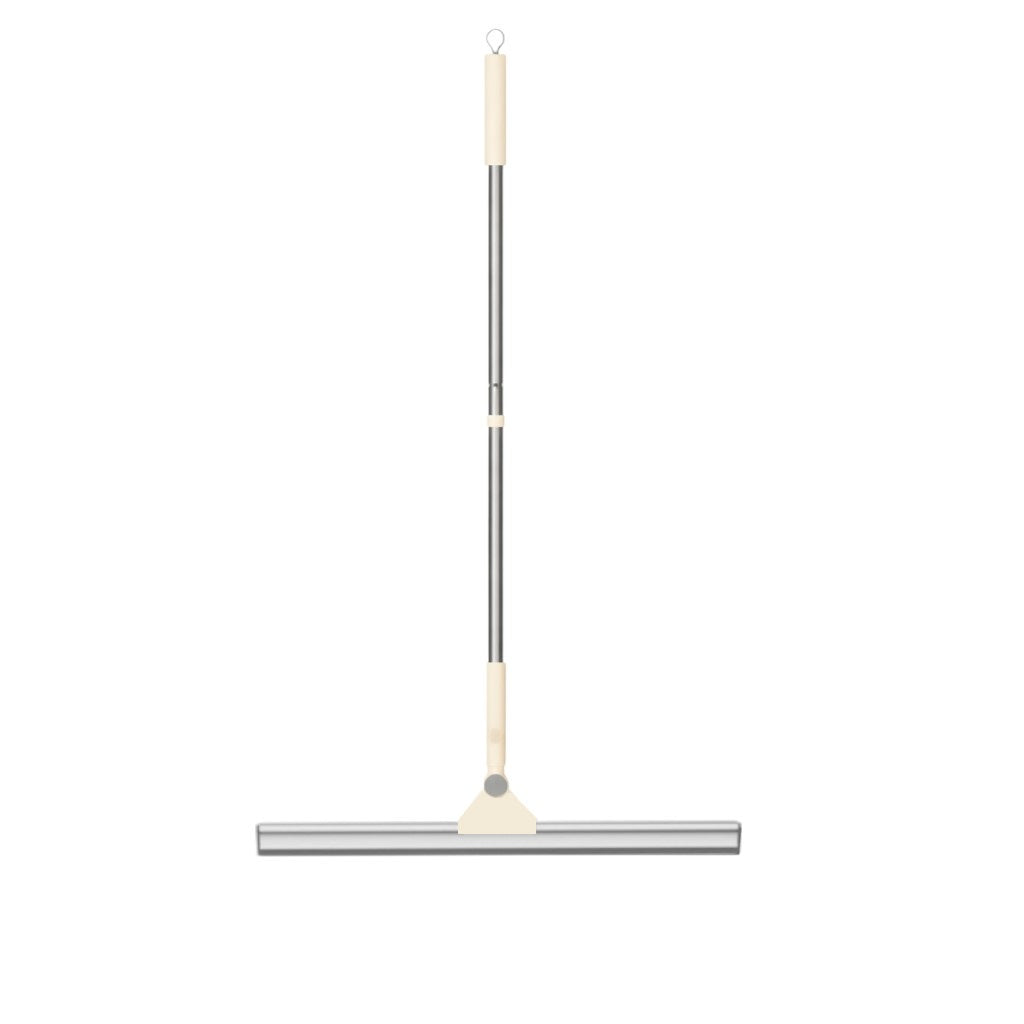
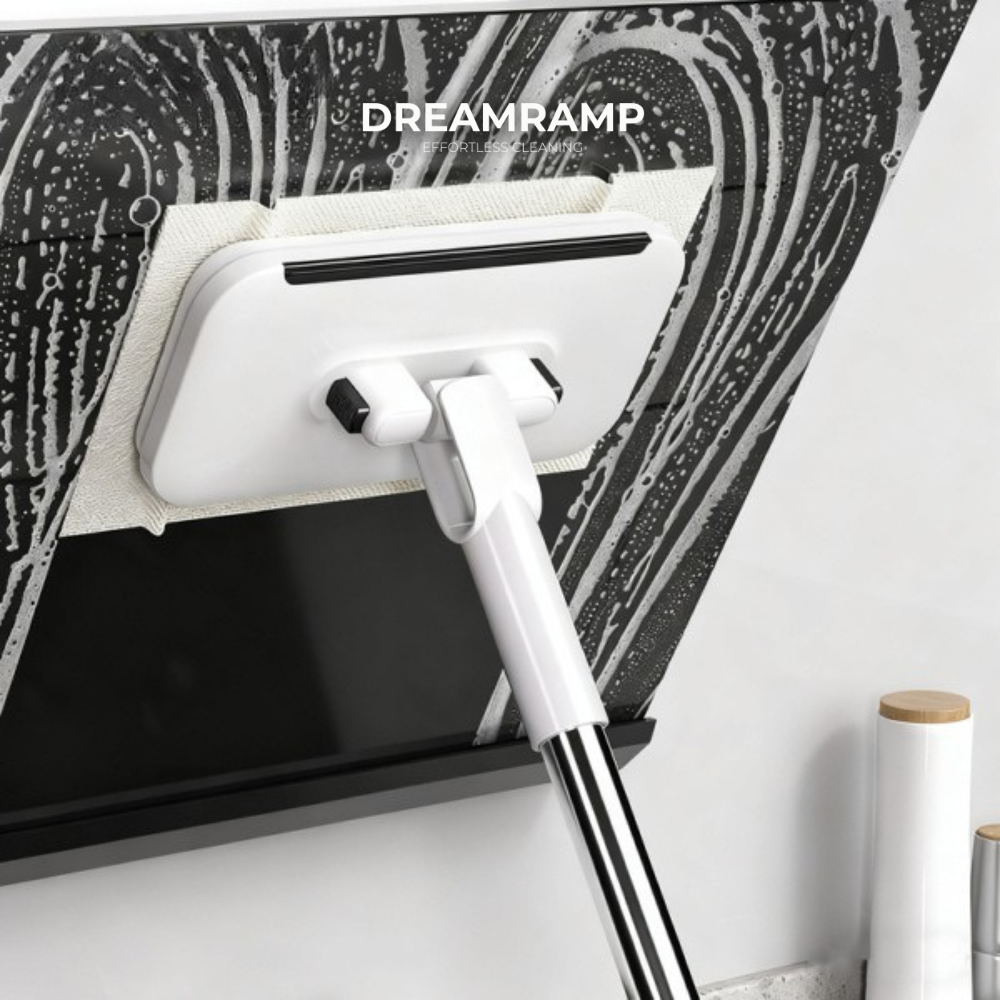
Mop cu pulverizator 3-în-1 Dreamramp® – plat, rotund și racletă
Preț întreg
149,99 lei
Preț redus129,99 lei

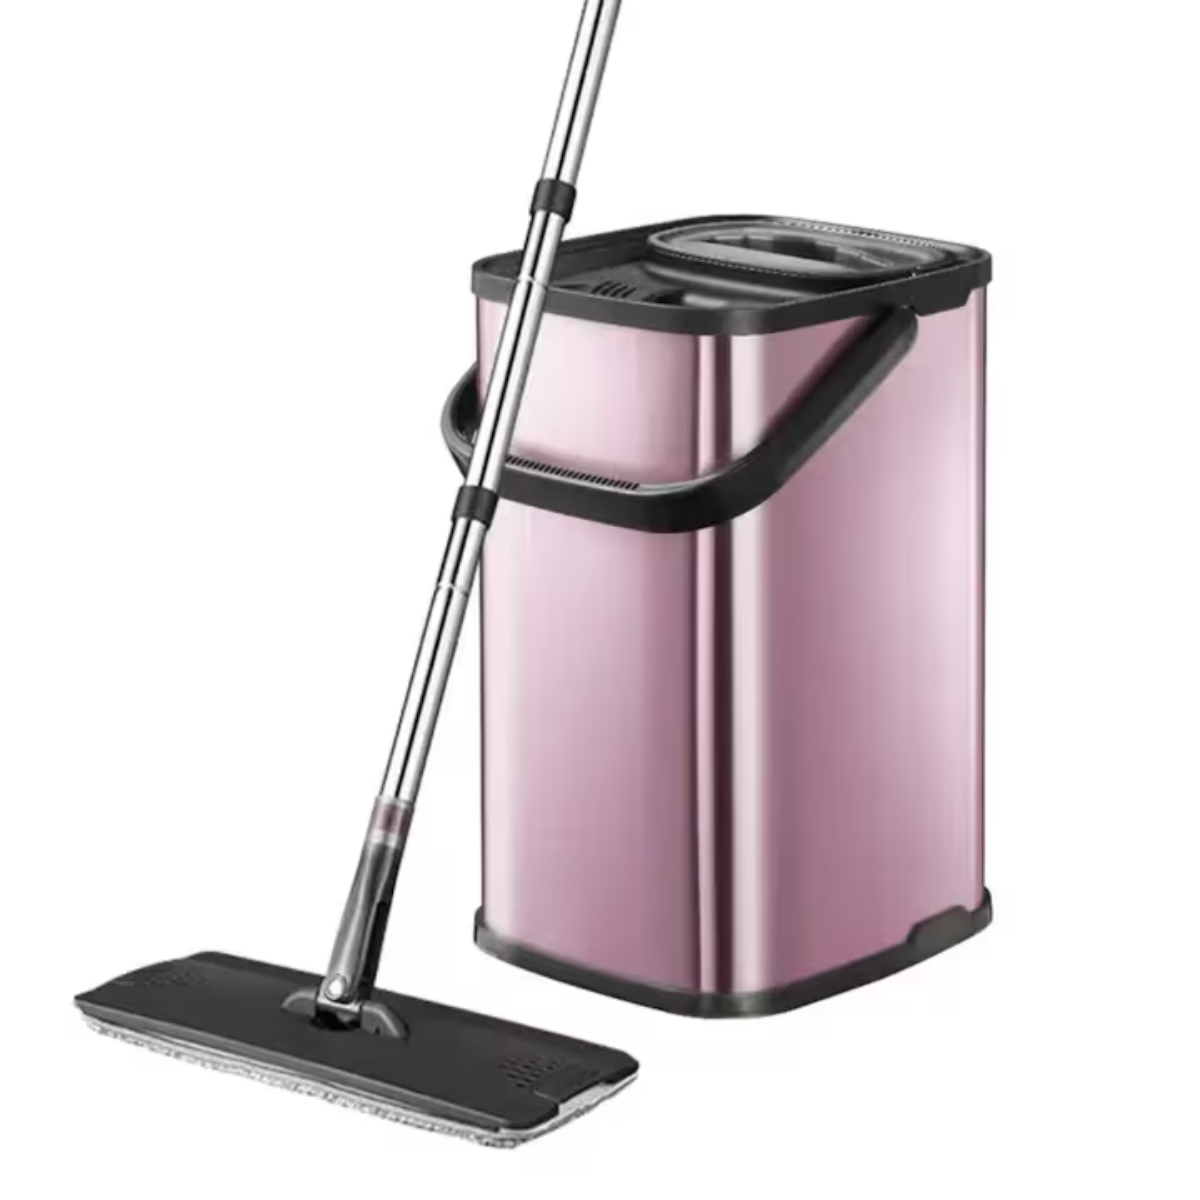

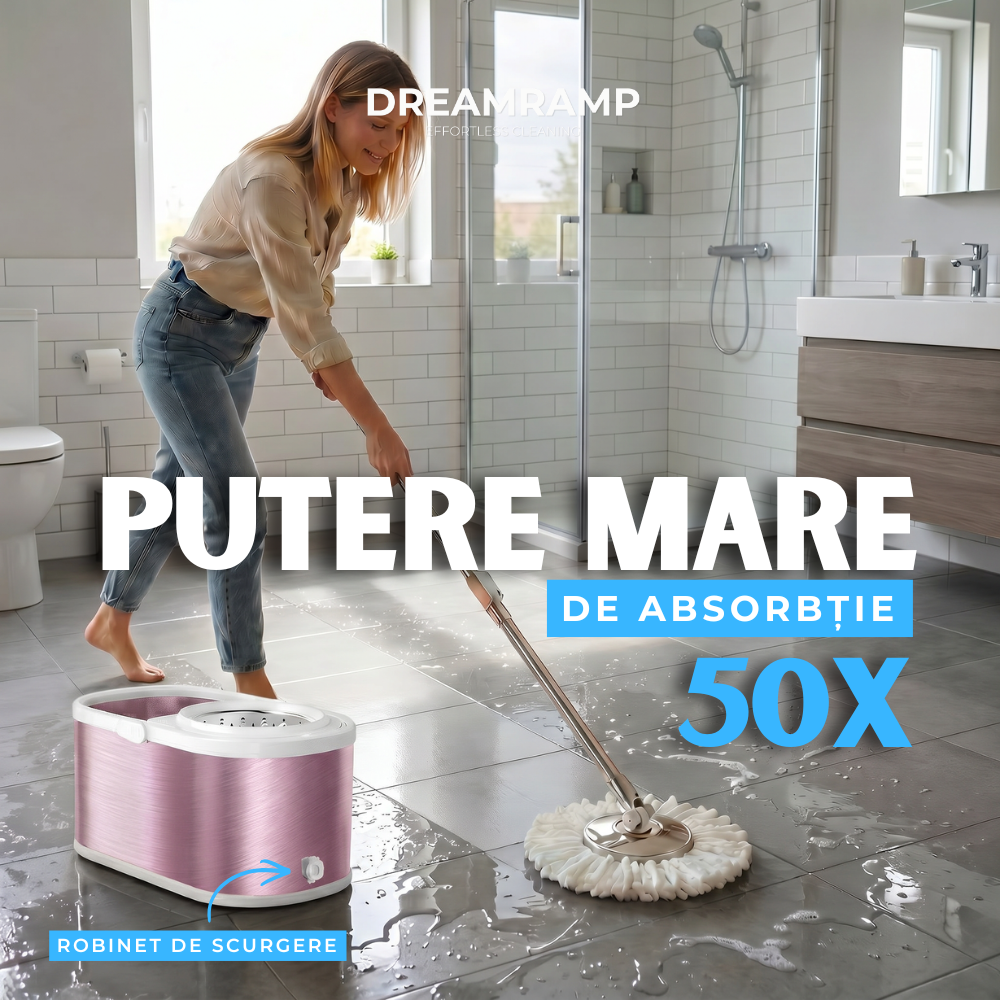
Set Dreamramp galeata mop cu centrifuga din inox galeata dreptunghiulara roz, finisaj lucios si orificiu de scurgerea a apei cu doua rezerve
Preț întreg
299,87 lei
Preț redus239,99 lei

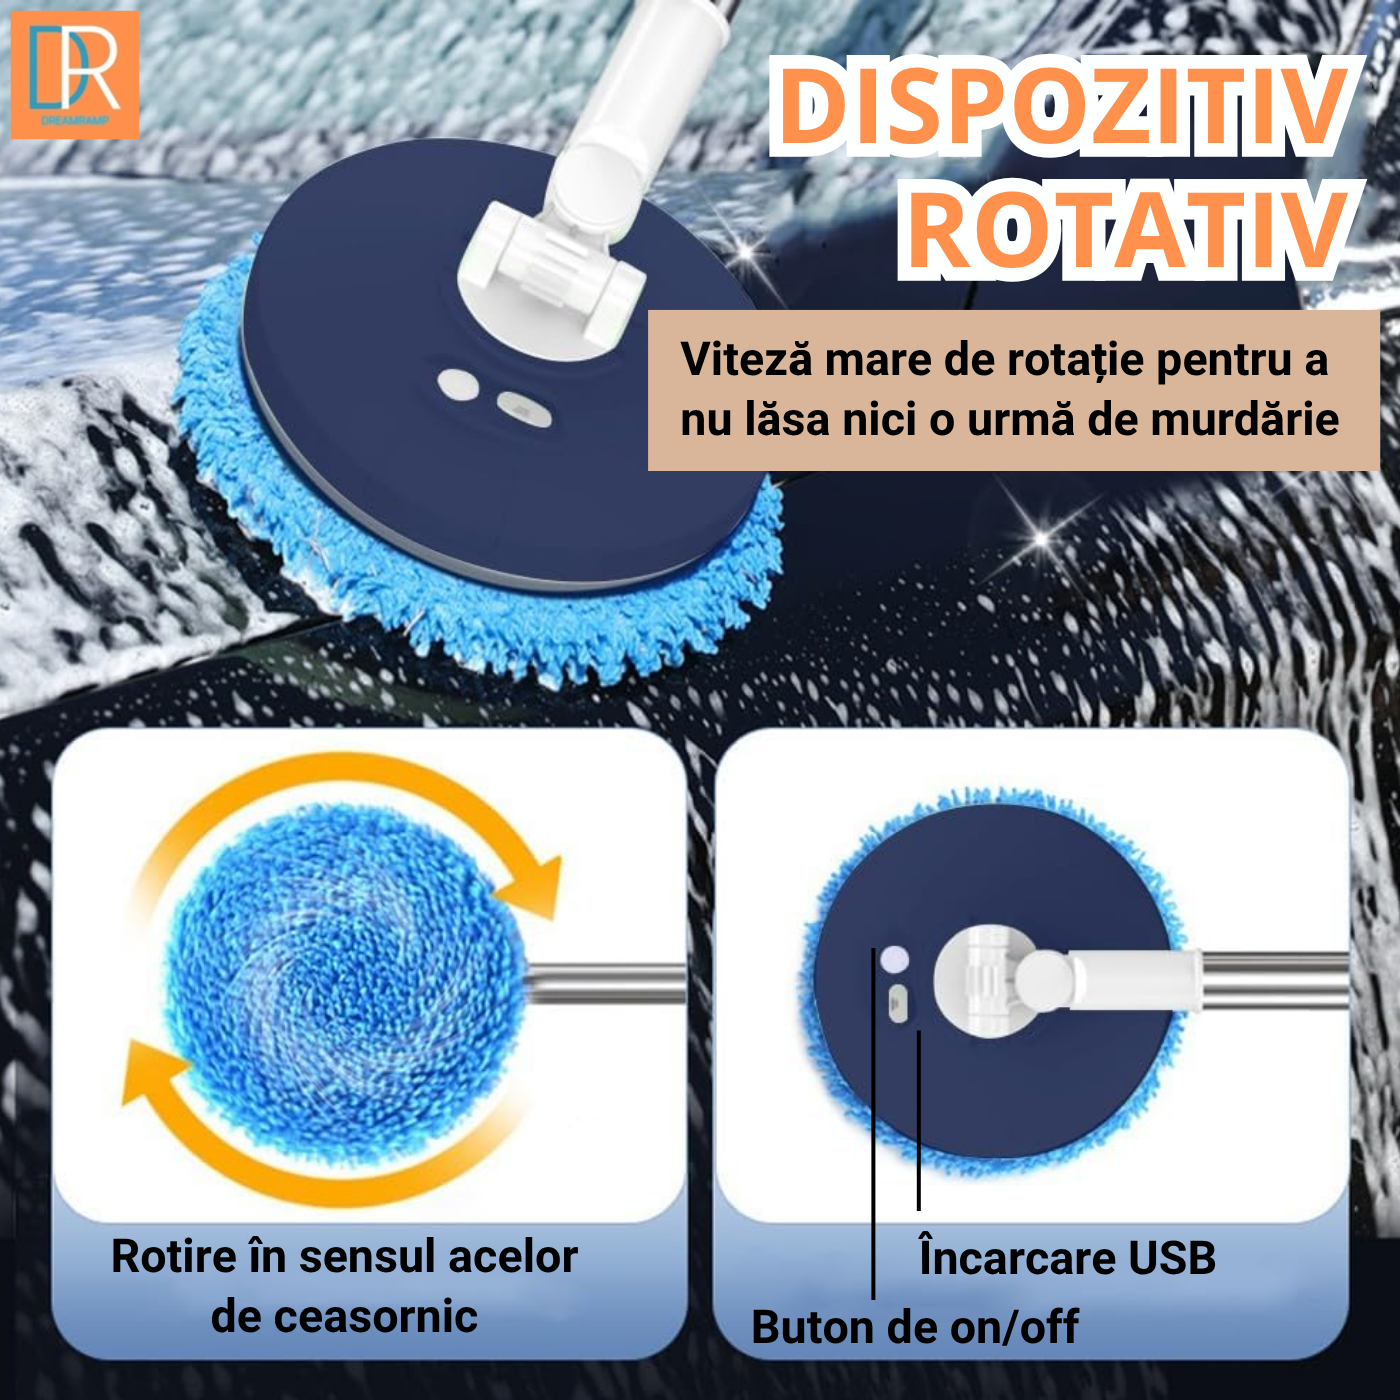
Mop electric rotativ fără fir cu cap 360° Dreamramp®, mâner telescopic reglabil, funcție dublă umed/uscat, ideal pentru mașinilor, ușor de folosit și depozitat.
Preț întreg
345,87 lei
Preț redus249,99 lei

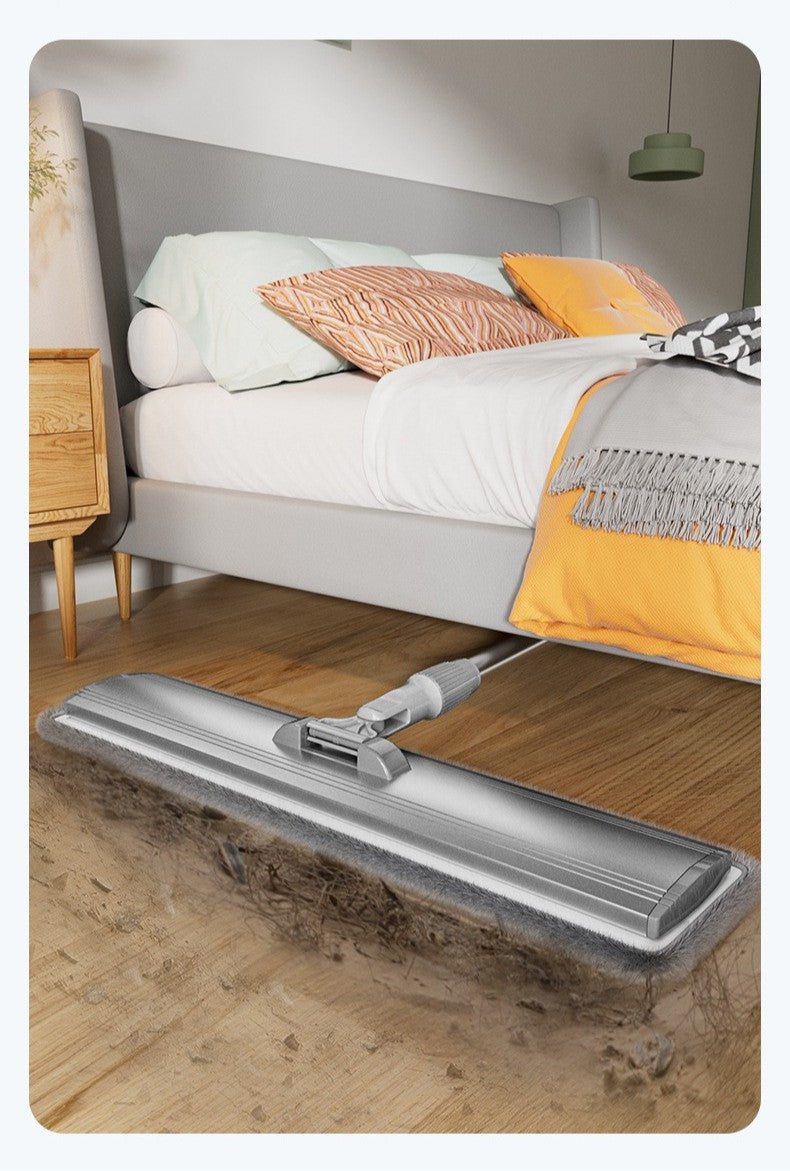
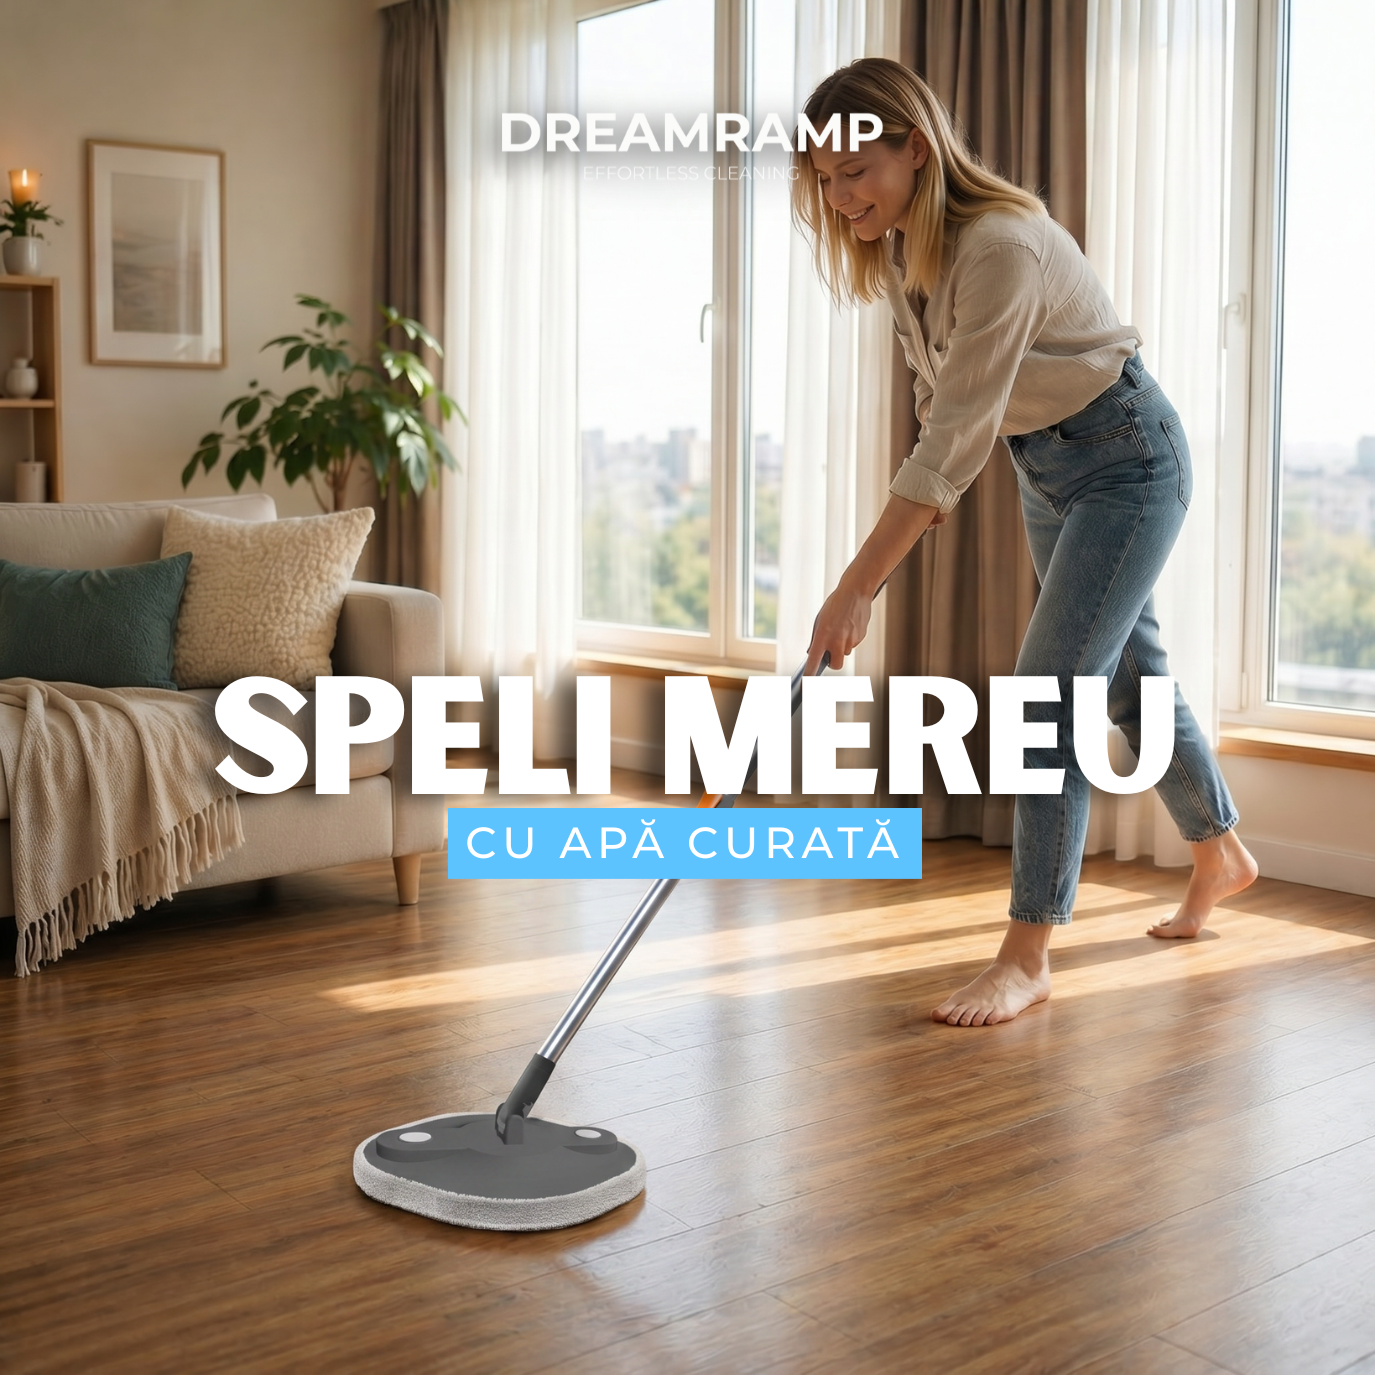
Descoperă gama completă de mopuri Dreamramp – mopuri rotative, mopuri plate, mopuri cu separare a apei curate de cea murdară și mopuri profesionale pentru orice tip de podea. Curățenie eficientă, rapidă și fără efort, pentru locuințe și spații profesionale.