

Did you know that regular cleaning and maintenance of mop equipment in preschools can reduce the spread of illness by up to 80 percent? Young children are especially vulnerable to germs that linger on dirty floors and poorly cleaned tools. By learning simple routines for proper mop care and storage, you can help create a safer, healthier space where kids can thrive and play with confidence.
Quick Summary
| Key Point | Explanation |
|---|---|
| 1. Inspect mop supplies before use | Thoroughly check mop components to prevent cross-contamination and enhance hygiene. |
| 2. Prepare fresh cleaning solutions each time | Always mix cleaning solutions right before use to ensure maximum effectiveness and reduce bacterial growth. |
| 3. Dry mop heads completely | Air dry mop heads in a ventilated area to prevent bacteria growth and prolong their lifespan. |
| 4. Regularly replace worn mop parts | Track usage and replace mop heads based on lifespan to maintain effective cleaning standards. |
| 5. Store mop equipment properly | Use designated, ventilated storage to keep mop equipment dry and prevent mold or bacteria growth. |
Table of Contents
- Step 1: Gather and Inspect Mop Supplies
- Step 2: Prepare Cleaning and Sanitizing Solutions
- Step 3: Wash and Rinse Mop Heads Thoroughly
- Step 4: Dry and Store Mop Equipment Properly
- Step 5: Inspect and Replace Worn Mop Parts
Step 1: Gather and Inspect Mop Supplies
When maintaining a clean and hygienic preschool environment, preparing your mop supplies is more than just grabbing a bucket and a mop. It’s about creating a systematic approach to cleanliness that protects children’s health.
Start by assembling all your cleaning materials in one dedicated area. You’ll want multiple mop heads clean and ready for rotation. According to our guide on mop selection, having backup mop heads allows for immediate replacement when one becomes soiled.
Carefully inspect each mop component before use. Check the mop head for any visible dirt residue or fraying fibers. The mop shaft should be sturdy without cracks or rust. Your bucket must be clean and free from previous cleaning solution buildup. As research from Bumbles Day Care demonstrates, consistent daily inspection prevents cross-contamination and maintains high hygiene standards.
Pro Tip: Always separate clean and dirty mop supplies into different designated storage areas to prevent accidental mixing.
Pay special attention to color coding if possible. Different colored mop heads for various areas like kitchen, bathrooms, and play zones can help prevent spreading germs between spaces. This approach mirrors professional infection control practices in childcare settings.
Quick visual checks take seconds but can prevent potential health risks. By establishing this routine, you transform simple mop maintenance into a critical health protection strategy for young children.
Step 2: Prepare Cleaning and Sanitizing Solutions
Creating the right cleaning solution isn’t just about making floors look good it’s about creating a safe environment for children. Your cleaning mix will be your first line of defense against germs and potential health risks in the preschool setting.
Start by selecting a mild detergent specifically designed for floor cleaning. According to commercial cleaning guidance, warm water combined with a gentle cleaning agent works best. Our mop selection guide recommends using solutions that are both effective and safe for different floor surfaces.
For basic daily cleaning, mix your detergent carefully. Use just enough to cut through dirt without leaving a slippery residue. Research from Bumbles Day Care emphasizes the importance of thorough but gentle cleaning techniques. Aim for a solution that removes dirt effectively while maintaining floor integrity.
Pro Tip: Always prepare fresh cleaning solution for each cleaning session to ensure maximum effectiveness and prevent bacterial growth.
For deeper sanitization every couple of weeks, you have safe options. Some professionals recommend a mild bleach solution or white vinegar mixed with water. Important warning never mix bleach and vinegar as this creates harmful chemical reactions. Always dilute these agents carefully and rinse thoroughly after use.
Make sure to test your cleaning solution on a small hidden area first to ensure it doesn’t damage the floor surface. Different preschool environments might have varying floor materials wood vinyl tile each requiring slightly different care.
By preparing your solutions thoughtfully you transform a simple cleaning task into a strategic approach to maintaining a healthy learning environment for children.
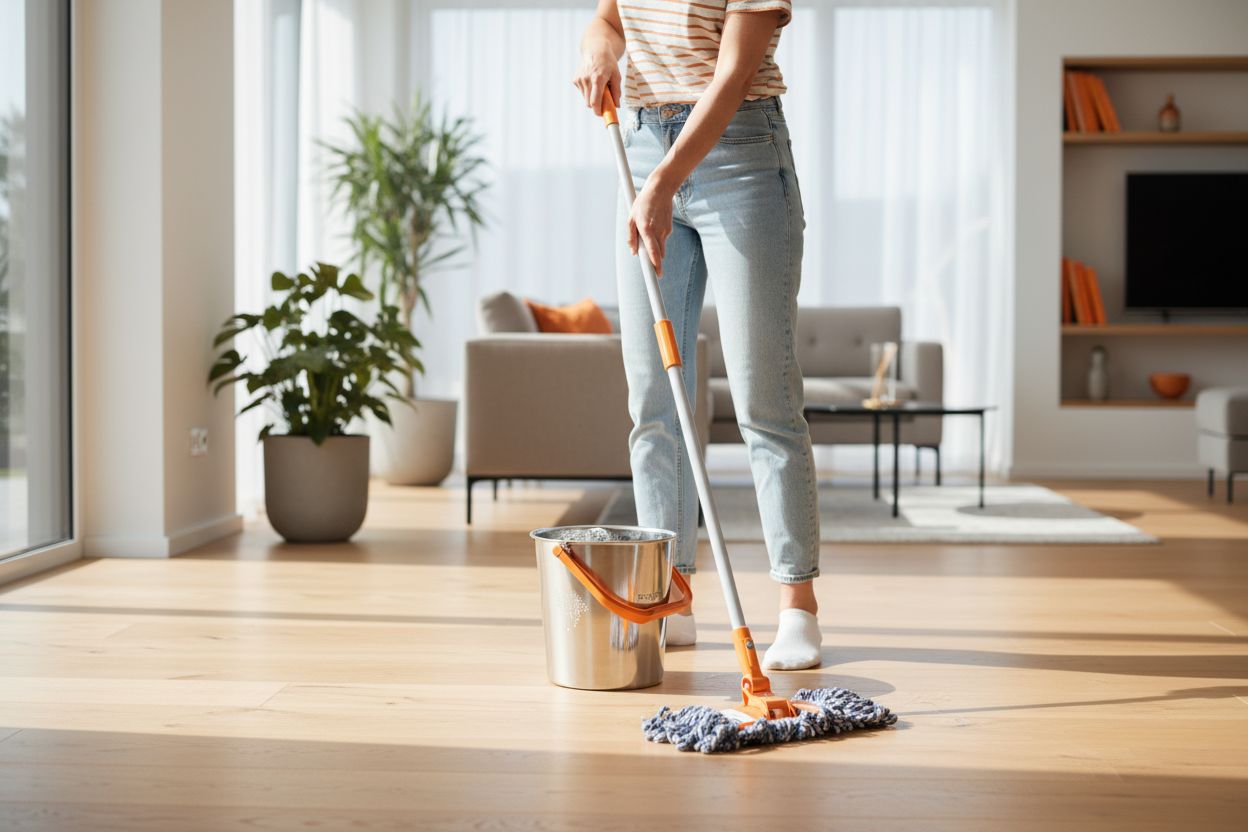
Step 3: Wash and Rinse Mop Heads Thoroughly
Cleaning your mop heads isn’t just a chore it’s a critical step in maintaining a hygienic preschool environment. Your goal is to eliminate every trace of dirt and potential bacteria that could compromise children’s health.
Begin by removing the mop head from its handle and giving it a good shake to dislodge loose debris. According to our auto rinsing mops guide, pre-treating your mop can significantly improve cleaning effectiveness.
Research from Vileda UK suggests starting with a warm water rinse. Soak the mop head in warm water for about five minutes especially if there are stubborn dirt patches. If you are dealing with microfibre mop heads you can use a washing machine set to a gentle 30°C cycle. Avoid using fabric softener or bleach as these can damage the mop fibers and reduce their cleaning performance.
Pro Tip: Consider using a laundry bag when machine washing mop heads to protect them from excessive wear and tear.
For deeper sanitization look to advice from Ideal Home. After the initial rinse you might want to create a disinfectant solution. White vinegar works wonderfully. Soak the mop head for about 10 minutes then rinse thoroughly until the water runs completely clear.
The final and most crucial step is thorough air drying. Never store a damp mop head as this creates an ideal breeding ground for bacteria. Hang it in a well ventilated area ensuring complete dryness before storing or reusing.
By dedicating time to proper mop head maintenance you are not just cleaning a tool you are protecting the health of every child who walks through your preschool doors.
Step 4: Dry and Store Mop Equipment Properly
Proper drying and storage of mop equipment isn’t just a final step it’s a critical defense against bacteria and prolonged equipment life. Your goal is to create a storage system that keeps your cleaning tools in pristine condition.
After thoroughly washing your mop heads your first priority is complete air drying. According to our auto rinsing mops guide, proper drying techniques can significantly extend your mop’s usable life.
Research from Vileda UK emphasizes the importance of air drying mop heads completely. Position your mop heads vertically with fibers hanging downward in a well ventilated area. Avoid the temptation to use a tumble dryer as high heat can damage microfiber materials and compromise their cleaning effectiveness.
Pro Tip: Never store mop equipment in closed dark spaces. Moisture trapped in enclosed areas creates perfect breeding grounds for mold and bacteria.
DreameTech recommends specific storage practices for different mop types. Hang mop handles on wall mounted hooks to prevent contact with floor surfaces. For mop heads consider using breathable mesh bags or open wire racks that allow maximum air circulation.
Inspect your storage area regularly. Ensure it remains clean dry and free from potential contamination. Separate clean and dirty equipment zones to prevent cross contamination in your preschool environment.
By dedicating just a few extra minutes to proper drying and thoughtful storage you transform basic maintenance into a robust hygiene protocol that protects both your cleaning equipment and the children in your care.
Step 5: Inspect and Replace Worn Mop Parts
Knowing when to replace mop parts is like understanding the health checkup for your cleaning equipment. Just as children need regular medical examinations your mop needs consistent professional evaluation to maintain peak performance.
Begin with a thorough visual inspection. Our auto rinsing mops guide recommends examining each component carefully for signs of wear and potential performance reduction.
Research from Ideal Home provides clear guidance on replacement timelines. Microfibre mop heads can typically last 200 to 300 washes while cotton heads might serve effectively for about a year. Sponge mop heads have a shorter lifecycle ranging from two to six months.

Pro Tip: Create a replacement tracking system. Mark the date of first use on each mop head to help you monitor its lifecycle accurately.
Watch for specific warning signs. According to DreameTech persistent odors that survive deep cleaning signal it is time for replacement. Other red flags include visible fraying brittle textures permanent discoloration or reduced cleaning effectiveness.
Pay special attention to the mop handle and attachment mechanisms. Check for cracks loose connections or rust that might compromise your cleaning process. A weakened handle can lead to inefficient cleaning and potential safety risks in a preschool environment.
By proactively managing your mop equipment you ensure a consistently hygienic cleaning approach that protects both your cleaning tools and the children under your care.
Here’s a summary of mop head care and replacement timelines:
| Mop Head Type | Typical Longevity | Key Care Instructions |
|---|---|---|
| Microfiber | 200-300 washes | Machine wash, no bleach or fabric softener, air dry |
| Cotton | About 1 year | Hand/machine wash, avoid high heat, air dry |
| Sponge | 2-6 months | Rinse after use, sanitize, replace if odors persist |
Protect Your Preschool with Trusted Cleaning Solutions
Are you committed to creating a spotless and safe learning space for children, but find that maintaining mop hygiene and equipment is a real challenge? If you have faced inconsistent cleaning results, concerns about cross-contamination, or simply want to make your maintenance routine more effective, you are not alone. The strategies in our “Mop Care Guide for Preschools” highlight the need for reliable tools and smart storage, but having the right solutions at your fingertips is what truly makes the difference.
Ready to upgrade your cleaning routine? Explore our selection of advanced mops, specialized buckets, and smart accessories on DreamRamp.ro. Discover how our curated products can help you put professional hygiene protocols into practice every day. Take the next step towards peace of mind for your staff and the children in your care. Visit our homepage now and make a lasting investment in your preschool’s health.
Frequently Asked Questions
How often should I check mop supplies in a preschool setting?
It’s essential to inspect your mop supplies daily. Conduct quick visual checks to ensure mop heads are clean and in good condition, preventing cross-contamination and promoting a hygienic environment for children.
What type of cleaning solution is safe for use in preschools?
Use a mild detergent formulated for floor cleaning. Mix it with warm water to effectively remove dirt while ensuring safety for children, aiming for a solution that prevents slipping on finished floors.
How should I properly dry and store mop equipment?
After cleaning, air dry mop heads thoroughly by hanging them in a well-ventilated area. Store your cleaning tools in an organized manner, avoiding dark, closed spaces to discourage mold and bacteria growth.
When should I replace mop parts in my preschool cleaning routine?
Evaluate your mop components regularly and replace them if you notice visible signs of wear, such as fraying or persistent odors. Typically, microfiber heads last 200-300 washes, while cotton heads last about a year; monitor usage to maintain hygiene standards.
What’s the best method for sanitizing mop heads?
Soak mop heads in a disinfectant solution, such as diluted white vinegar, for about 10 minutes after washing. Rinse thoroughly to ensure no cleaning agents remain, promoting a safer and healthier cleaning tool for your preschool.
Can I use a tumble dryer to dry mop heads?
No, it’s best to avoid using a tumble dryer, as high heat can damage microfiber materials. Instead, allow mop heads to air dry completely to maintain their cleaning effectiveness and prolong their lifespan.


