

Did you know that proper maintenance can extend the life of an electric mop by up to 50 percent? Many users ignore this simple step and end up replacing the appliance sooner than necessary. With a few basic checks and cleanings, you can prevent costly breakdowns and always be prepared for quick, hassle-free cleaning.
Quick Summary
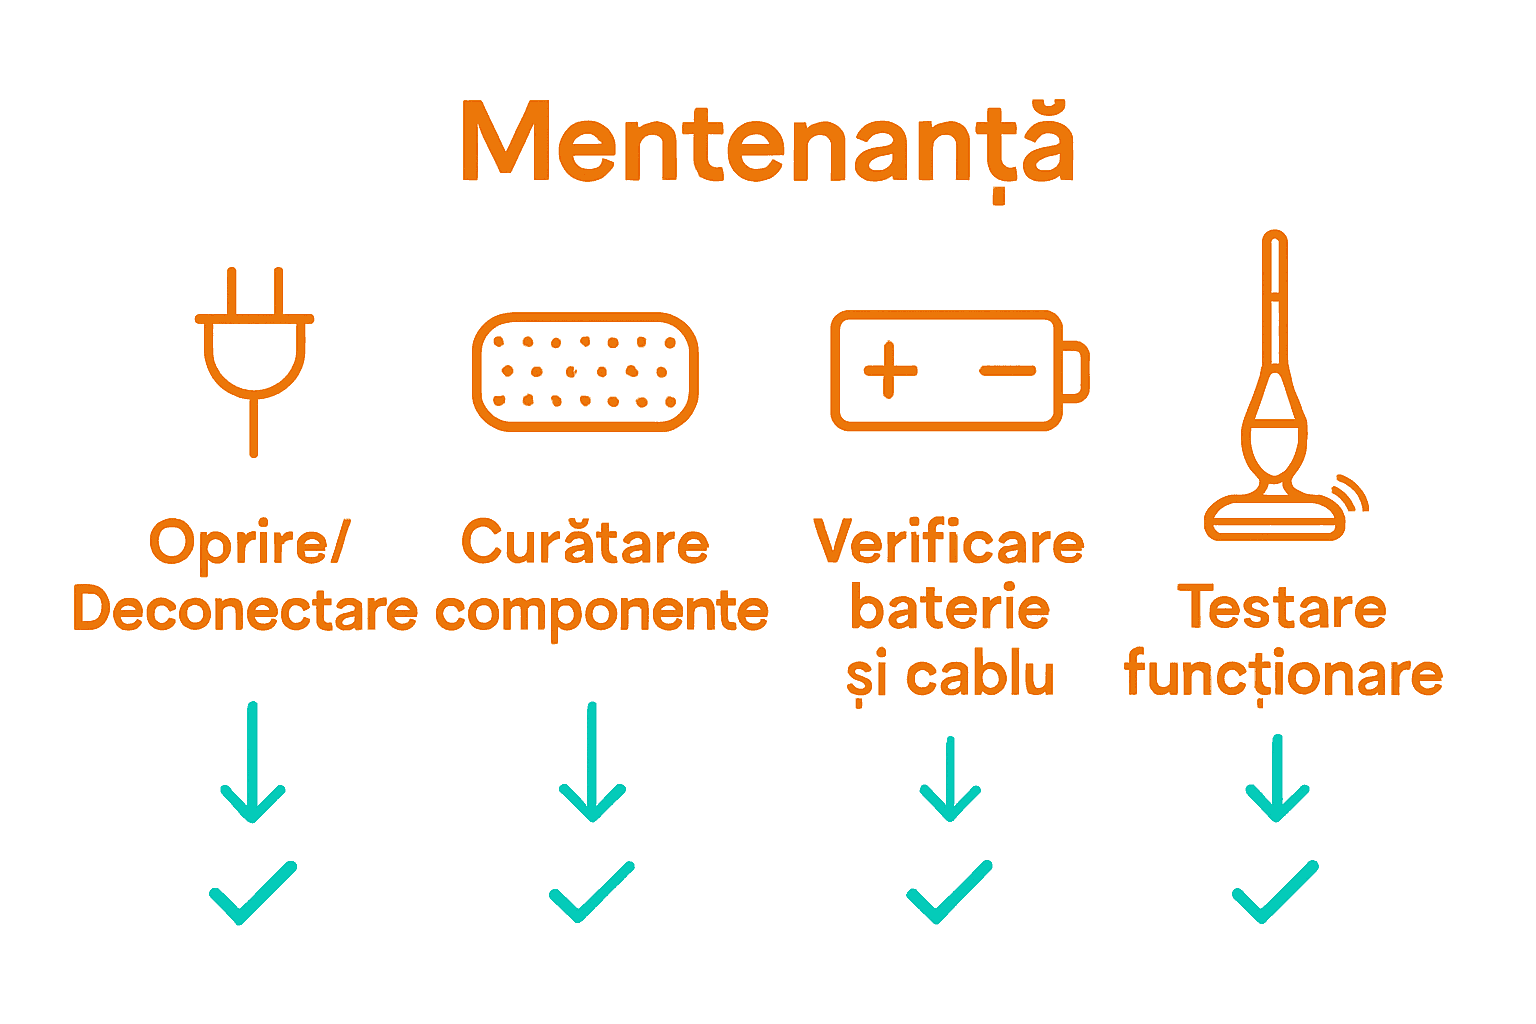
| Key Point | Explanation |
|---|---|
| 1. Turn off and unplug before maintenance | User safety is paramount; to avoid accidents, turn off the appliance and disconnect it from the source. |
| 2. Inspect components for wear | Check the mop carefully for any signs of damage to maintain performance. |
| 3. Clean removable components regularly | Dismantling and cleaning the cloth and tank after each use ensures hygiene and functionality of the device. |
| 4. Check the battery and cables frequently | Inspecting the cables and battery helps prevent malfunctions and ensures safe and efficient use. |
| 5. Test the mop's operation after maintenance | Make sure the mop is working properly after maintenance to guarantee effective cleaning before use. |
content
Prepare the electric mop for maintenance
Effective cleaning starts with proper maintenance of your equipment. Preparing your electric mop for maintenance is a crucial step that ensures the performance and longevity of your cleaning appliance.
Before any maintenance procedure, turn off and unplug the electric mop from the power source. Check the condition of the battery and main components to prevent unexpected damage. The process involves a few simple steps that you can easily perform at home.
The first thing to do is to inspect the mop carefully. Check for signs of wear on the rotating head, microfiber cloth, or electrical components. Carefully remove any dust and dirt accumulated in the joints and mechanisms. Electric mop selection guide for effective cleaning can provide you with additional information on proper maintenance.
Helpful tip: Use a slightly damp cloth to clean electronic components and avoid getting water in sensitive mechanisms.
The next step is to disassemble and clean the removable components separately. Remove the mop head and microfiber cloth. Wash the cloth according to the manufacturer's instructions and let it dry completely before reassembling.
For rechargeable batteries, check the battery charge level and general condition. Clean the electrical contacts with a dry cloth and make sure they are clean and free of oxidation.
Once you've finished cleaning and checking, prepare the mop for the next use. Reassemble the components, make sure everything is properly tightened, and check the functionality before using it again.
A well-maintained electric mop can serve for years with maximum performance.
 Your investment in cleaning and care will bring excellent results every time you use it.
Here is a comparison of the main maintenance steps for the electric mop:
| Stage | Main purpose | Recommended frequency |
|---|---|---|
| Shutdown and disconnection | User safety | Before maintenance |
| Visual inspection | Identifying wear or dirt | Monthly |
| Cleaning components | Dust and dirt removal | After each use |
| Tank/mop cleaning | Sanitization and waste disposal | Weekly |
| Battery and cable check | Preventing electrical faults | Monthly |
| Surface disinfection | Bacteria/germ removal | Bimonthly or as needed |
| Final functional testing | Confirm optimal mop condition | After complete maintenance |
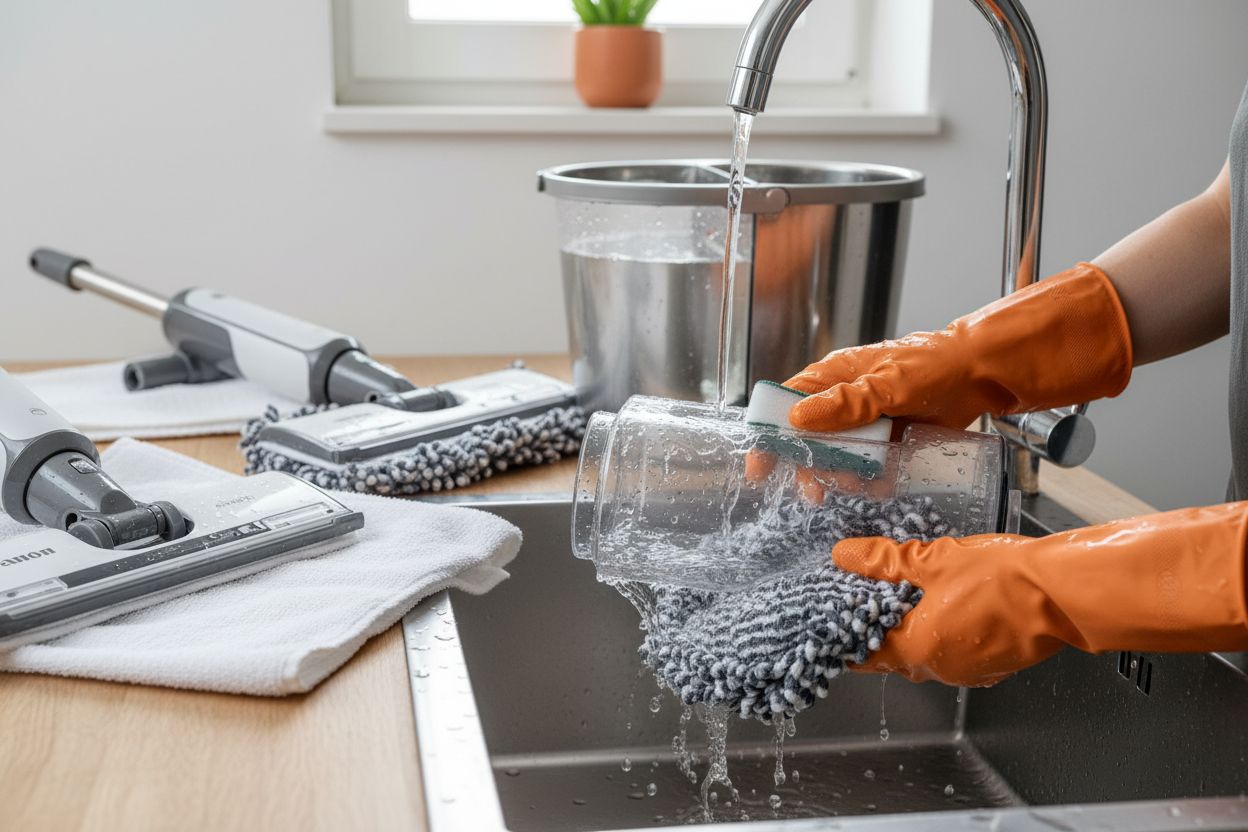
Cleans the tank and removable components
Thoroughly cleaning the tank and removable components of your electric mop is key to maintaining a high-performance and hygienic cleaning tool.
This process not only extends the life of the appliance, but also ensures impeccable cleanliness every time.
Start by carefully disassembling all detachable components. The tank, its lid, microfiber cloth and other accessories must be carefully separated. Set of 8 disposable refills for the super-hygienic toilet brush can give you some practical examples of maintaining hygiene.
For the tank, use warm water and mild detergents specifically designed for electrical equipment. Rinse thoroughly to remove any traces of detergent that could affect the performance of the mop. Allow the components to air dry completely, away from direct sunlight or heat sources.
Important tip: Never use aggressive substances or solvents that can damage the component materials.
Microfiber cloths require special care. Wash separately using warm water and a mild detergent. Always check the manufacturer's labels for specific washing instructions. Avoid using bleach or fabric softener which can affect absorbency and cleaning ability.
After drying, check the condition of the components. Replace any worn or damaged parts to maintain optimal performance of the electric mop. This regular check prevents future problems and ensures flawless operation.
A well-maintained electric mop is the secret to a clean and sparkling home. Invest a little time in its regular cleaning and care, and the results will speak for themselves.
Disinfects the surfaces of the electric mop
Disinfecting the surfaces of your electric mop is an essential step in maintaining a perfectly hygienic and safe cleaning tool. The process not only eliminates bacteria and microorganisms, but also extends the life of your appliance.
Before disinfecting, make sure you have completely unplugged the electric mop and removed all removable components. The DreemRamp® Cordless Rotating Electric Mop with 360° Head can provide a perfect example of an appliance that requires careful cleaning.
Choose a disinfectant specifically designed for electrical equipment. Avoid substances containing concentrated alcohol or chlorine, as they can damage the device's components. Use mild water-based disinfectants or wipes specifically designed for electronic devices.
Important tip: Never spray disinfectant directly on electronic surfaces. Always apply the disinfectant to a clean cloth.
Use a soft cloth lightly dampened with disinfectant solution. Methodically wipe down all external surfaces of the electric mop. Pay special attention to frequently touched areas such as the handle, control buttons, and movable joints.
For hard-to-reach areas, use lightly dampened cotton swabs. Move them carefully to avoid introducing moisture into the internal mechanisms. Allow all components to air dry completely before reconnecting or storing them.
Regular disinfection not only reduces the risk of spreading germs, but also keeps your electric mop looking pristine. Repeat this process every two weeks or whenever you notice visible dirt.
Through your dedication to cleaning and maintenance, you will turn your electric mop into a reliable cleaning tool that will serve you for years.
Check the integrity of the cables and battery
Maintaining an electric mop in optimal condition involves a careful check of its electrical components. Checking the integrity of the cables and battery not only prevents unexpected breakdowns, but also ensures maximum performance of your cleaning appliance.
Start by fully unwinding the power cord and examining it carefully. Look for signs of wear such as cracks, breaks, or areas that appear thin. The DreamRamp® Portable Car Vacuum Cleaner provides a great example of equipment that requires regular checks.
For cordless electric mops, the battery is the central component. Check the battery's electrical contacts for any signs of oxidation or dirt. Use a dry cloth to gently clean them, without introducing moisture.
Important tip: Never use metal objects to clean the battery contacts to prevent damage to them.
Measure the battery voltage using a multimeter or check its lifespan. If you notice a significant drop in performance or charging capacity, it's time to consider replacing the battery.
Pay close attention to the electrical connections on your mop. Check that the plug and power inlet are clean and show no signs of wear. Any cracks or deformation may indicate the need for repair or replacement.
For rechargeable batteries, always follow the manufacturer's instructions for charging cycles. Avoid deep discharges and overcharging, which can shorten the battery's life.
Regular maintenance of electrical components not only extends the life of your mop, but also ensures your safety during use. Your investment in regular checks will bring long-term benefits.
Test the mop's operation after maintenance
After you have completed all the maintenance steps, a final test of your electric mop is crucial to ensure that it is working perfectly and ready for its next cleaning mission. This final step will confirm that all your maintenance efforts have paid off.
Start by reconnecting all the components and checking them first. Make sure each piece is properly secured and doesn't have any wobble or strange movement. How to Use the DreamRamp Mop Correctly for Best Results can give you additional pointers on proper assembly.
Turn on the electric mop and observe its initial behavior. Check that the buttons work smoothly and that the rotation or spray system responds to your commands immediately. Listen carefully to the sounds produced by the motor for any unusual noises that could indicate a hidden problem.
Important tip: Test the mop on a small, clean area to avoid accidental soiling in the event of a malfunction.
Examine the performance of the cleaning system. Check that the microfiber cloth rotates evenly and the water spray system operates consistently. Observe whether the cleaning speed and absorbency are up to your expectations.
Do a thorough test by cleaning a small area. Watch how the mop picks up dirt, distributes water or cleaning solution, and how effectively it wipes the surface. This hands-on test will confirm that all the components work together perfectly.
If you notice any strange behavior or poor performance, don't hesitate to double-check the maintenance steps or contact technical support. A well-maintained electric mop is the key to professional and efficient cleaning.
Discover DreamRamp solutions for easy and efficient electric mop maintenance
Do you feel that maintaining your electric mop takes up your time and energy? Have you ever wondered how much the quality of the equipment matters in maintaining performance and cleanliness without compromise? When you choose the right solutions, maintenance steps become simpler, and your mop maintains its efficiency with every use.
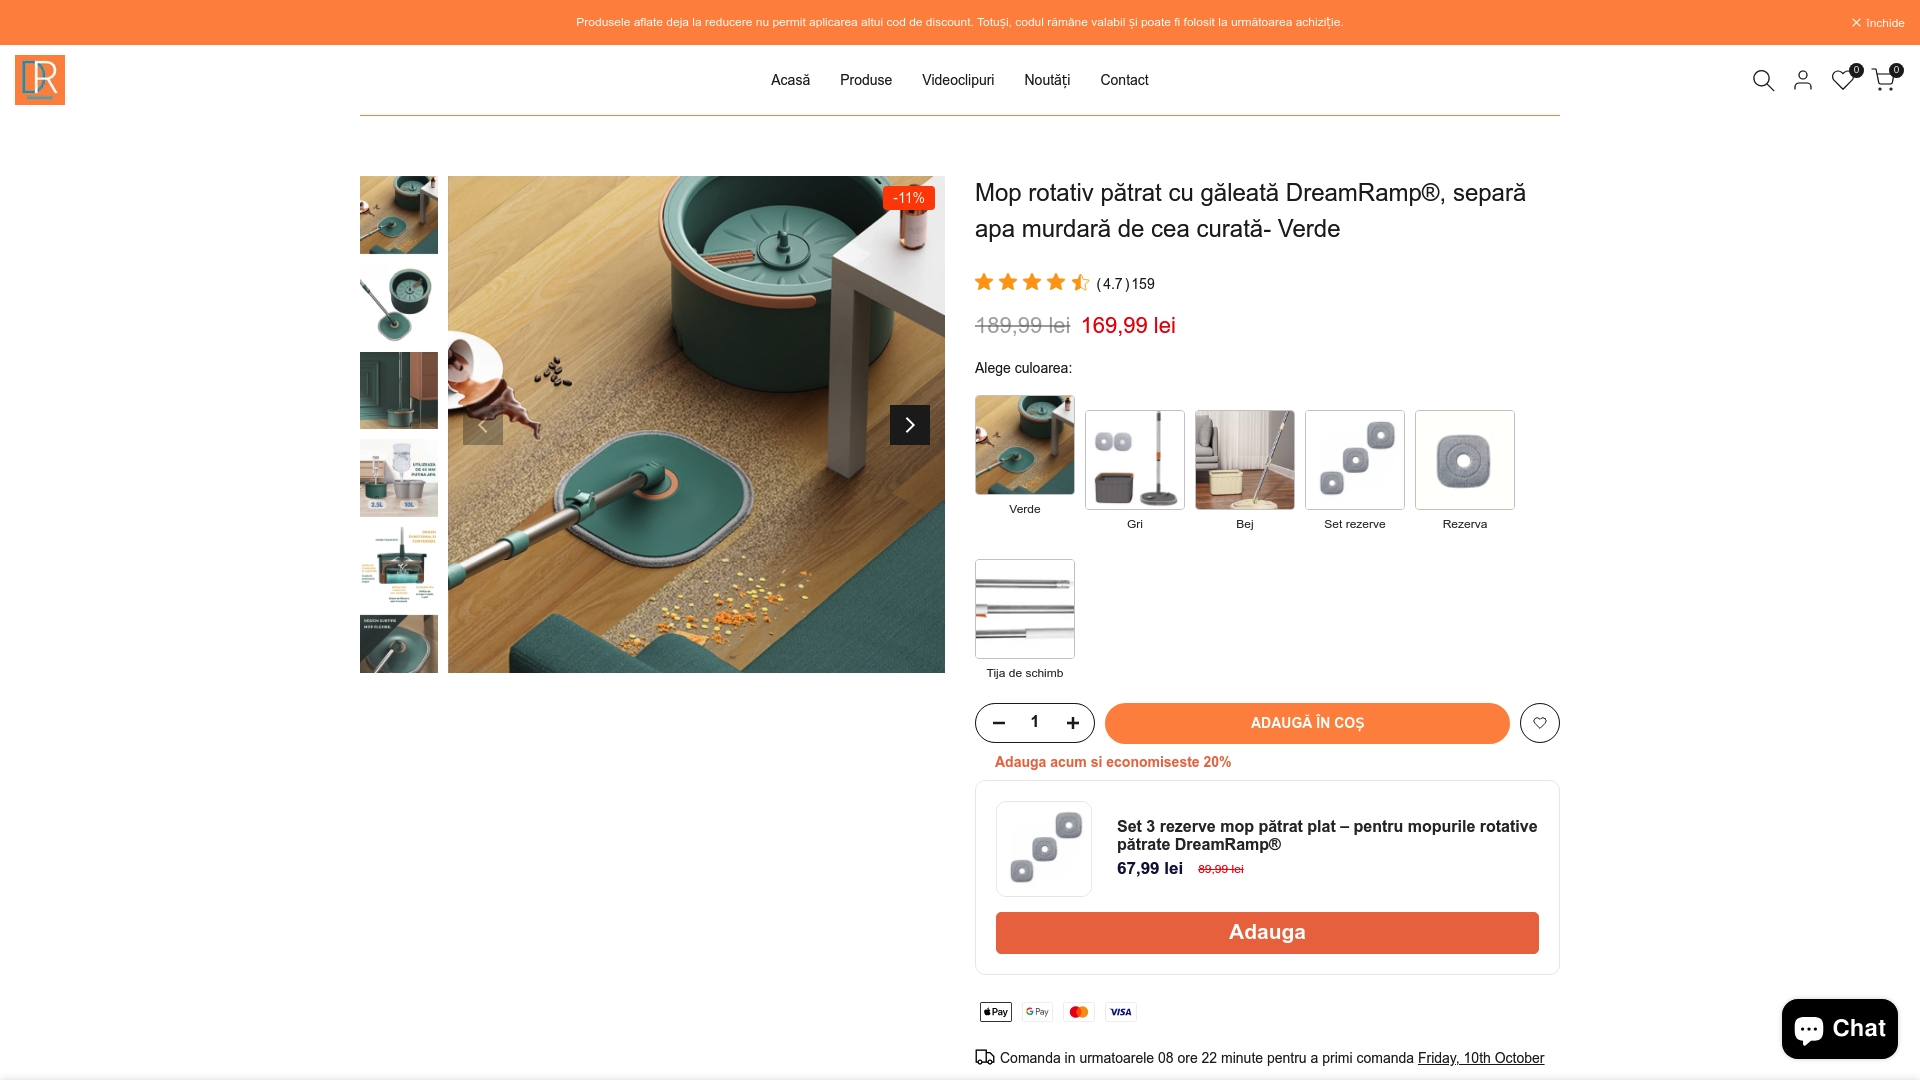
Now is the time to make the switch to a modern mop, specially built to make your cleaning routine easier. Discover the dedicated range of ultra-efficient rotary mops or check out the most appreciated selection of cleaning sets and enjoy removable cloths, easy-to-clean tanks and accessories that shorten maintenance time. Do you want to rely on performance with reduced water and detergent consumption with every use? Enter DreamRamp – Rotary Mop for efficient cleaning and choose your favorite model. Take the first step towards a clean home and a mop always ready for action.
Frequently asked questions
How can I prepare my electric mop for maintenance?
Prepare the electric mop by turning it off and unplugging it from the power source. Inspect the main components and clean any accumulated dirt, then disassemble the removable parts for separate cleaning.
What should I do if I notice wear on the mop head or microfiber cloth?
If you notice wear and tear, it is important to replace these components to maintain the performance of your electric mop. Consult the manufacturer's instructions to find suitable replacement parts.
How do I clean the electric mop tank?
Clean the tank with warm water and mild detergents. After washing, make sure the tank air-drys completely, away from direct sunlight.
How often should I maintain my electric mop?
It is recommended to check the components of your electric mop monthly, as well as clean it after each use. This way, you prevent damage and maintain optimal performance of the appliance.
How can I check the battery status of my electric mop?
To check the condition of your battery, examine the electrical contacts and measure its voltage with a multimeter. Make sure the battery is clean and functional, replacing it if you notice a significant drop in performance.
What steps do I need to follow to test the mop's operation after maintenance?
Once you have completed the maintenance, reconnect the components and turn on the mop. Test it on a small area to make sure all functions, such as head rotation and spray, are working properly.
Recommended
- Electric Rotating Mop with Sprayer and LED Light, DreamRamp®️, P-Cap – Dream Ramp
- DreemRamp® cordless rotating electric mop with 360° head, telescopic handle – Dream Ramp
- Electric mop selection guide for efficient cleaning – Dream Ramp
- Forget the Ordinary Mop – Discover the Innovative DreamRamp Technology – Dream Ramp


